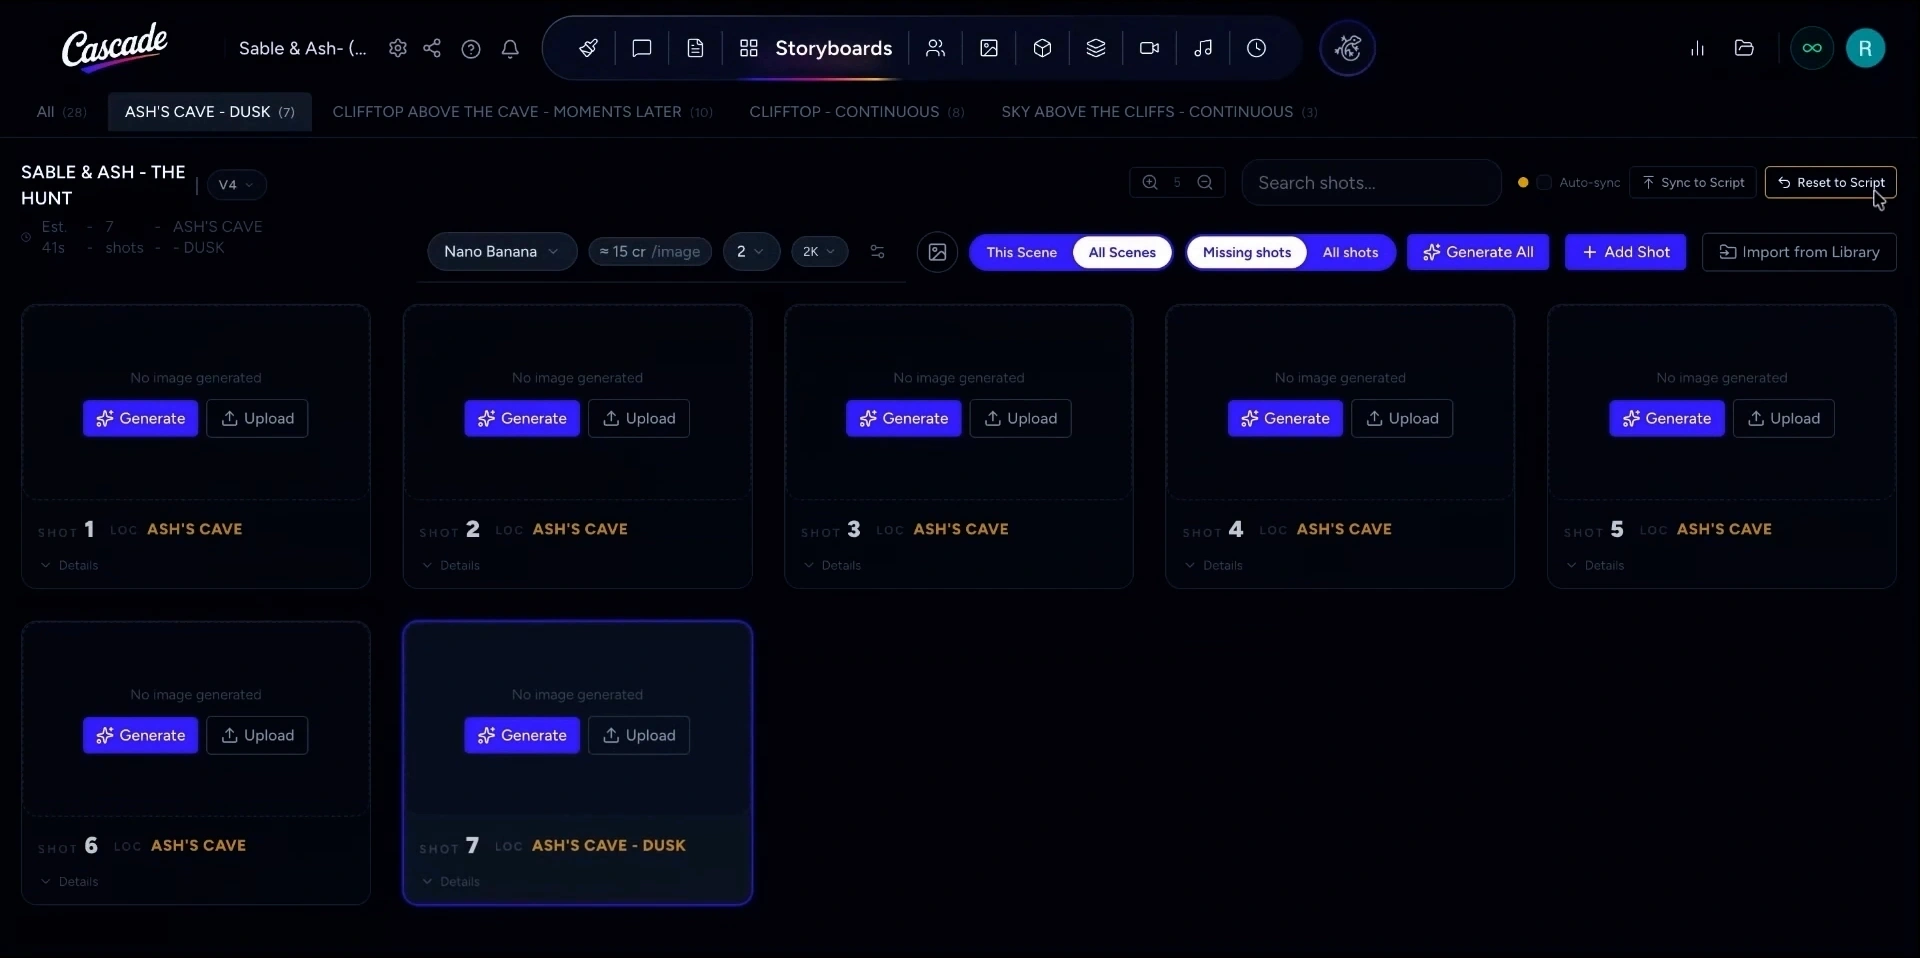
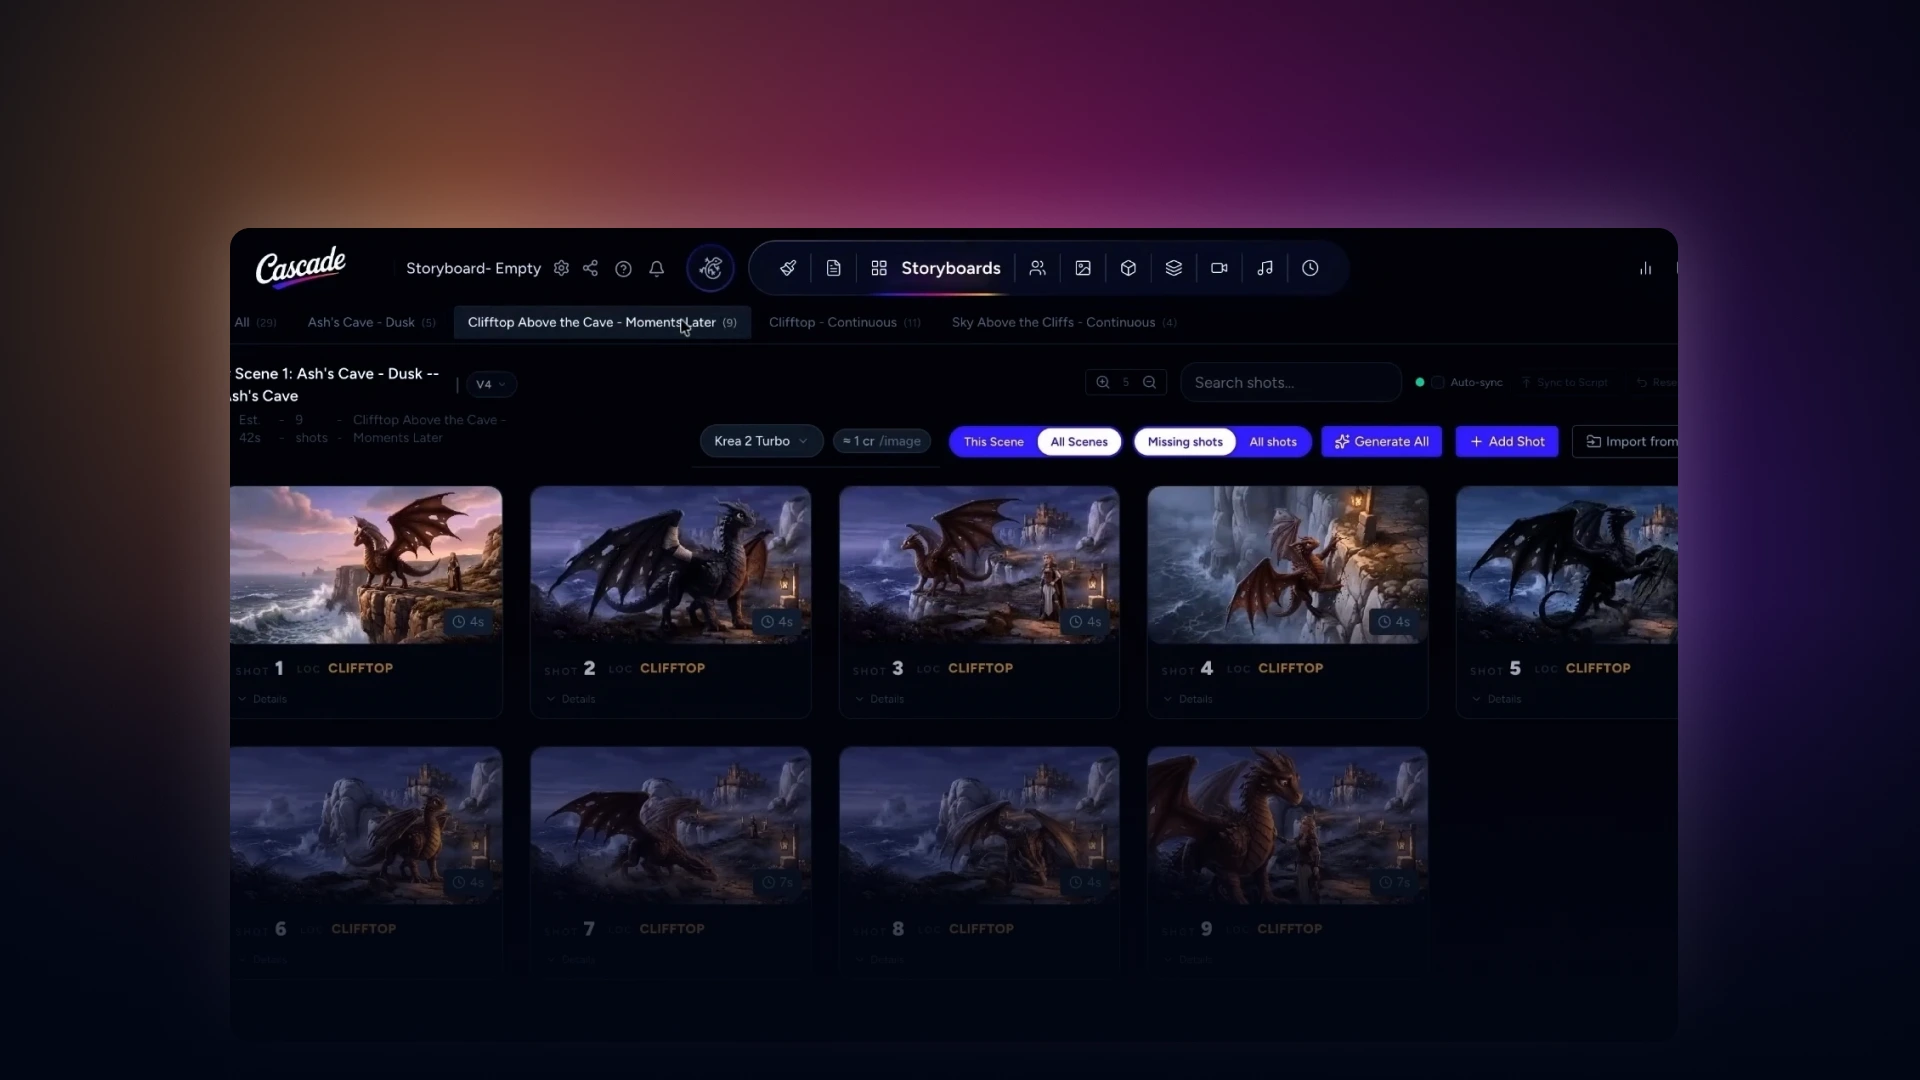
How to create, generate, edit, and review shots in the storyboard, whether you are starting from an empty storyboard or from an imported script.
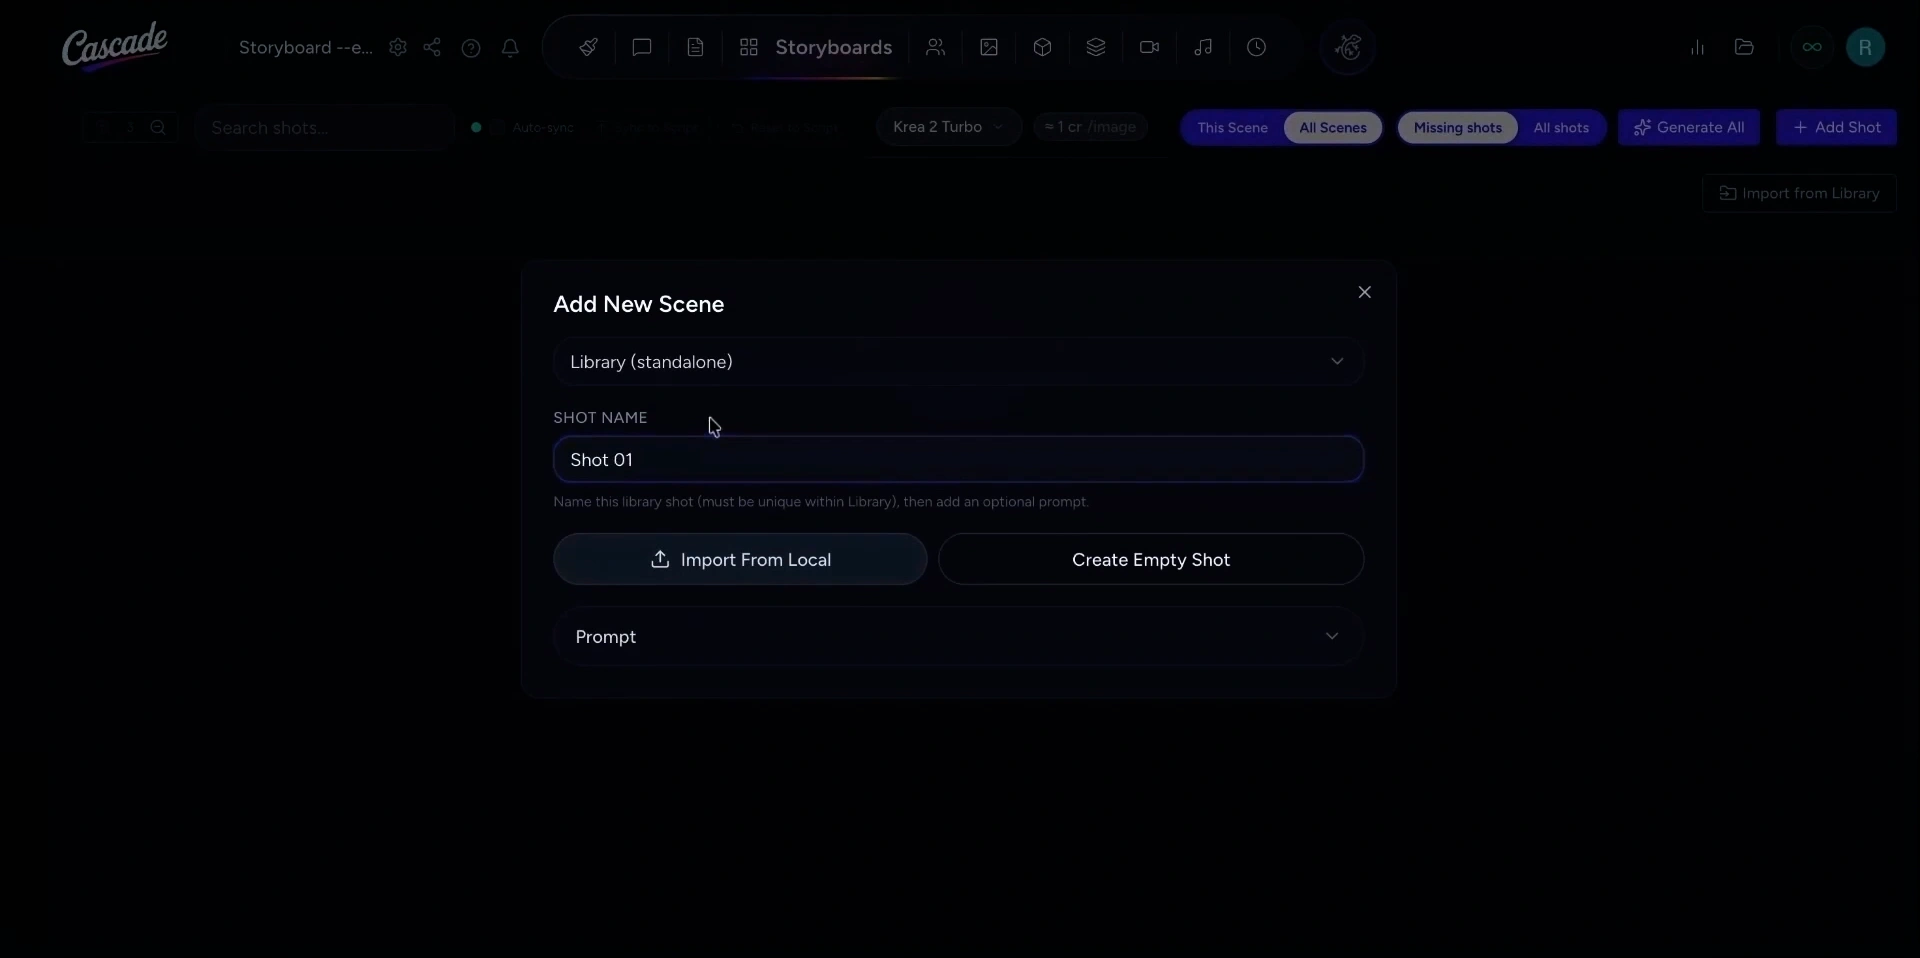
If you are starting with an empty storyboard, you can create your first shot by clicking the Add Shot button to create a new shot. A pop-up will appear to create a shot within a new scene. Enter a name for your shot, then open the Prompt dropdown to enter a descriptive prompt for your new shot.
If you already have assets uploaded in your project, you can tag these assets to link them to this specific shot.
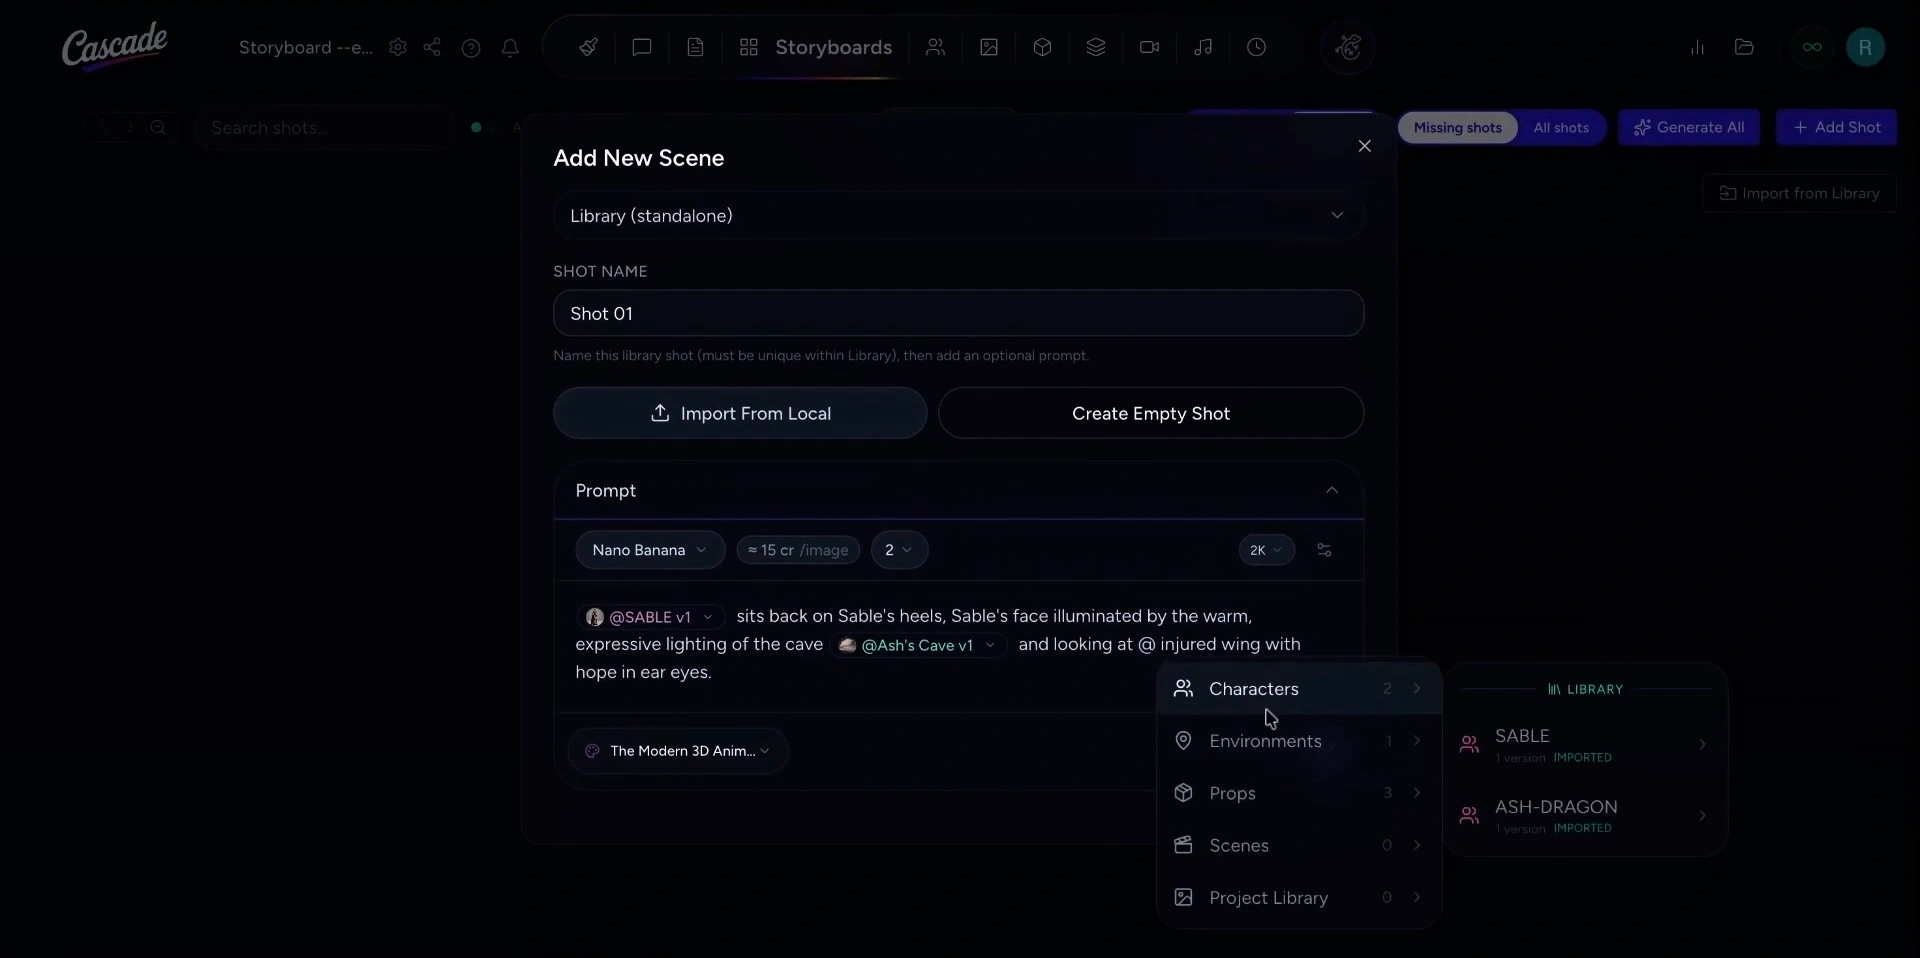
When you are ready, click the Generate button. Next, enter a name for your scene and click OK to confirm.
After generation completes, switch to the Scenes tab to review your newly generated shot.
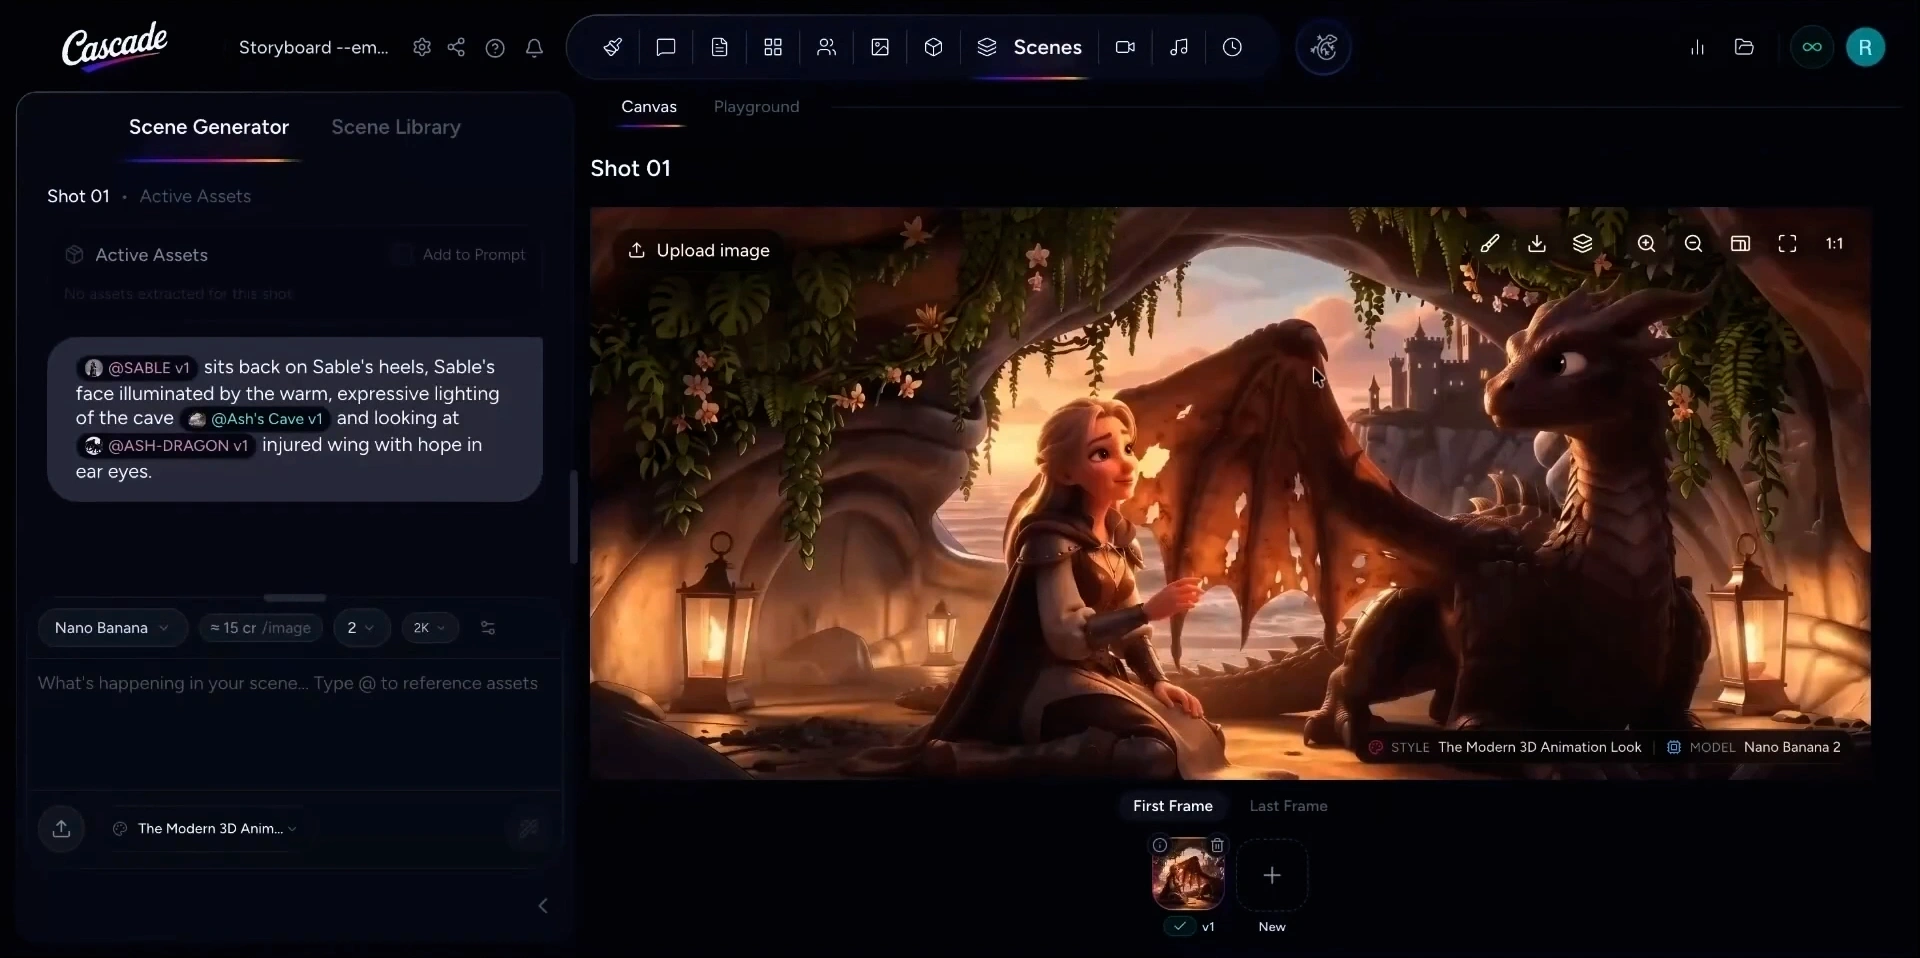
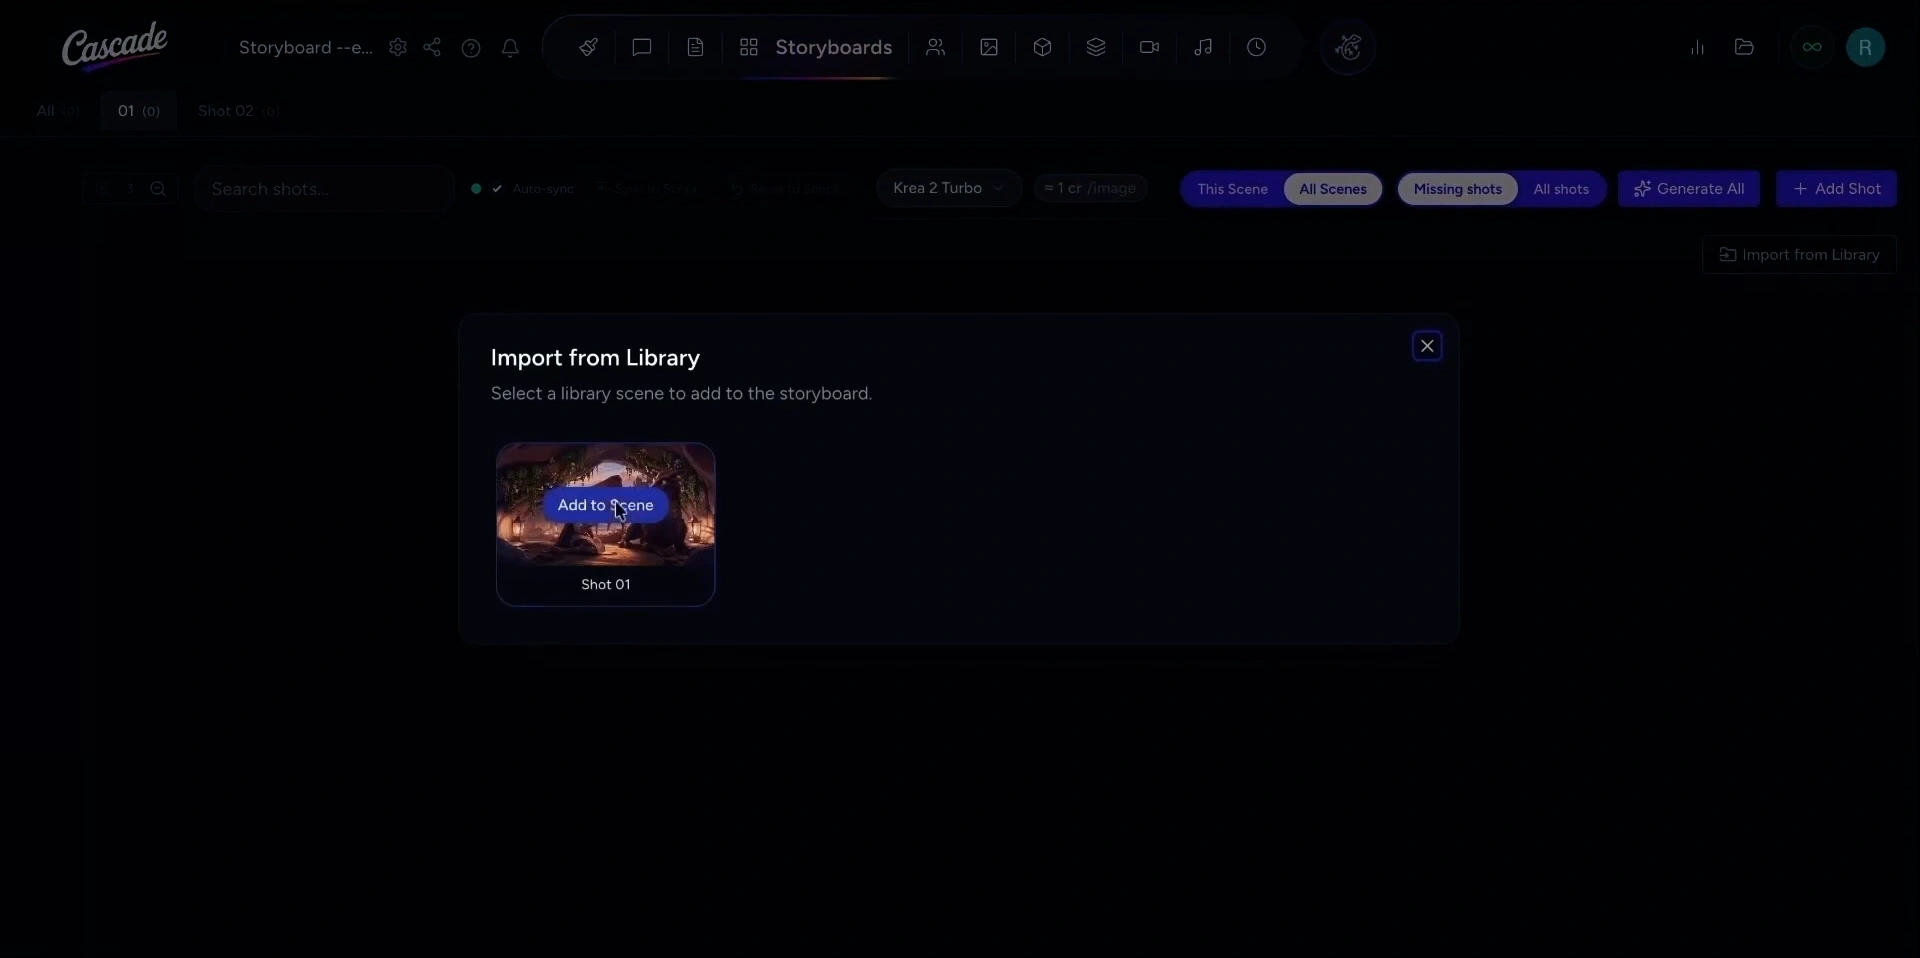
Then return to the Storyboard view. Click Import from Library and select the newly generated shot to add it to your storyboard page.
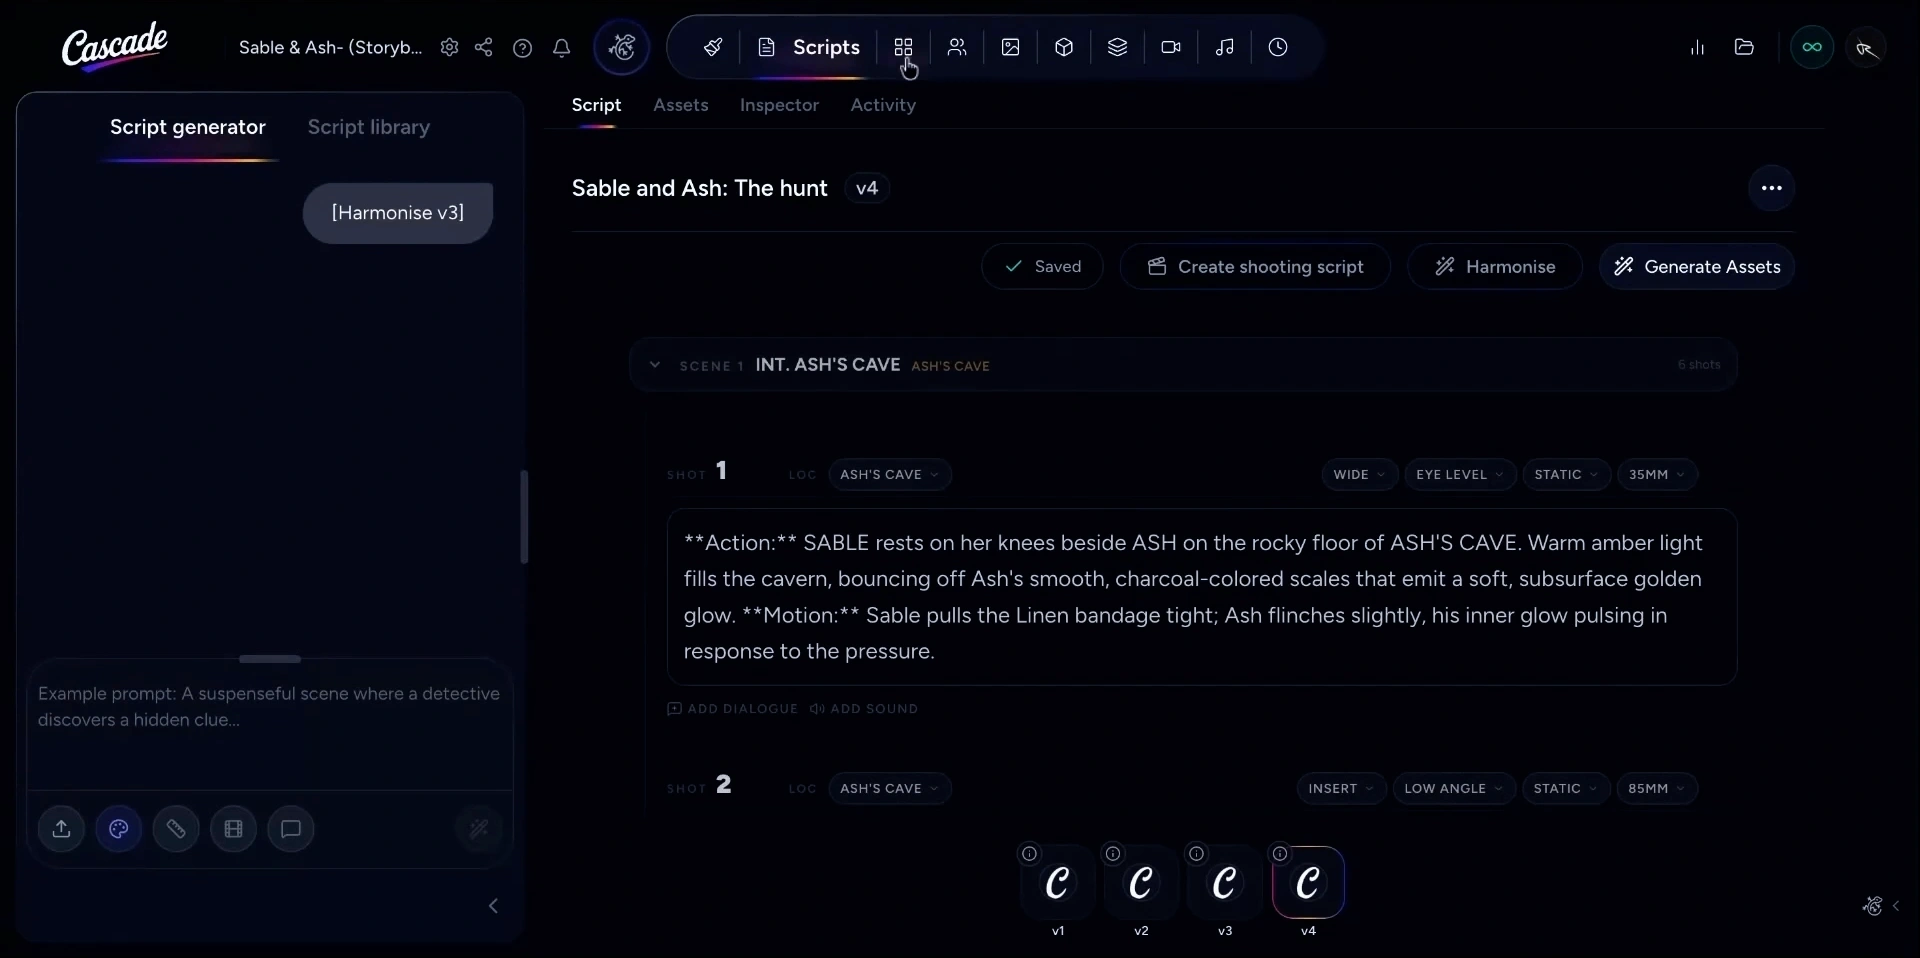
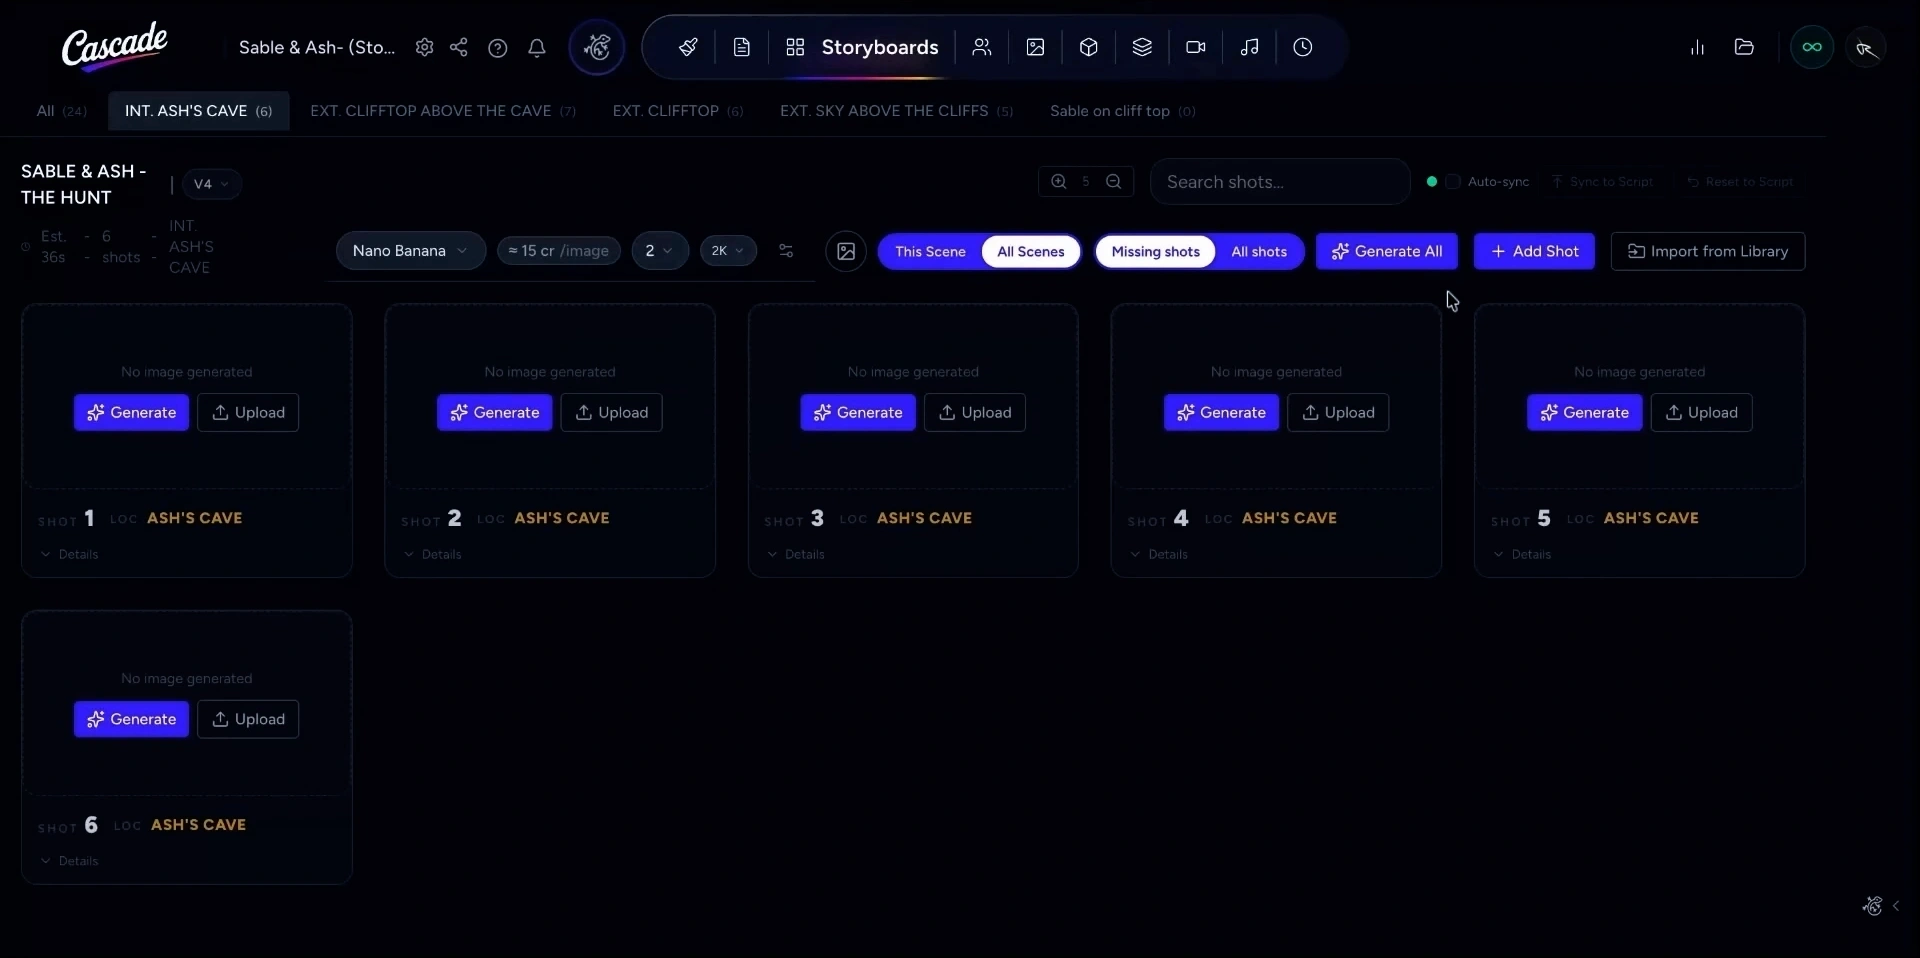
If you already have a script imported into Cascade, you can generate shots for all scenes at once. On the storyboard page, you will see your scenes with all their shots organized in separate tabs.
In the Storyboard page, to generate all shots, you can choose your preferred model version and resolution. Click the Generate All button to generate shots for every scene.
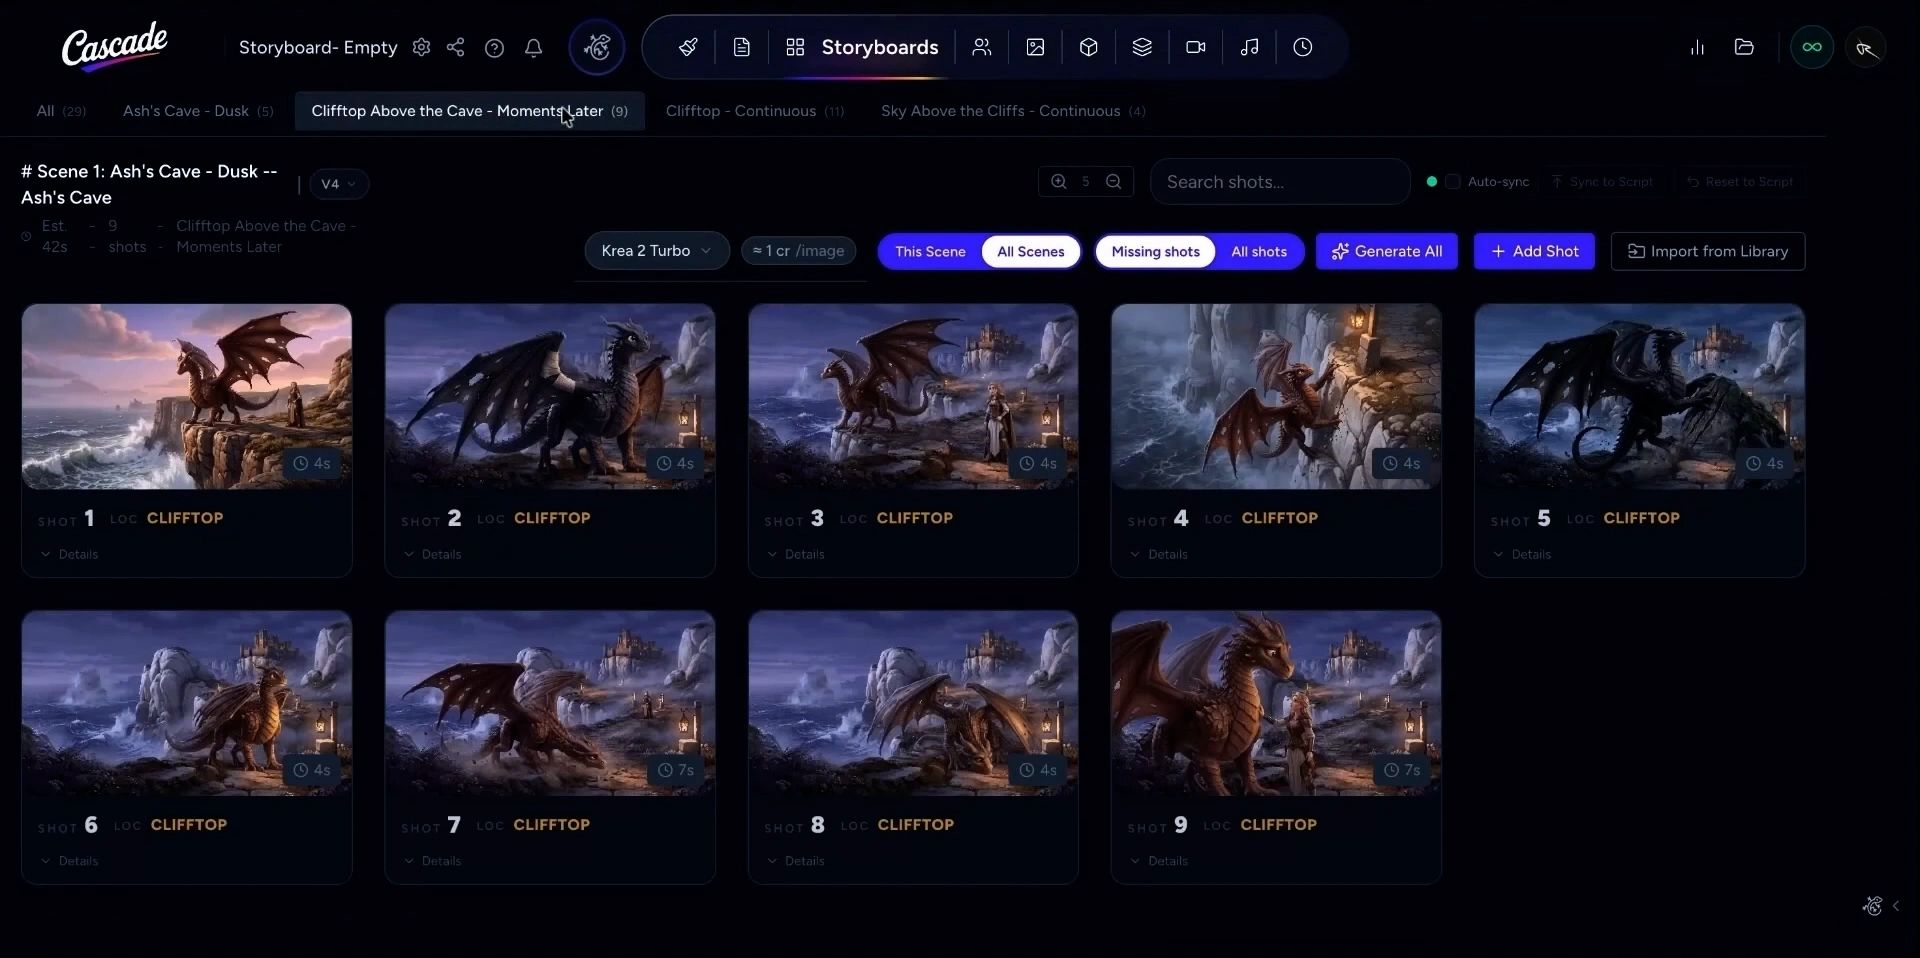
If you want to tweak your script by adding new shots, you can insert additional shots into the existing storyboard.
You can click to add a new shot. You will see three options:
Here’s how to write a new shot with a prompt. Click to add a description, then type your prompt for the shot.
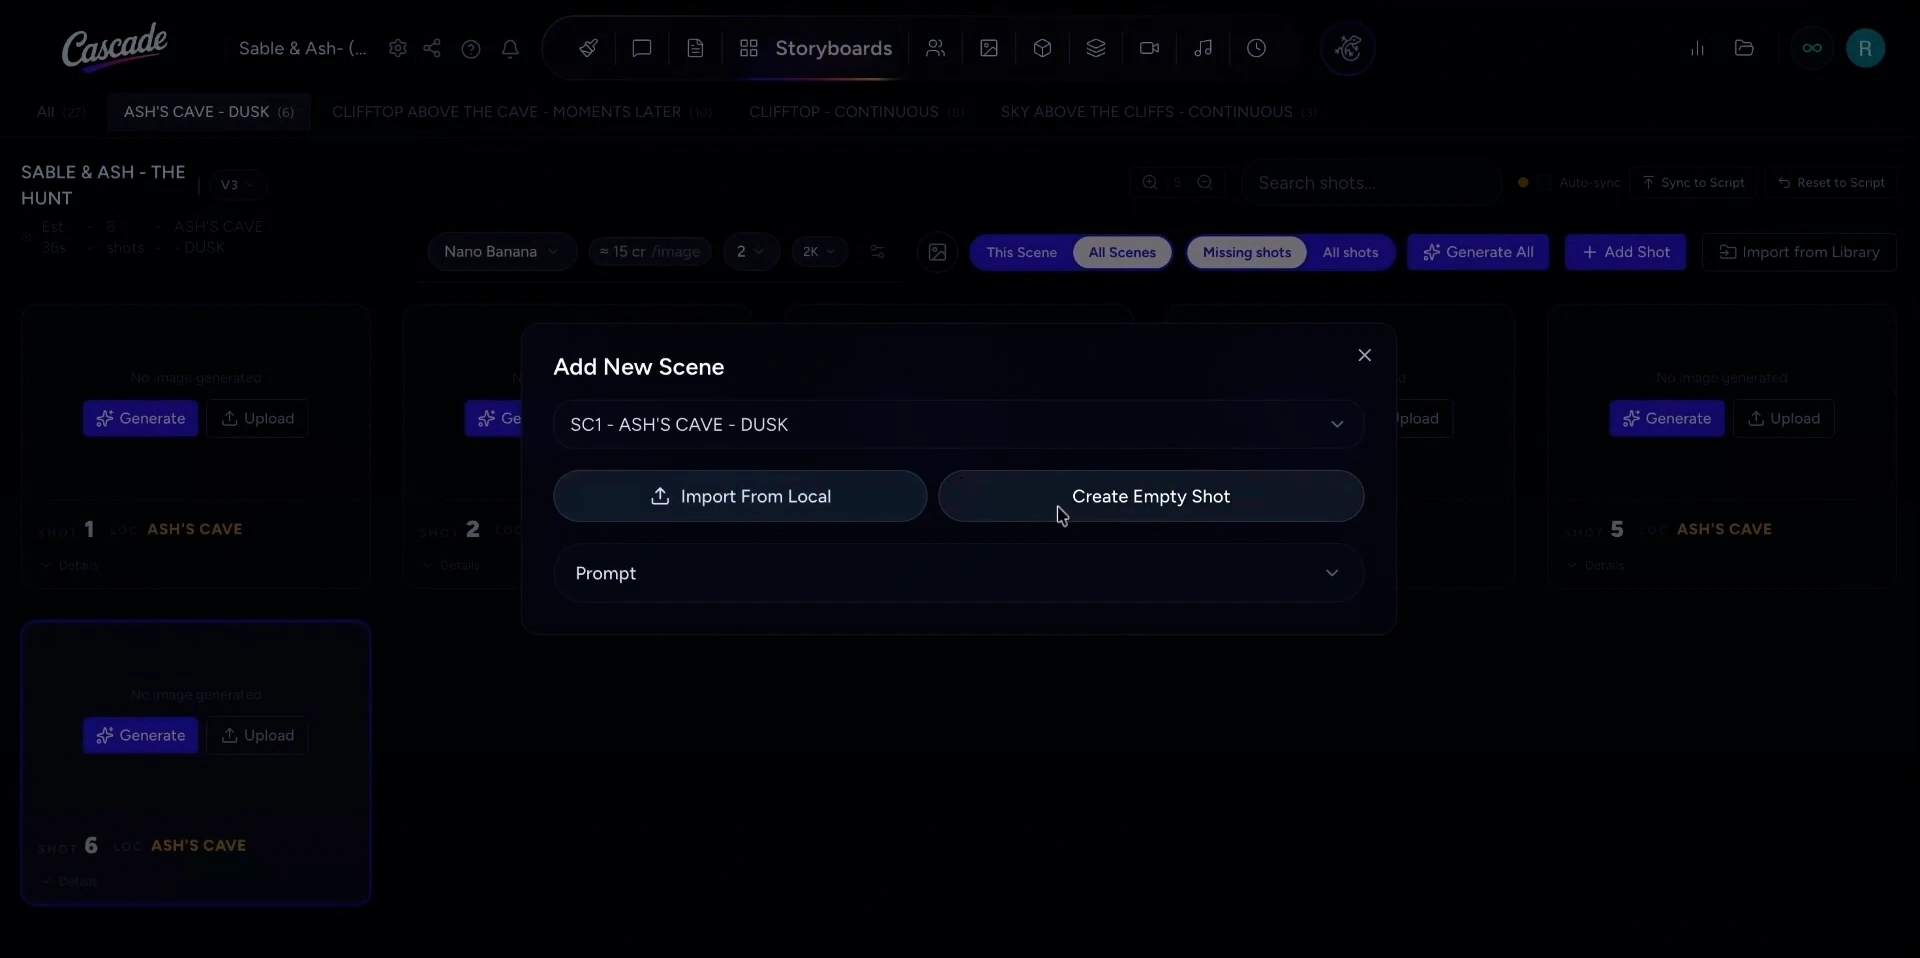
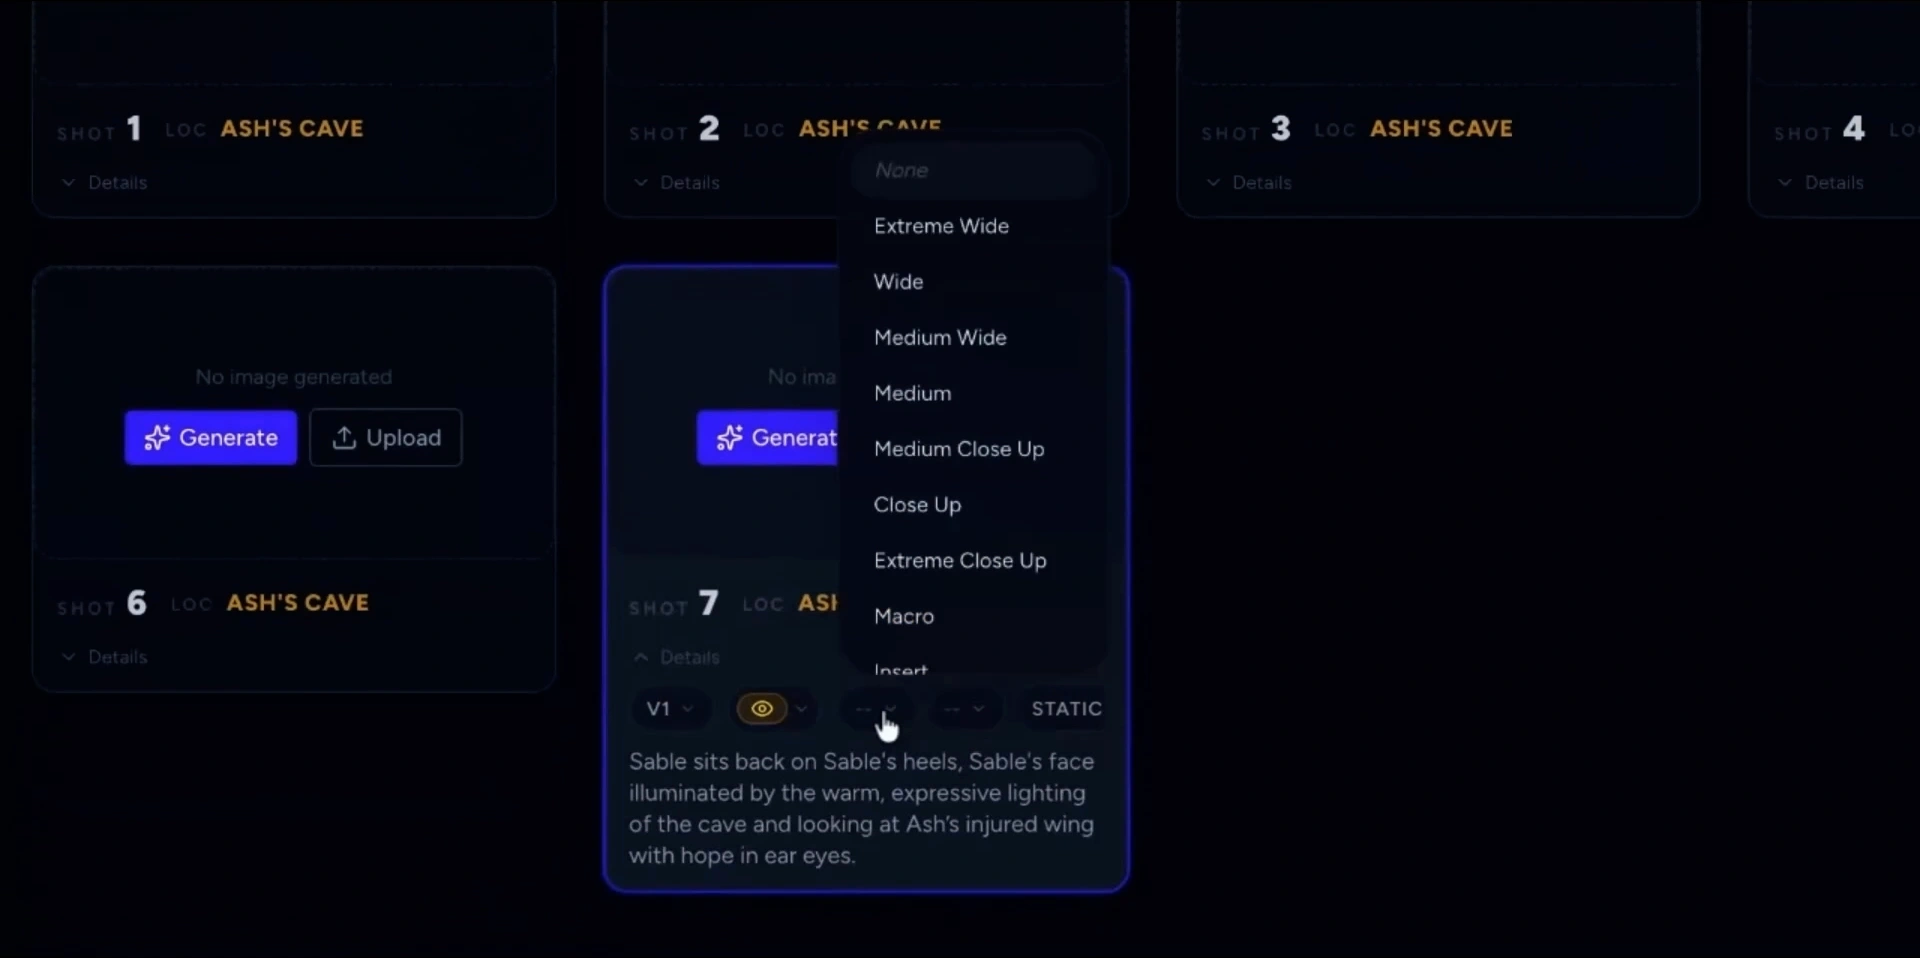
You will then see your new shot in your storyboard. You can then adjust visual parameters for the shot, including:
Adding or modifying shots may put your storyboard out of sync with the script. Use the sync tools to keep them aligned. To resync your script with the current storyboard, click the Sync to Script button. Your script will automatically update to match the shots on the storyboard.
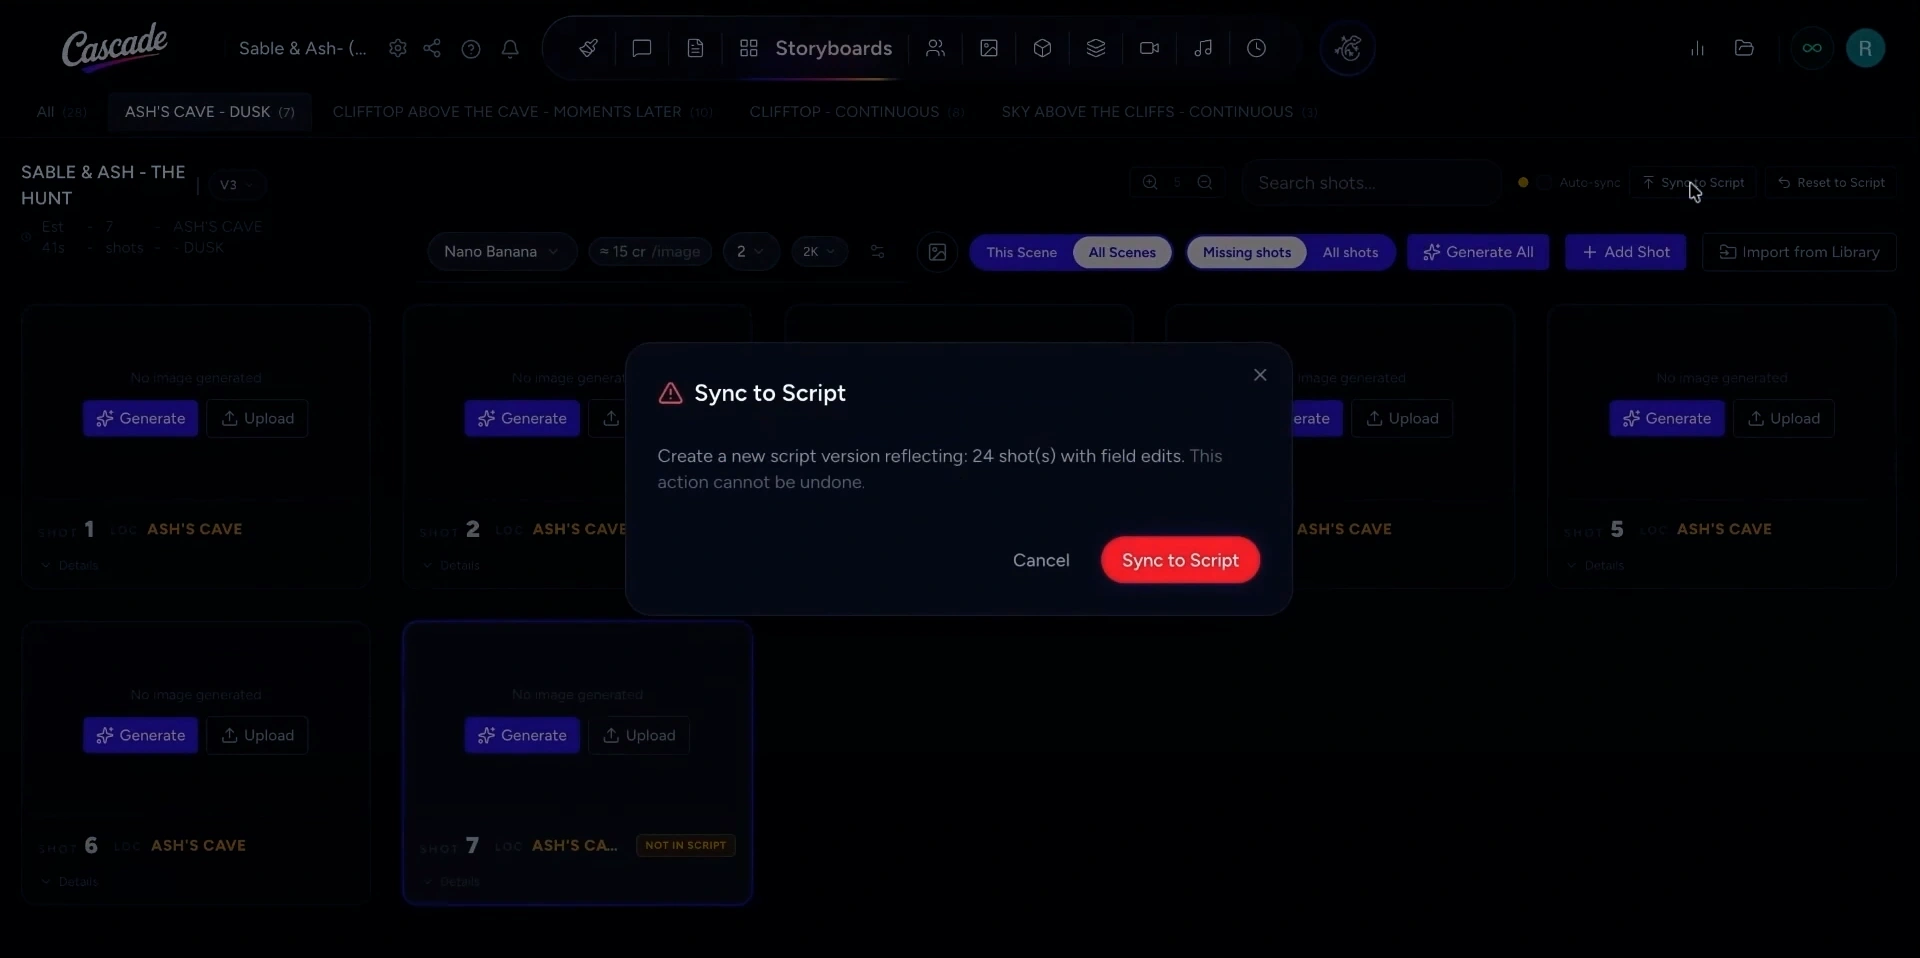
If you want to revert back to the original script, click Reset to Script. You will notice the shot’s name revert back to its original title.