.webp)
How to create, refine, and manage Props in Cascade, from scratch, using prompts or reference images.
This is the Props Library, where all the props you create will be stored. To add a new prop, click Add New. When you do this, you will see three options.
You can either:
For this tutorial, select the option to create a prop from scratch. Enter a name for your prop, and when you’re ready, click Create Empty Prop.
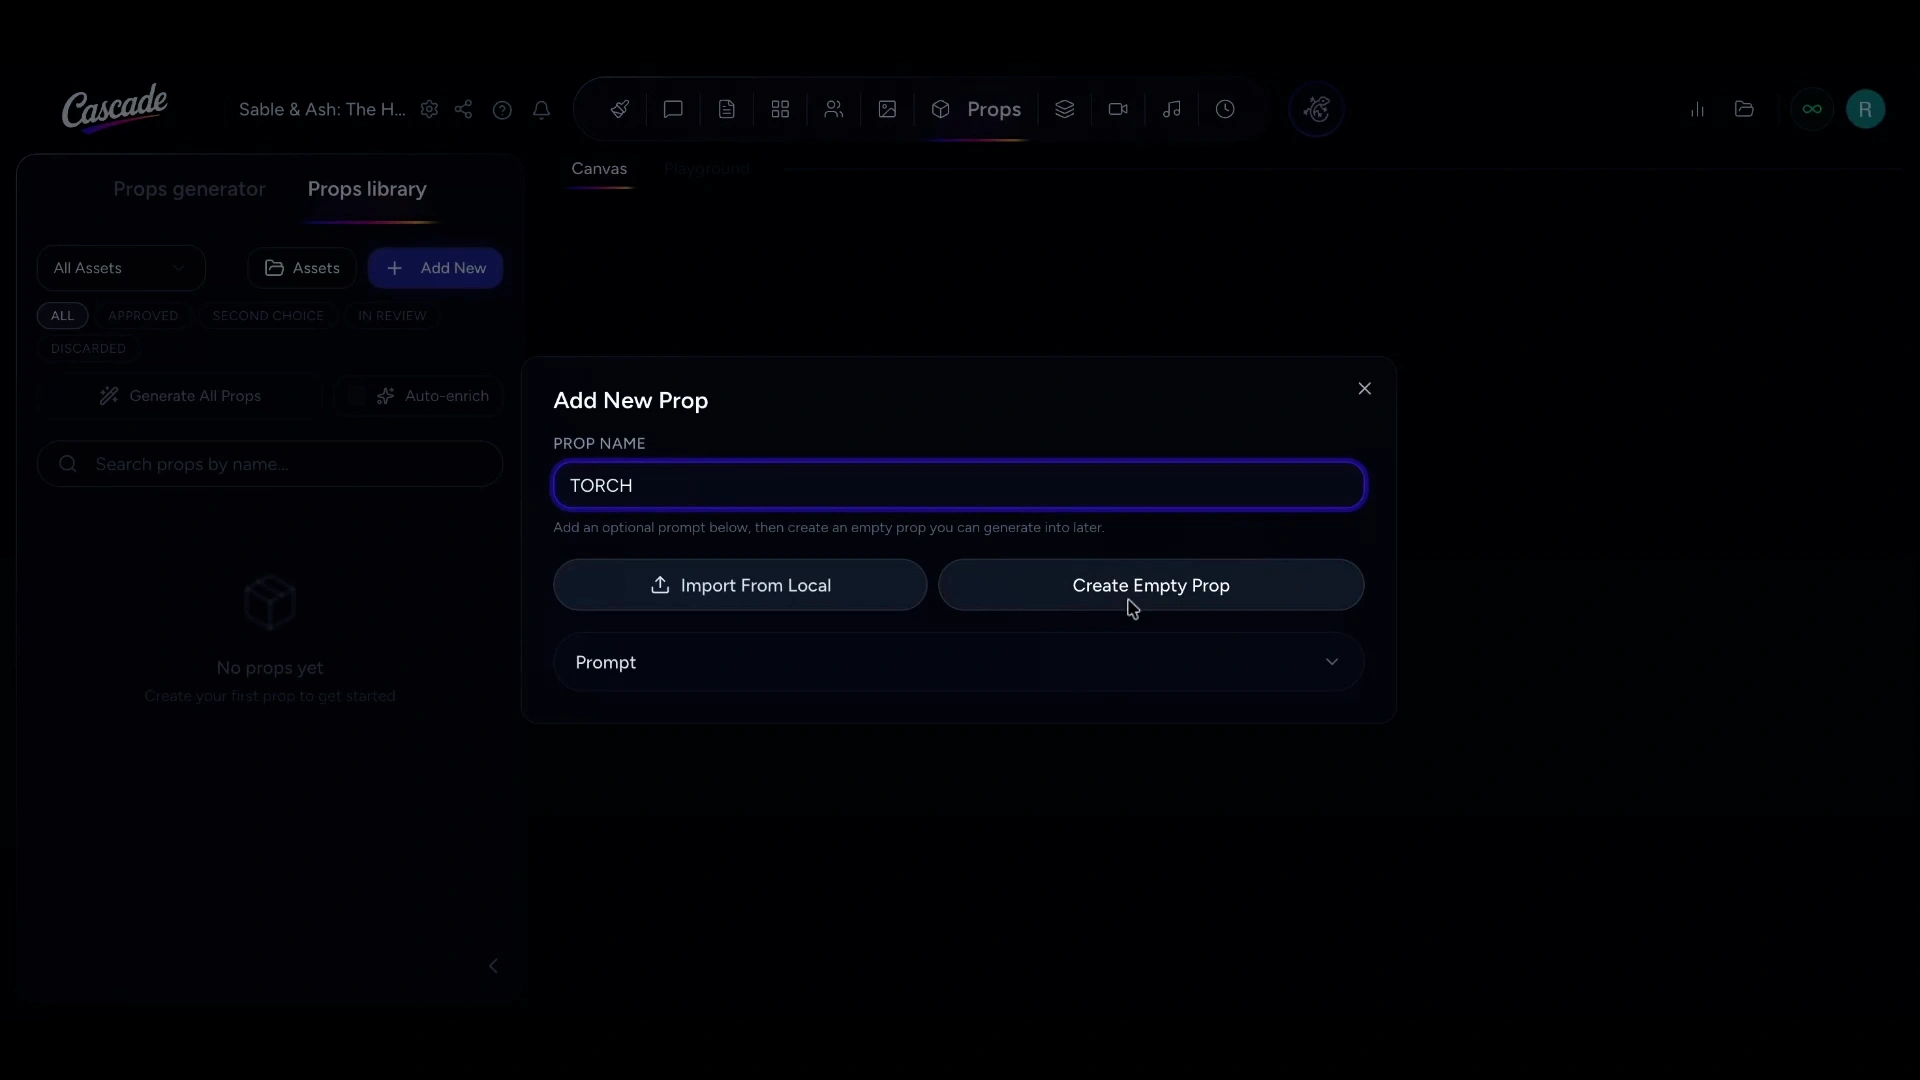
After creating the empty prop, open the Props Generator tab.
In the prompt box, write a description of the asset you want to create. To improve your prompt, click Enrich to expand it into a detailed, model-ready version.
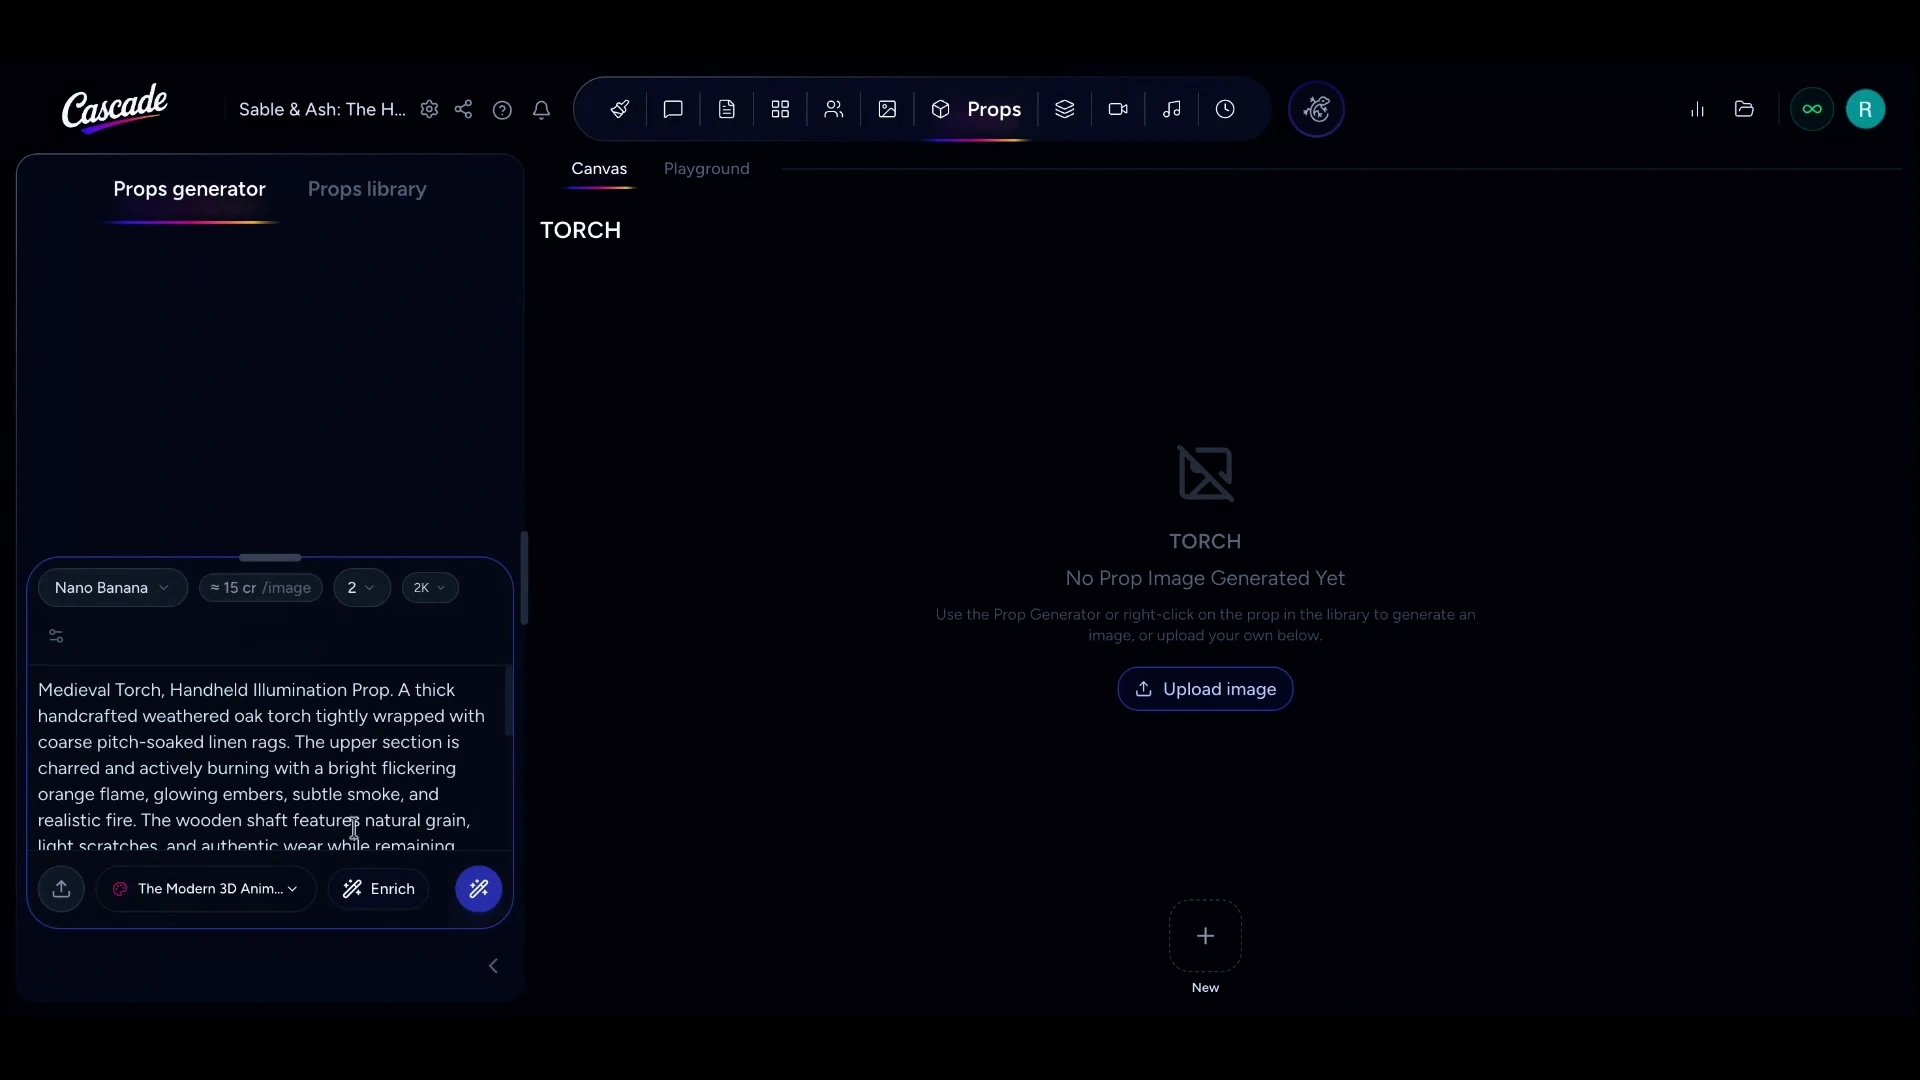
Next, select your preferred model, resolution, and style for the generation. When you are happy with your prompt and settings, click Generate to create the prop image.
Once the asset is generated, you can zoom in on the canvas to closely examine the result.
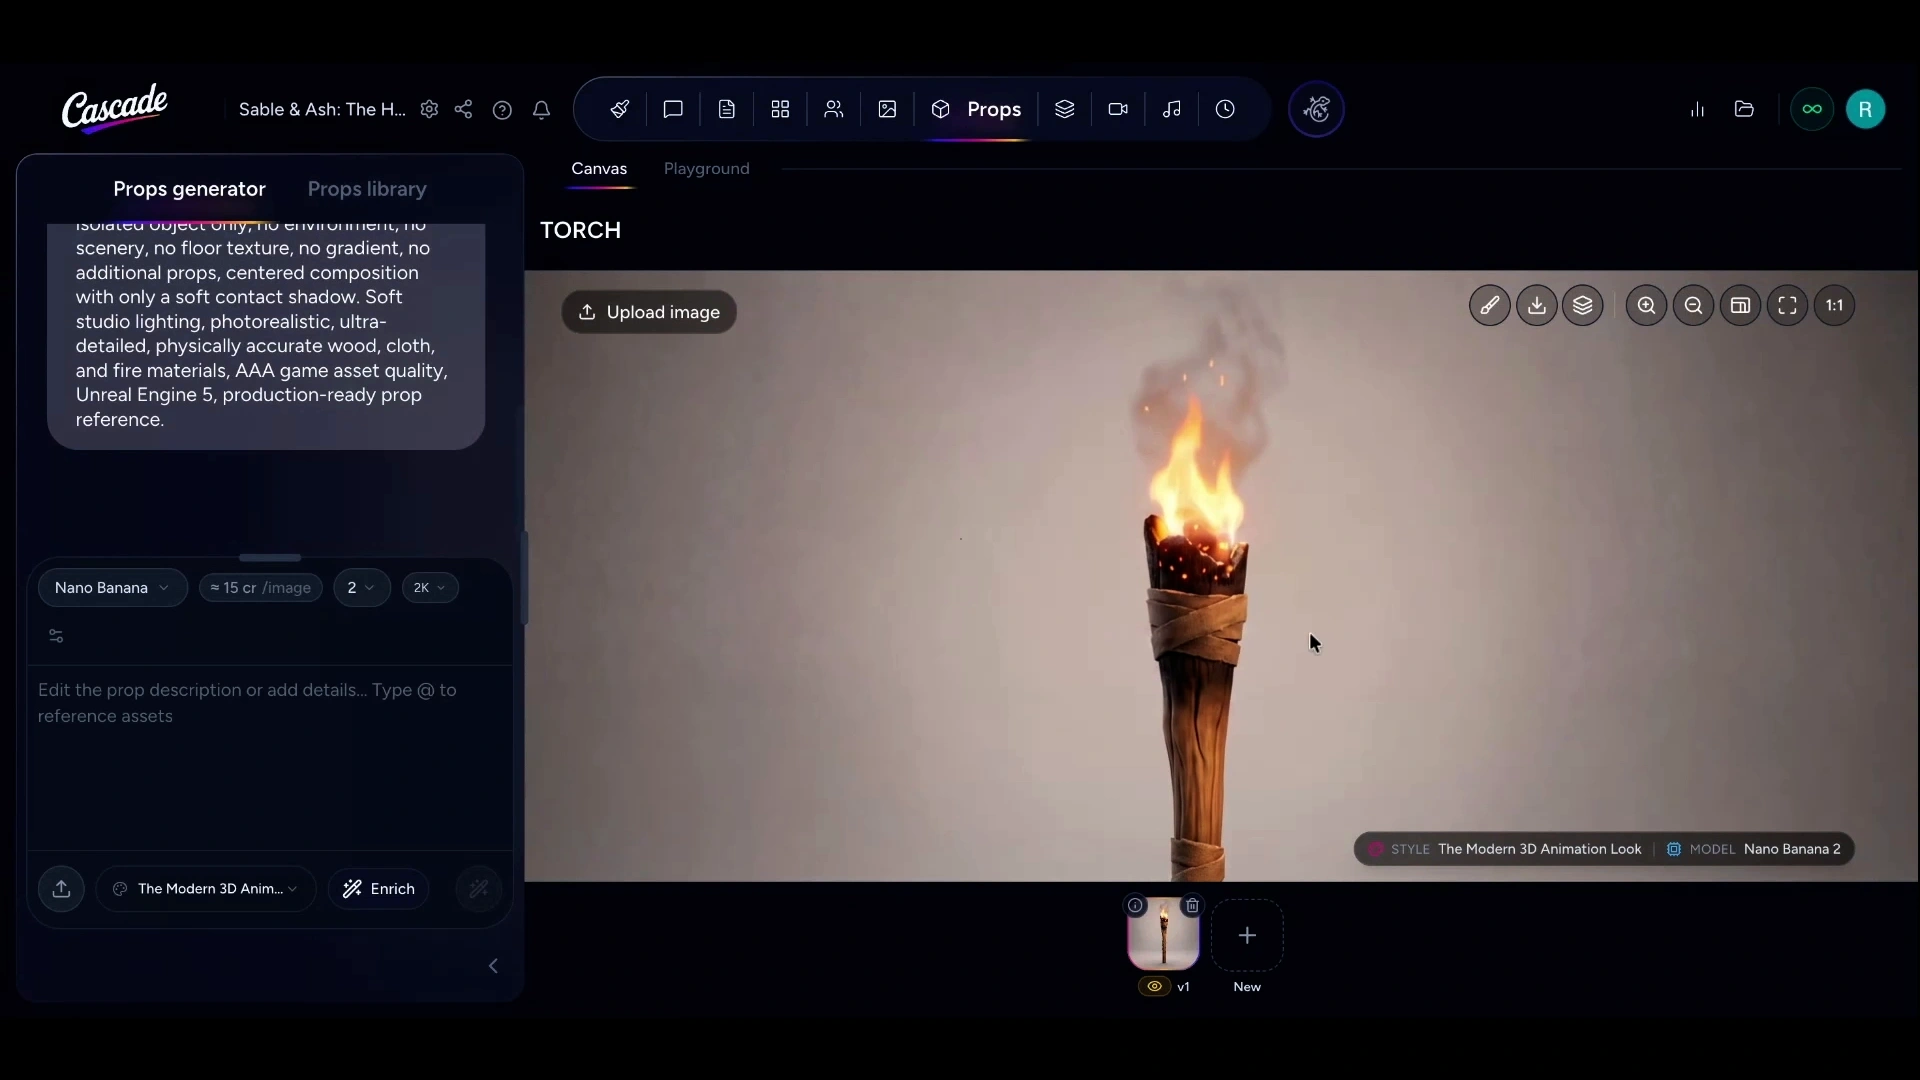
To refine your asset, add a new prompt in the prompt box describing the changes you want, then click Generate again. You will see the changes reflected on the prop in the canvas.
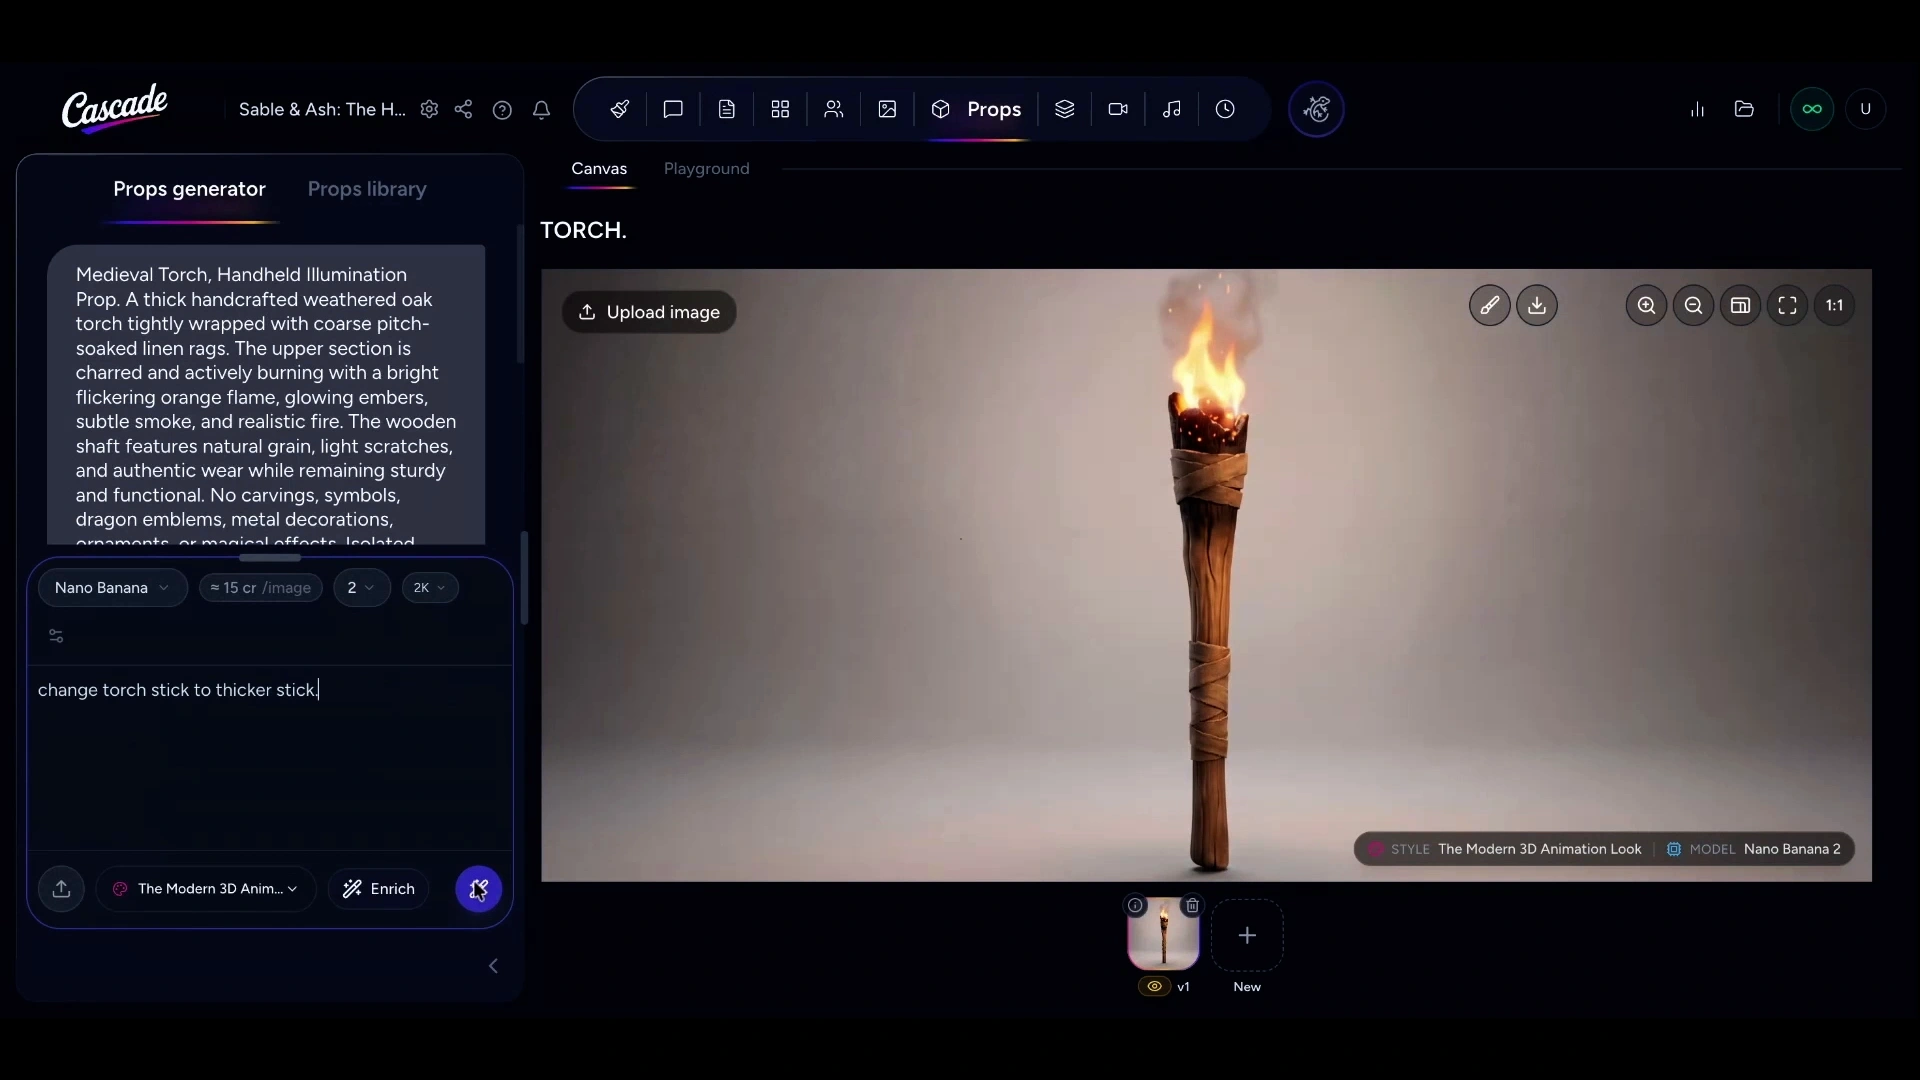
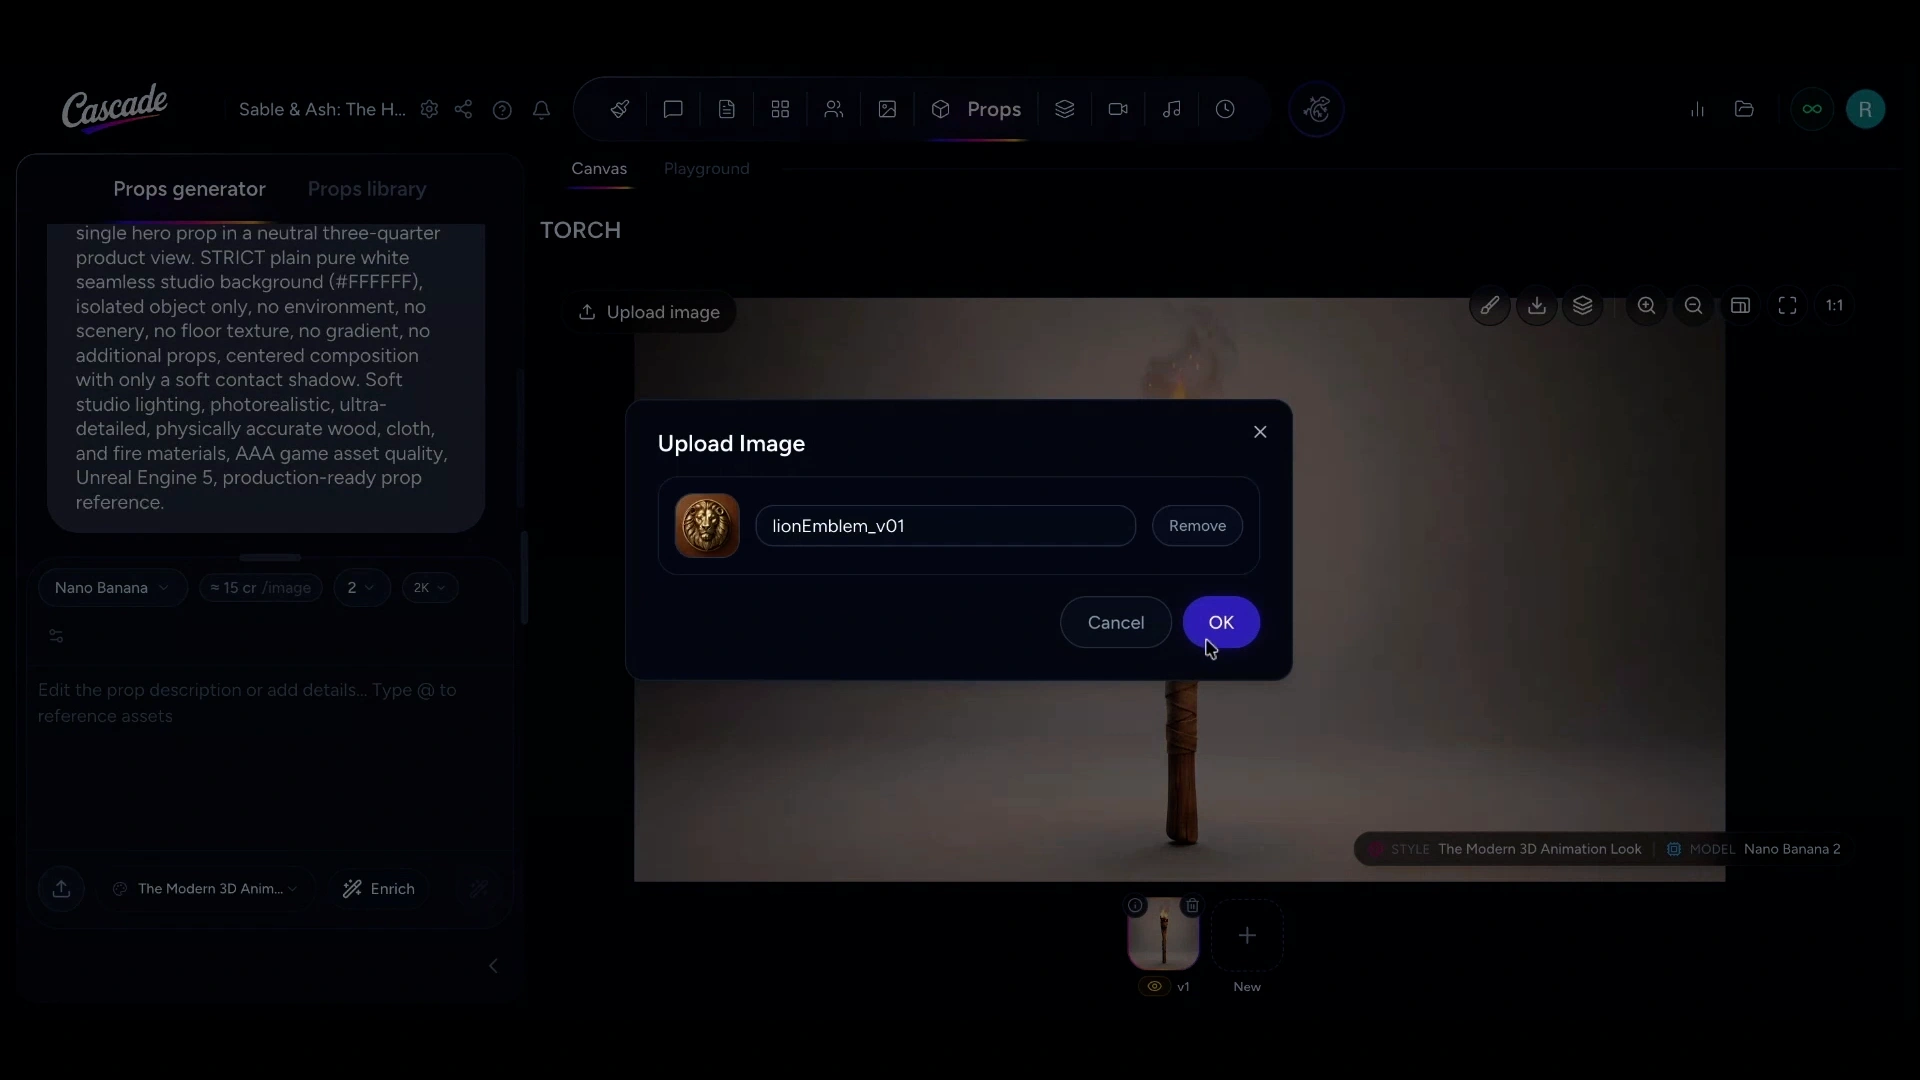
You can further refine your asset by adding a reference image. In the prompt box area, upload your chosen image by clicking the upload icon.
Then click OK to confirm and upload the image.
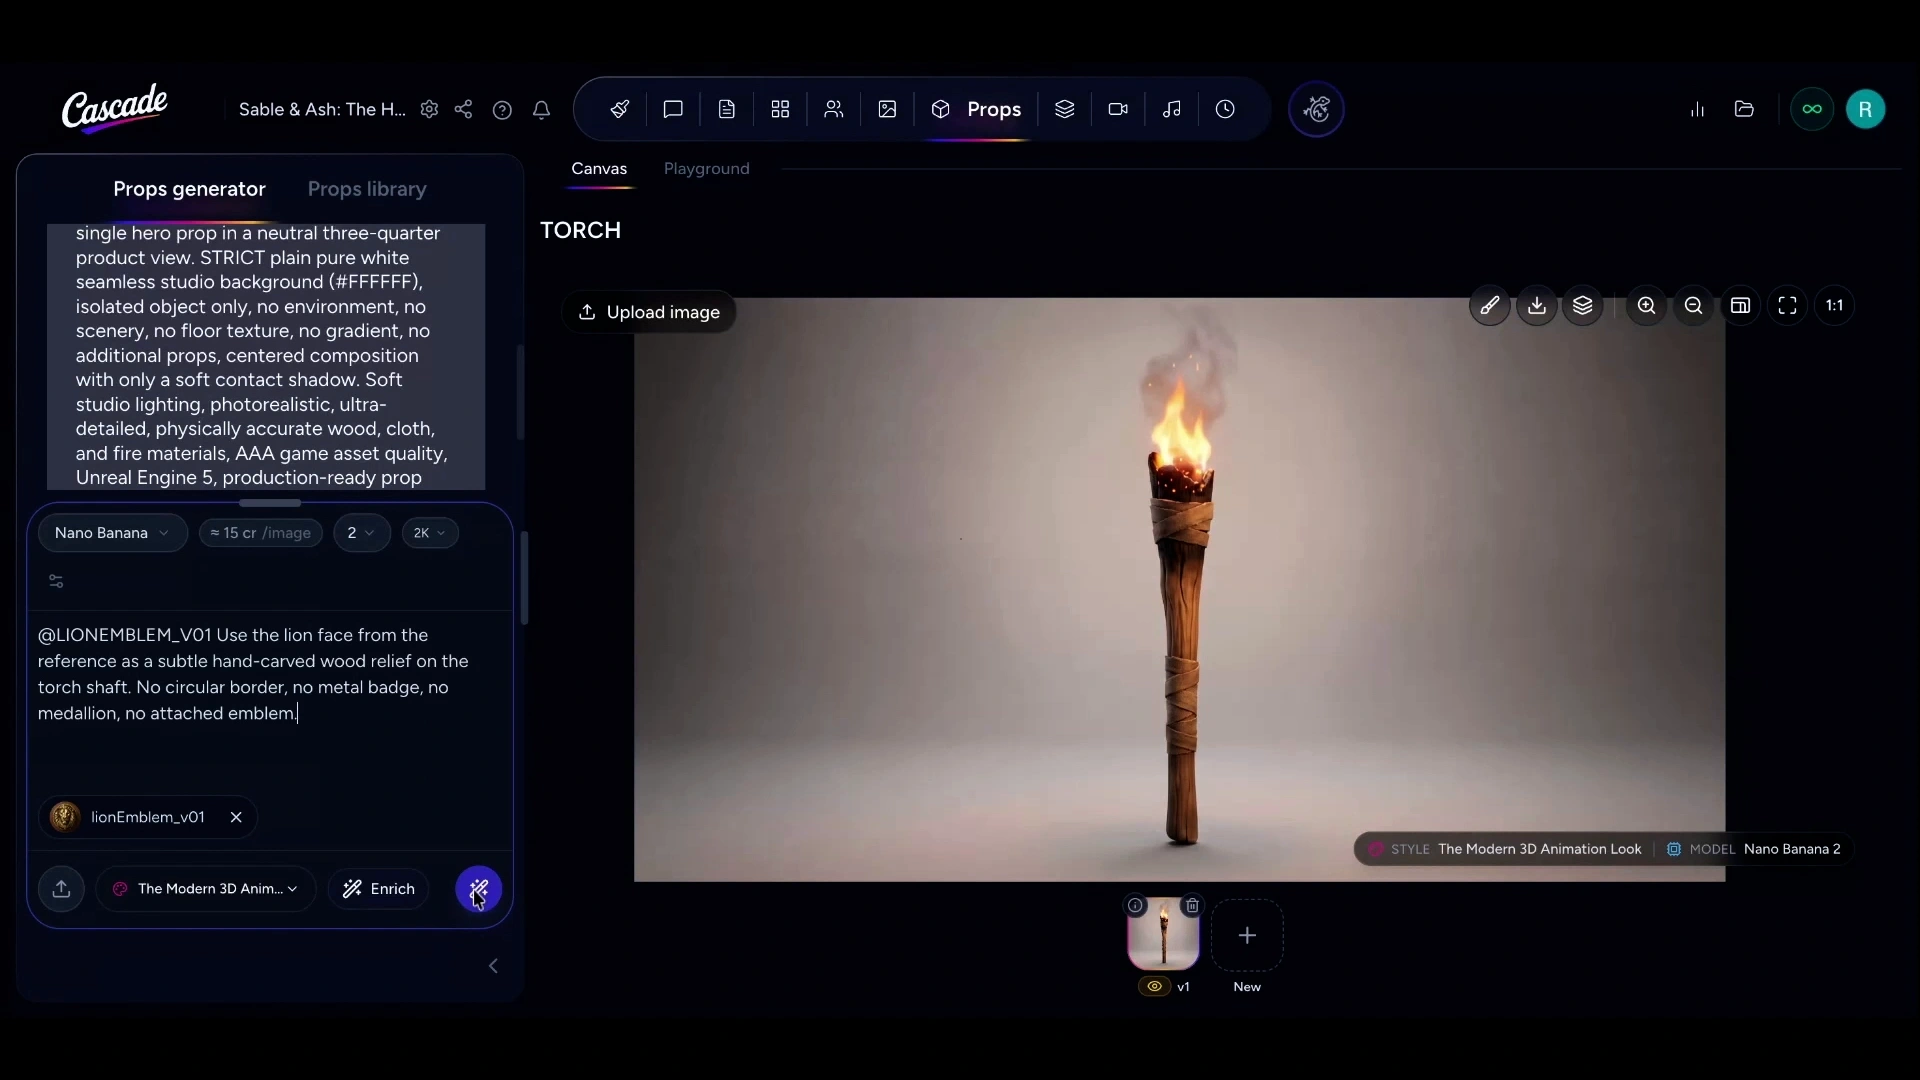
The uploaded image will now appear as a reference in the prompt box. You can then write a new prompt that incorporates this reference image and generate a new version of your prop.
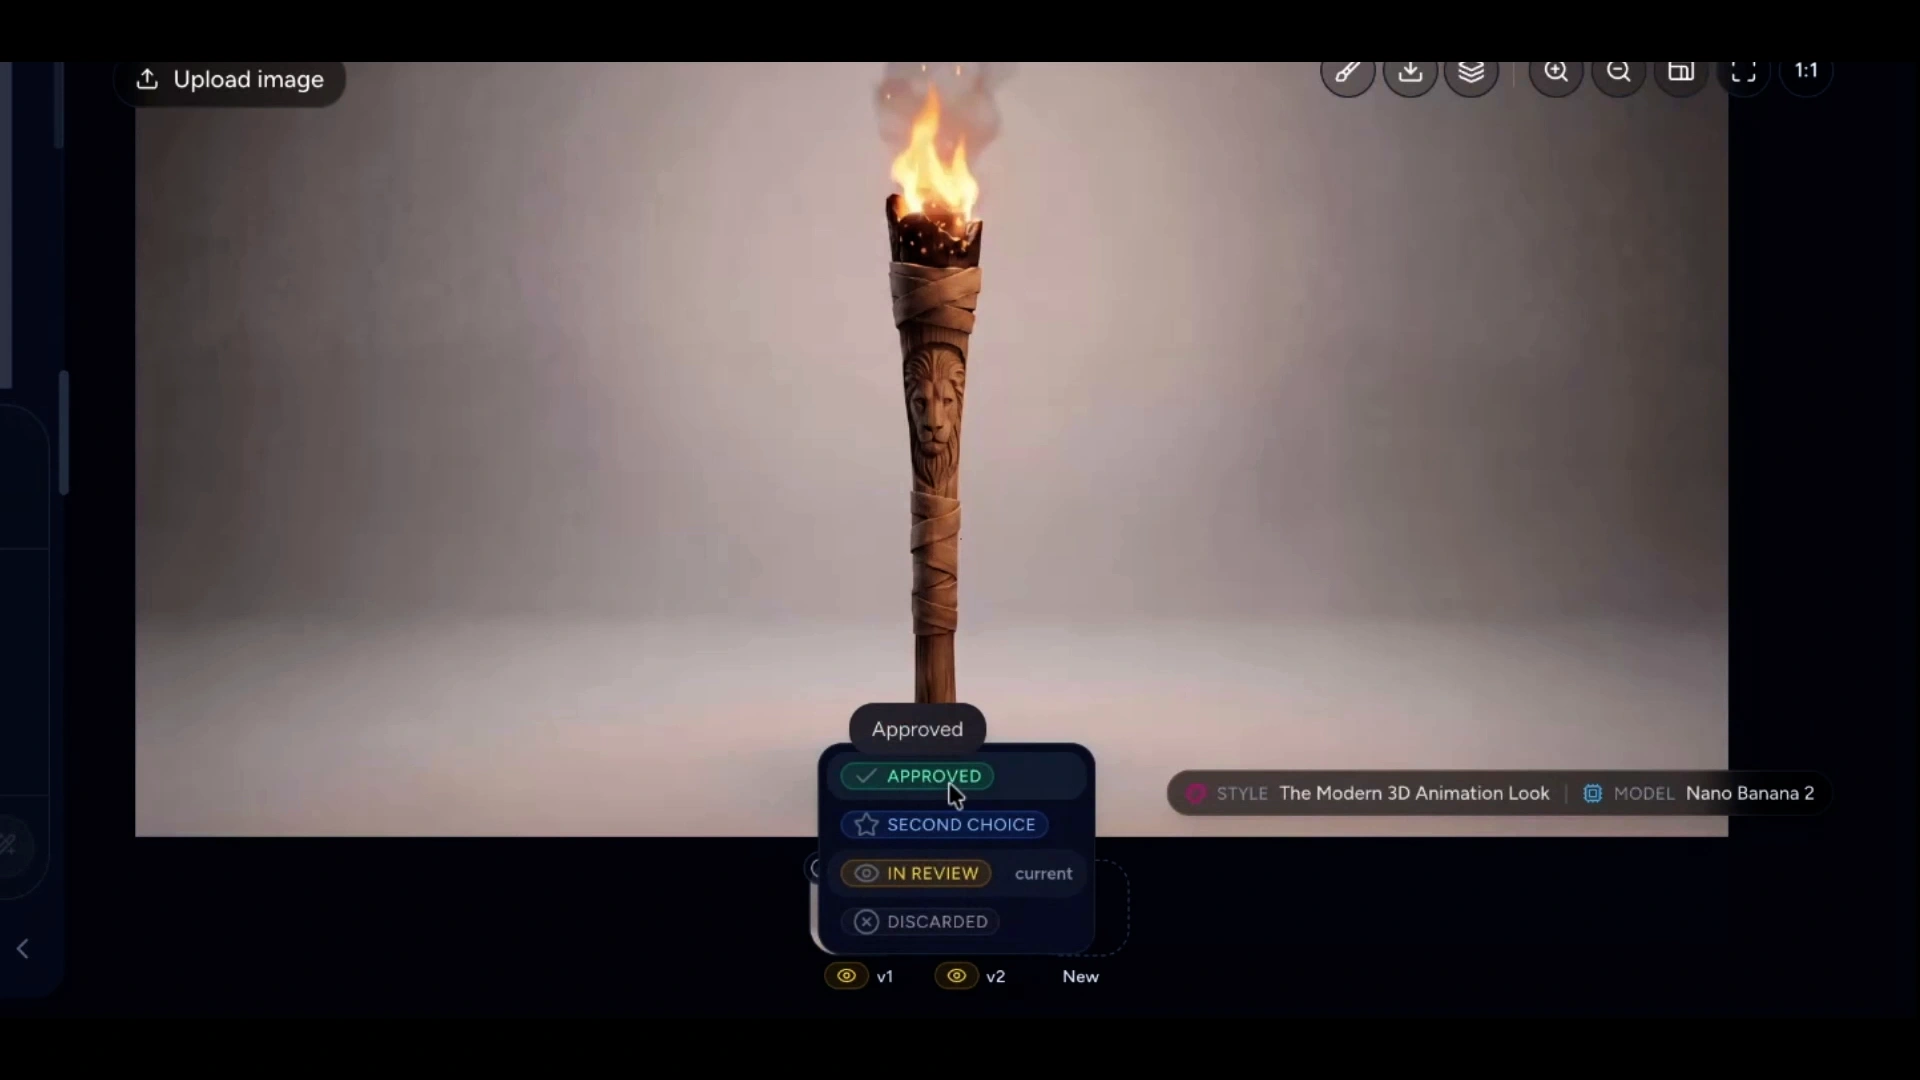
A new prop version will be created. Zoom in on the canvas to examine your refined asset.
After reviewing the latest version of your prop, you have several options:
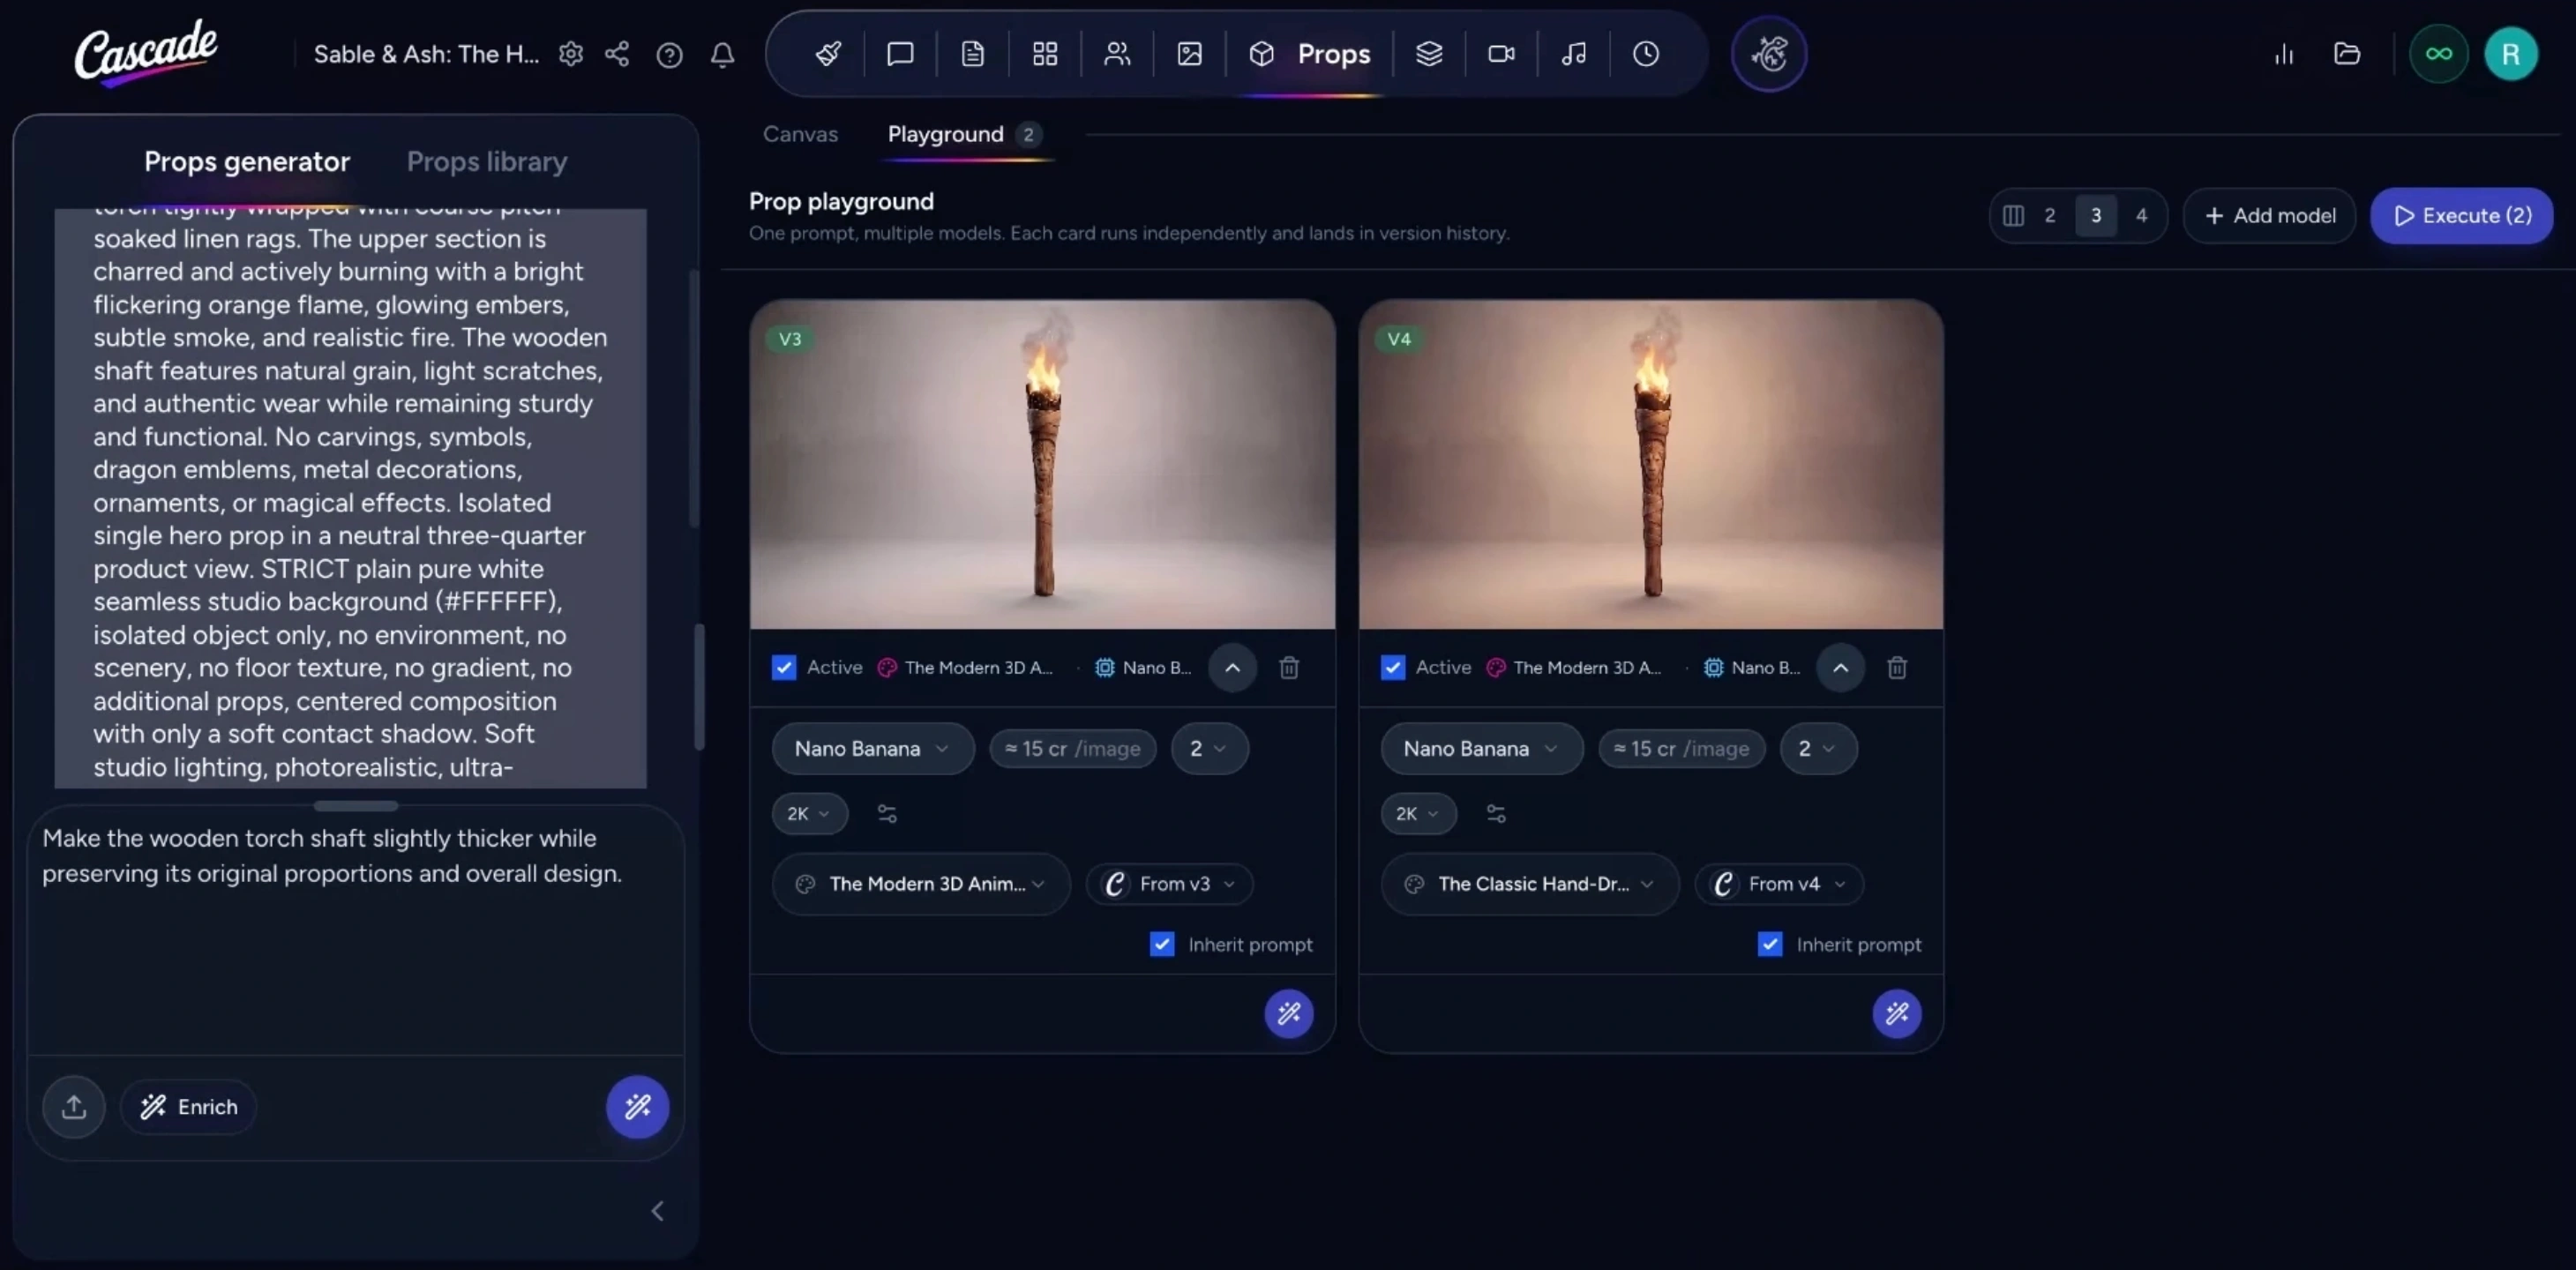
Cascade includes a feature called the Playground, where you can run multiple generations from a single prompt to test different models, resolutions, and styles simultaneously.
To get started with the Playground, click Add Your First Model.
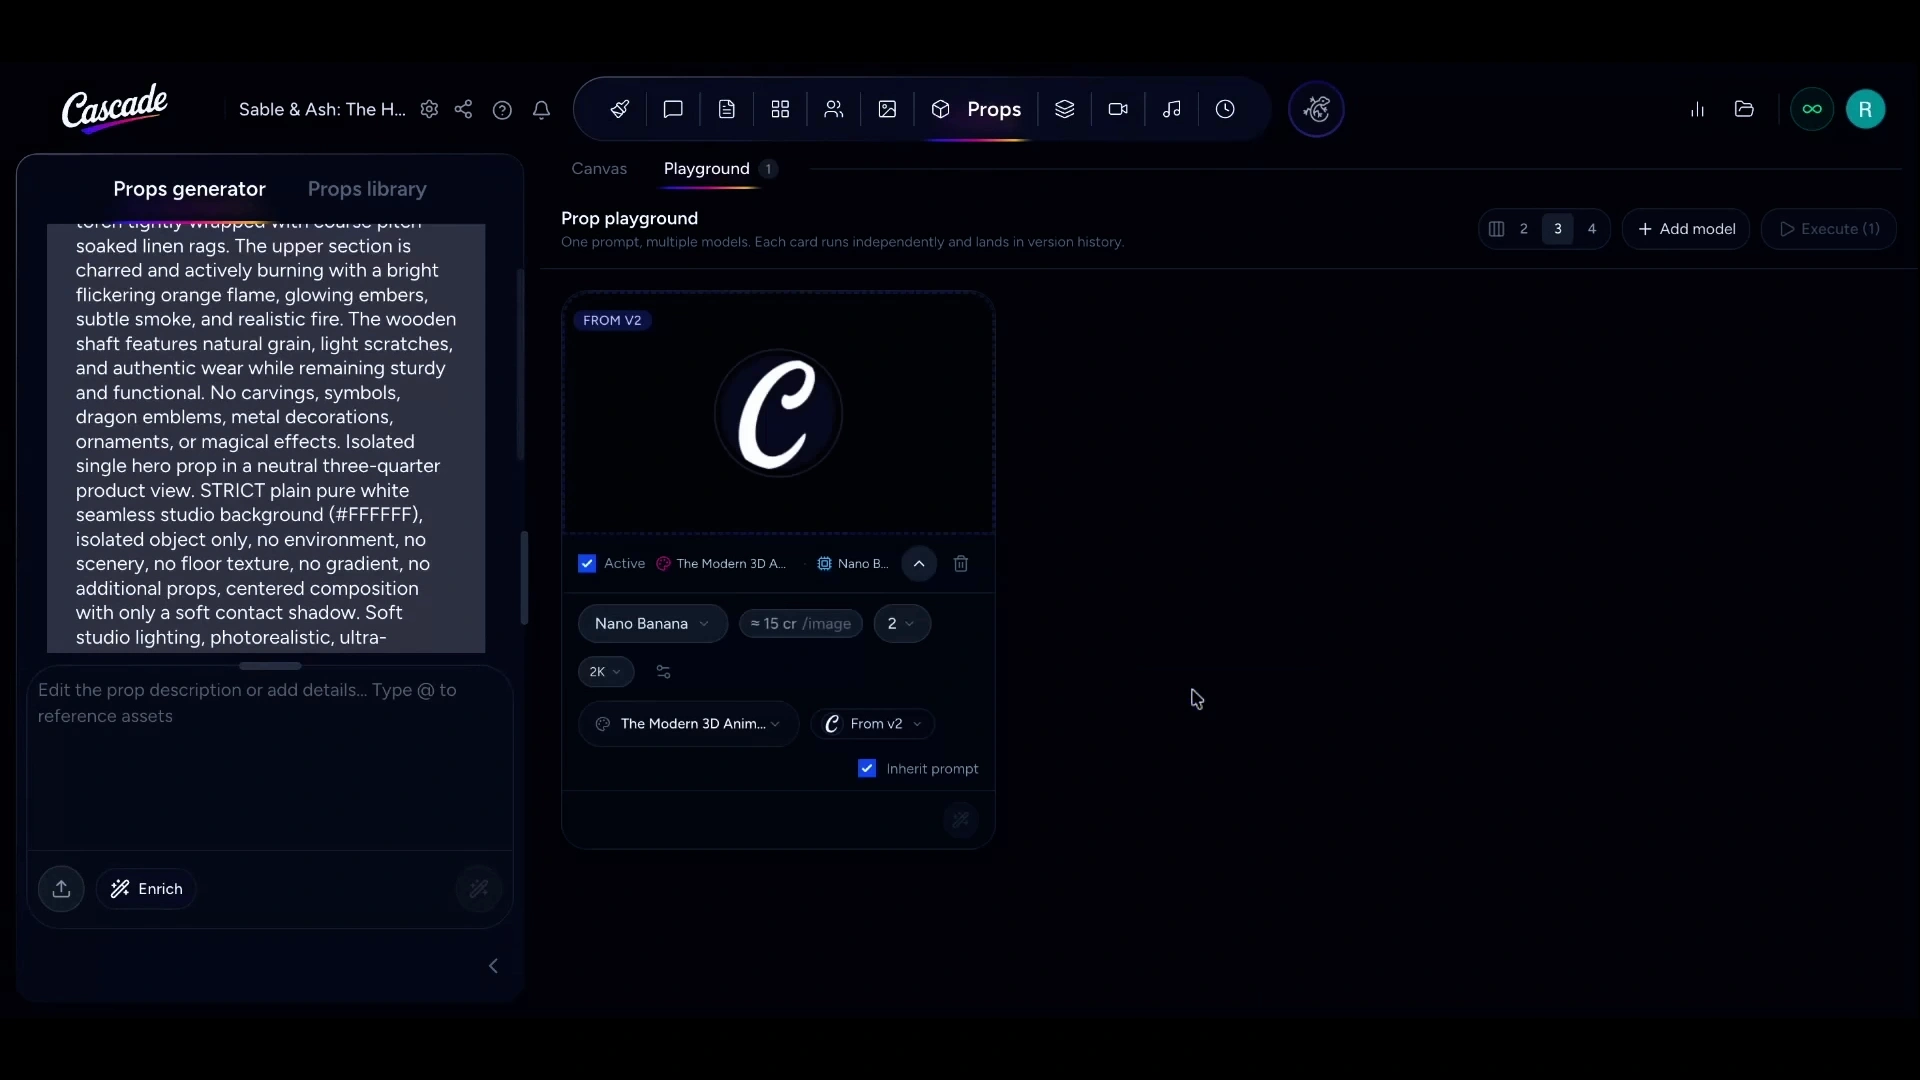
Here you can choose:
To compare more options, click Add Model to create another card.
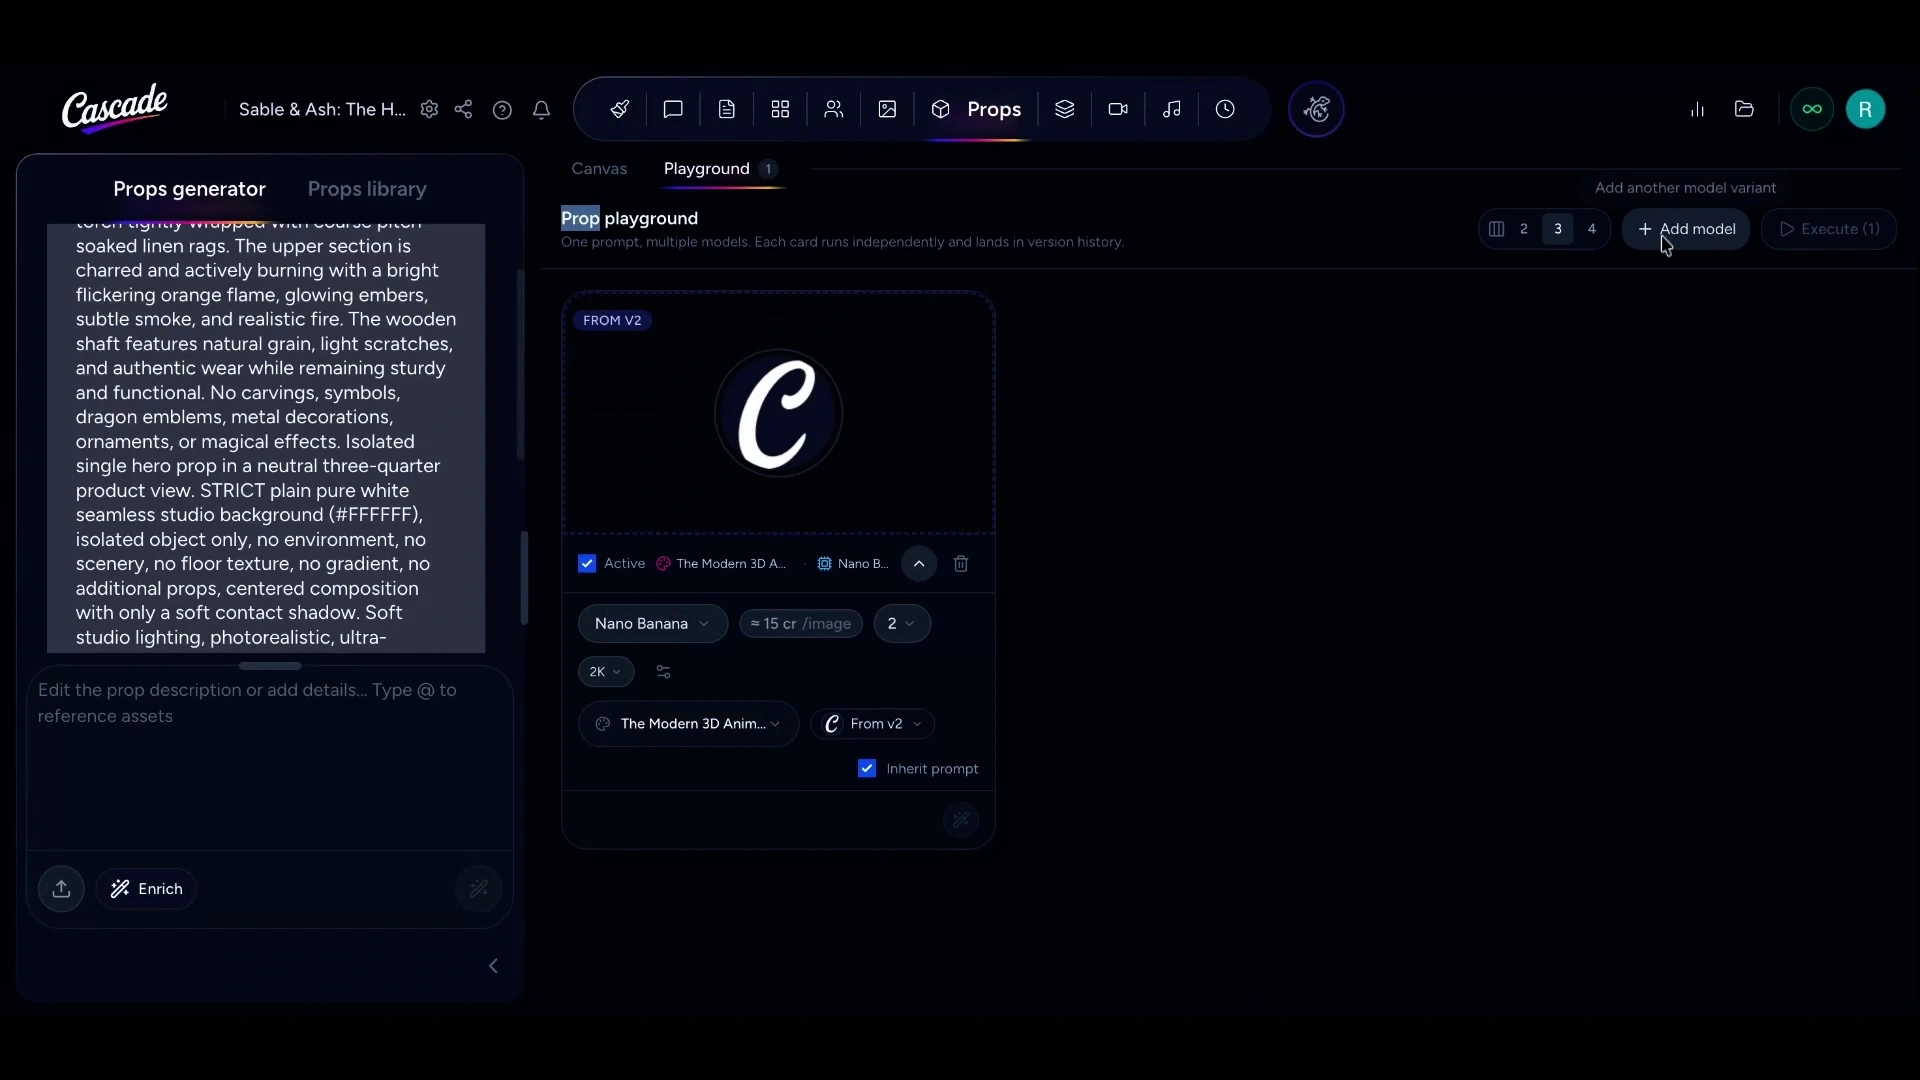
In the new card, select a different model, style, or resolution so you can compare outputs side by side.
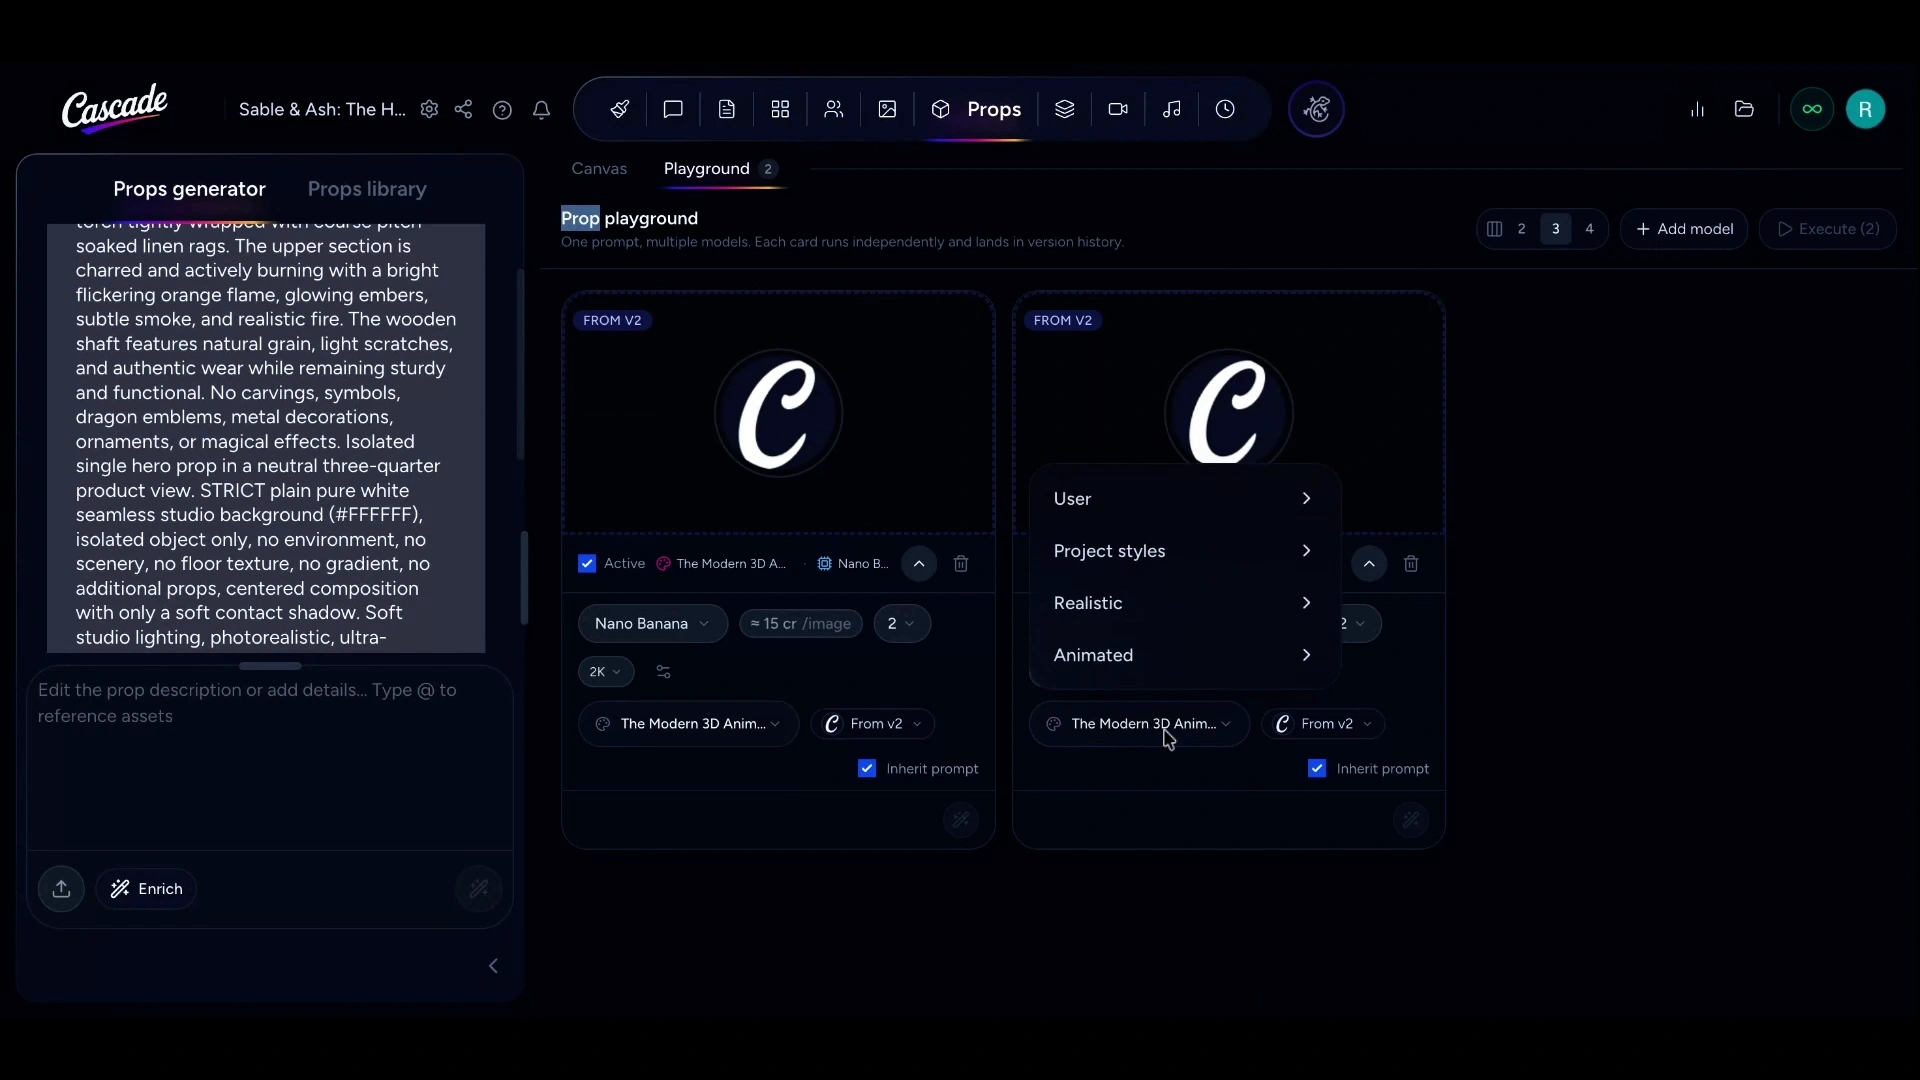
Then go to the Props Generator, enter a prompt, and create an independent generation for each active card. When ready, click Execute to run all cards in parallel.
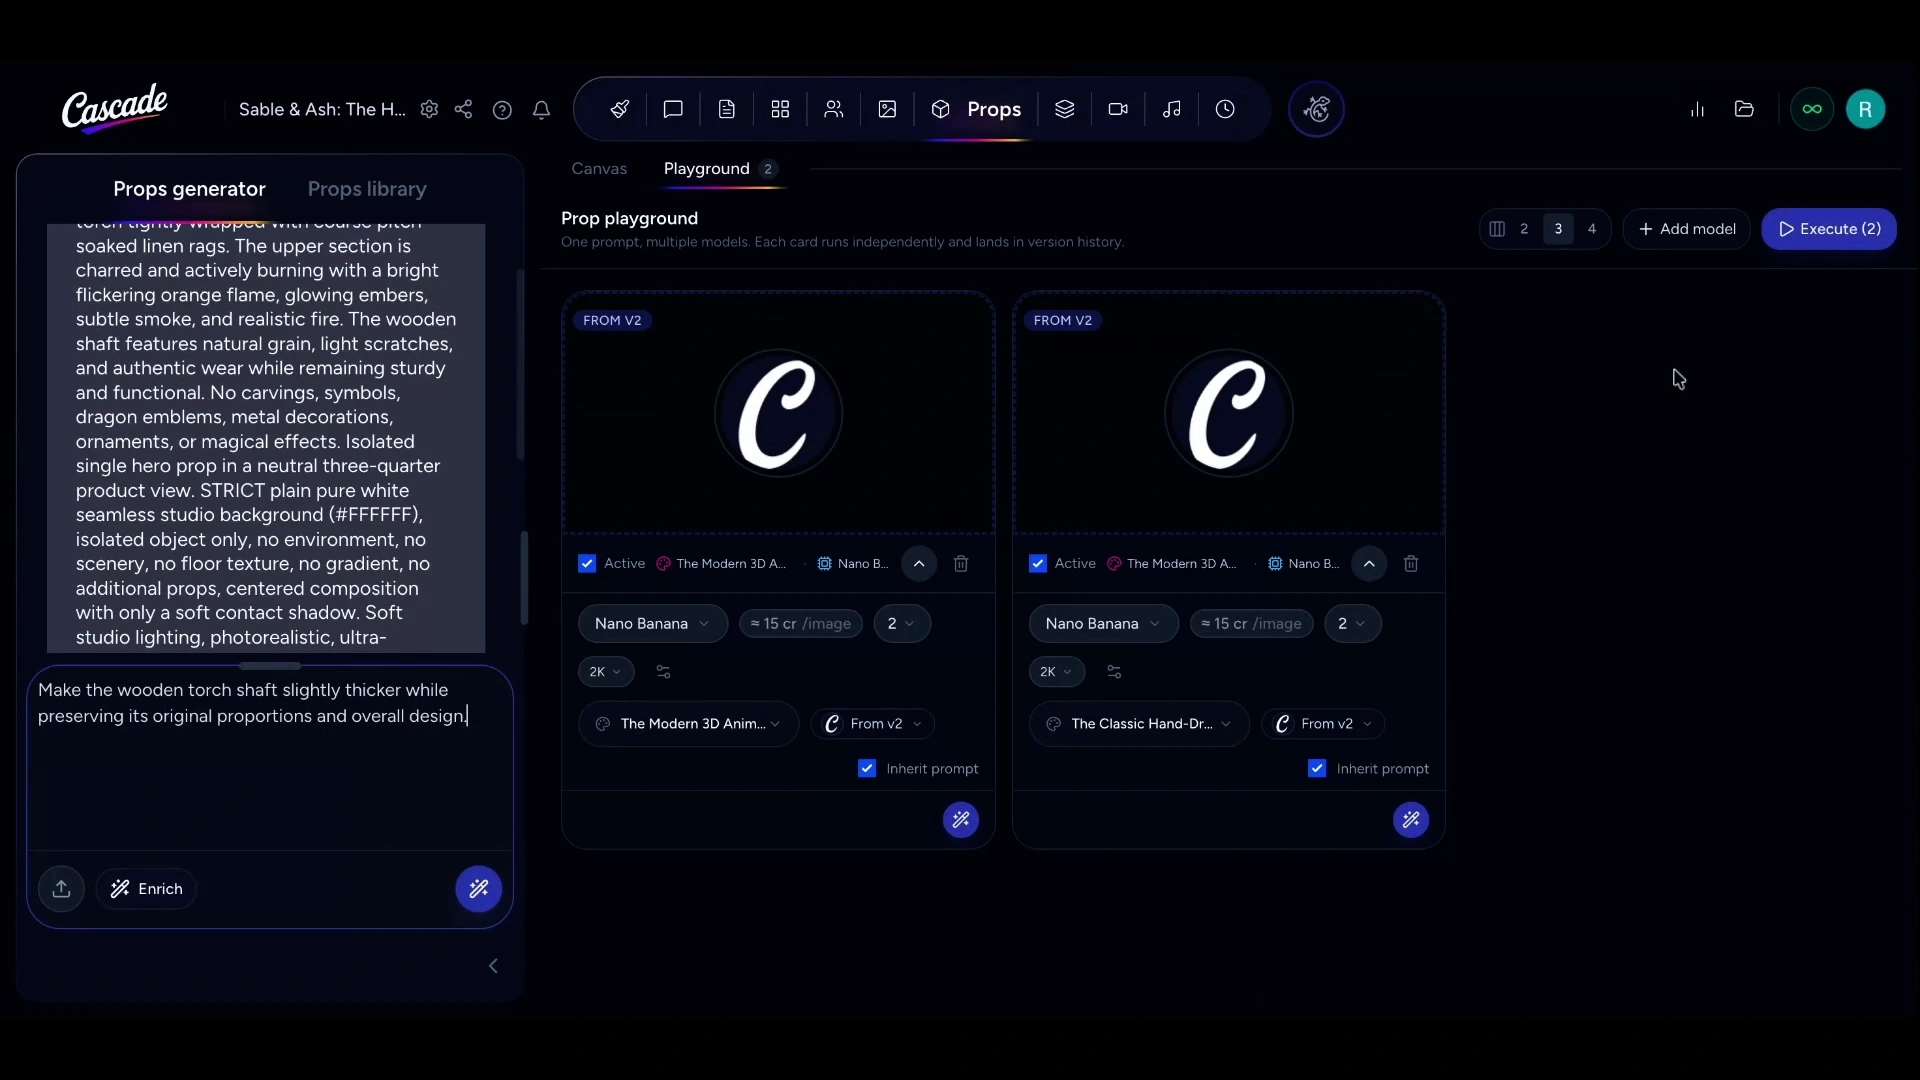
Once the results are generated, compare the outputs across cards and choose the version that works best for your story.