
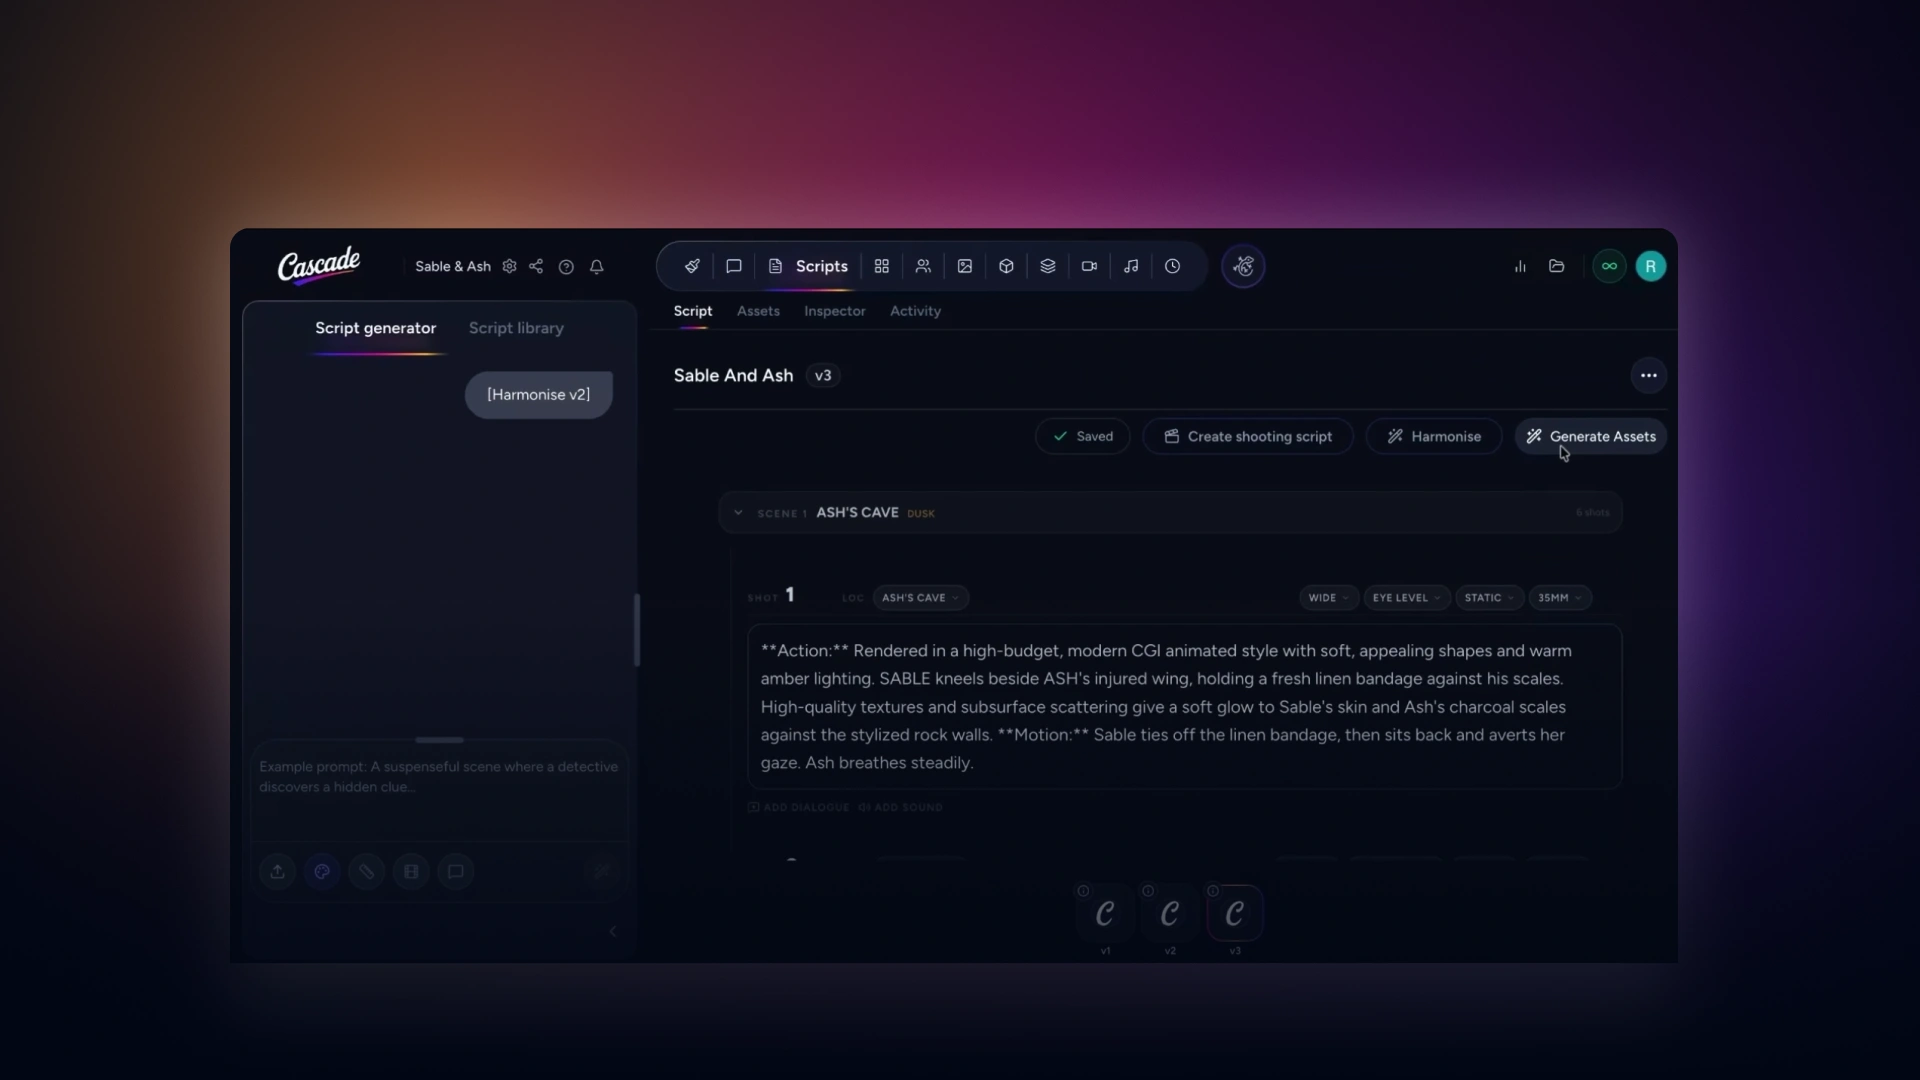
This tutorial covers script setup, importing, shot-level detail generation, harmonisation, visual asset creation, and linking library assets.
On the Scripts page, locate the toolbar next to the Import PDF as Script icon. Here you can configure how your script will be generated and structured.
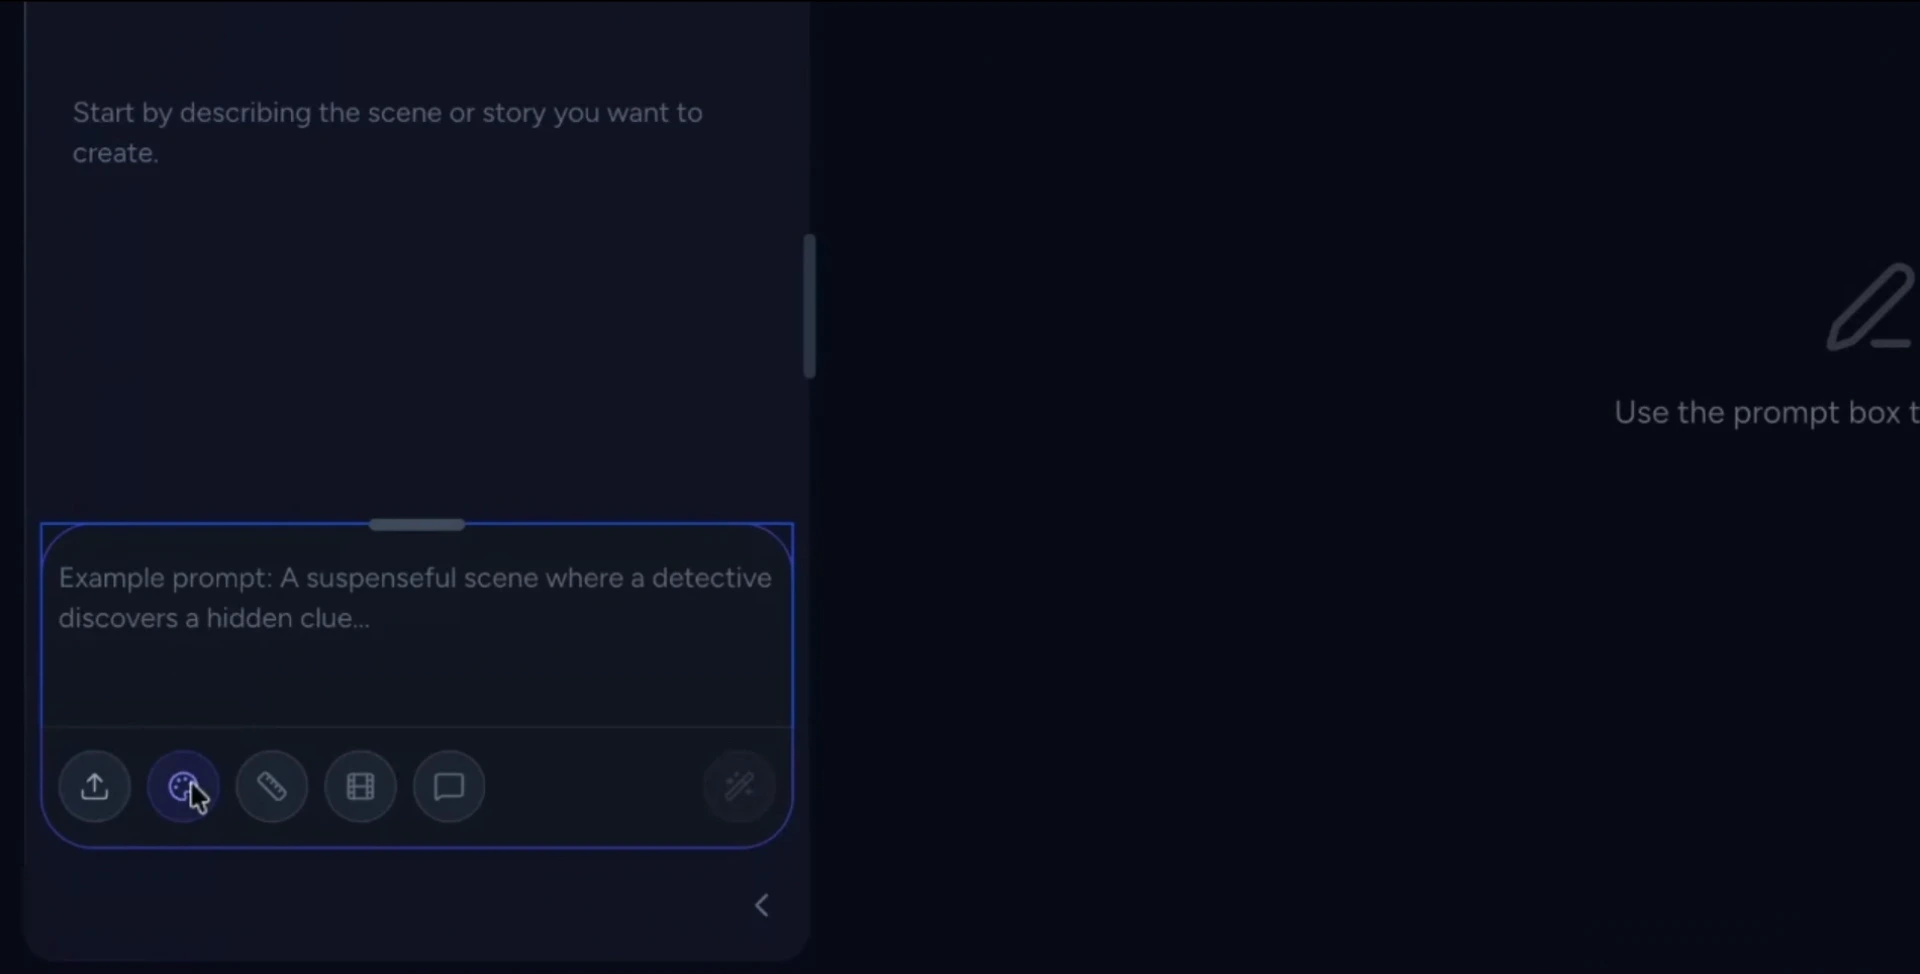
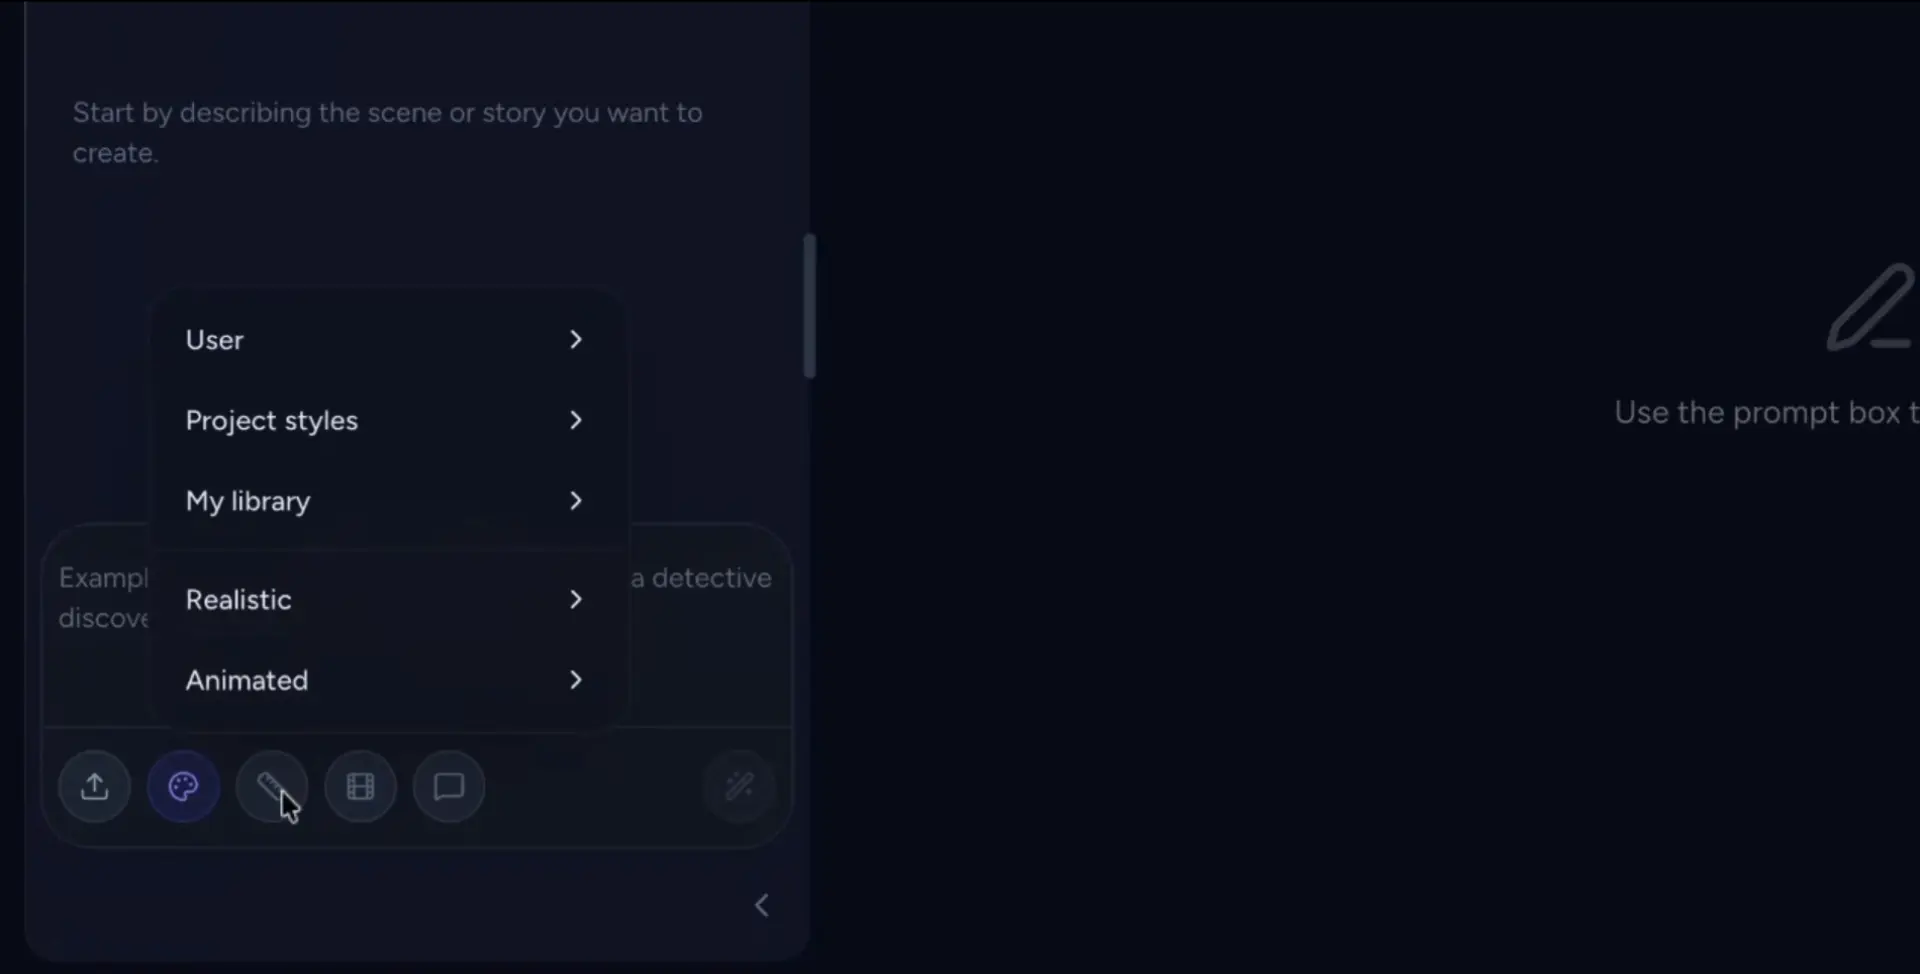
Use Style to choose from Cascade’s built-in styles, a custom style you’ve defined for this project, or a style saved in your personal library.
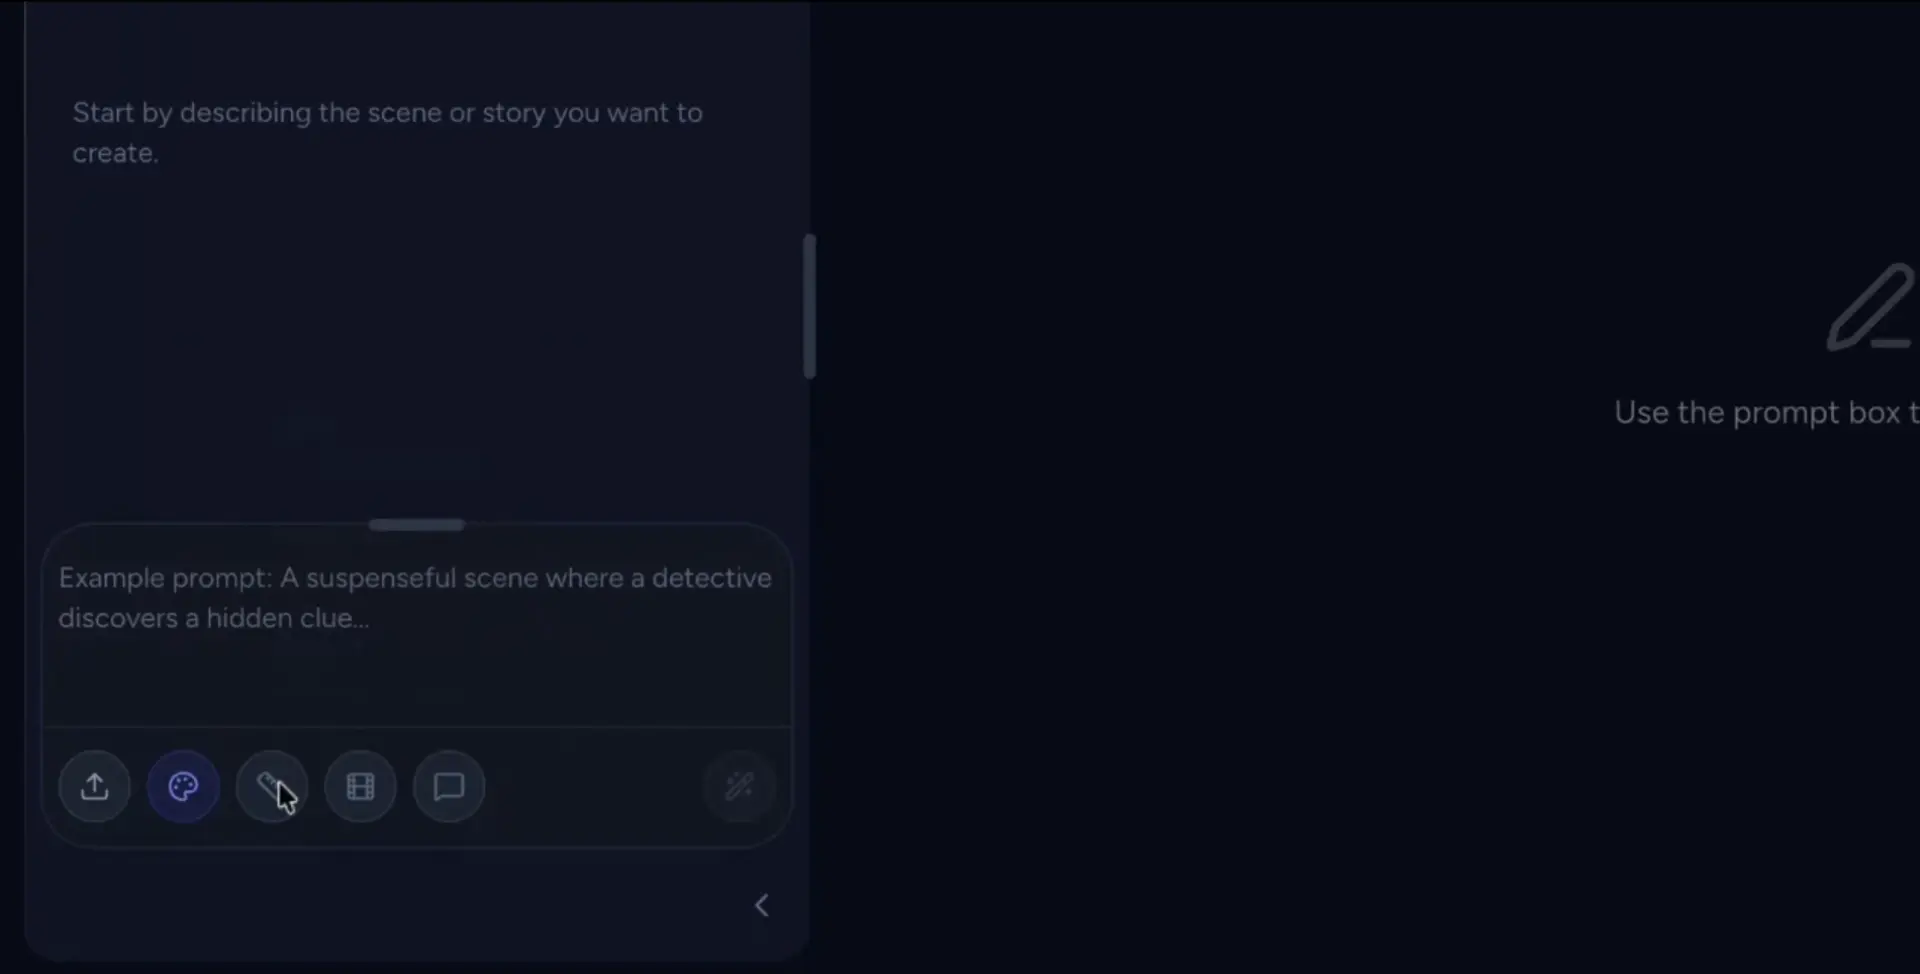
Use Length to set your target runtime to short, medium, or feature.
Optionally, toggle Director Expansion to automatically break scenes into detailed shots, and enable Creative Interview to receive follow-up questions before generation to better shape your script.
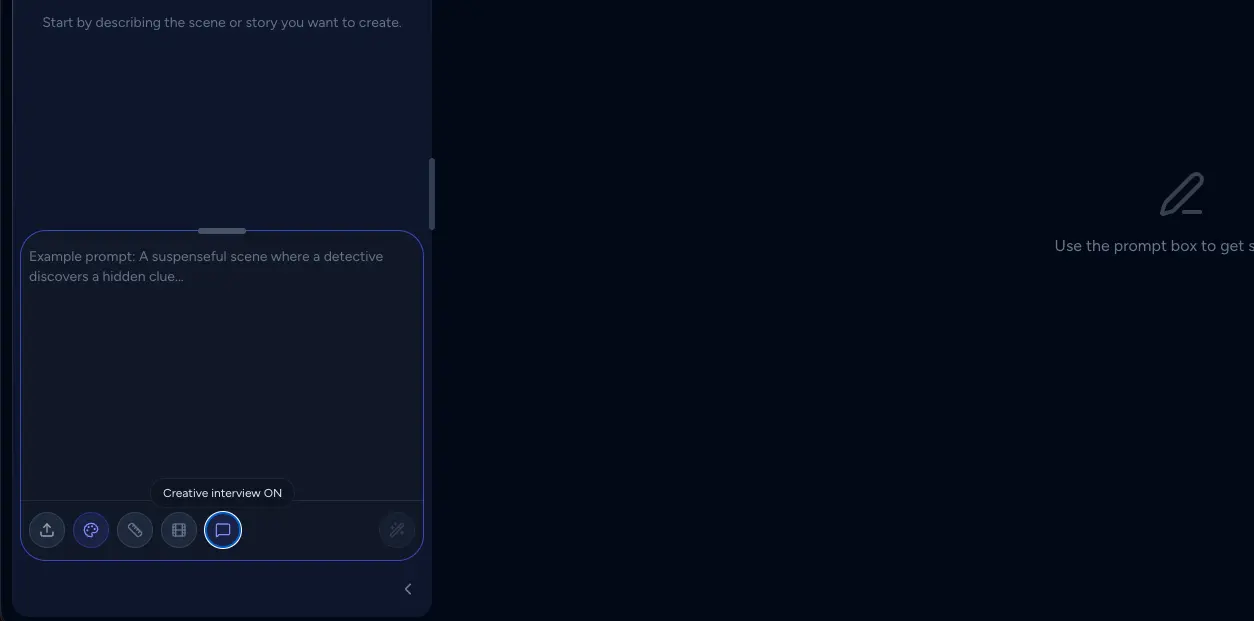
You can either type a prompt and collaborate with Cascade to generate a new script, or upload an existing script file.
If you have an existing script, click the Upload icon, select your PDF, and press Import to begin processing.
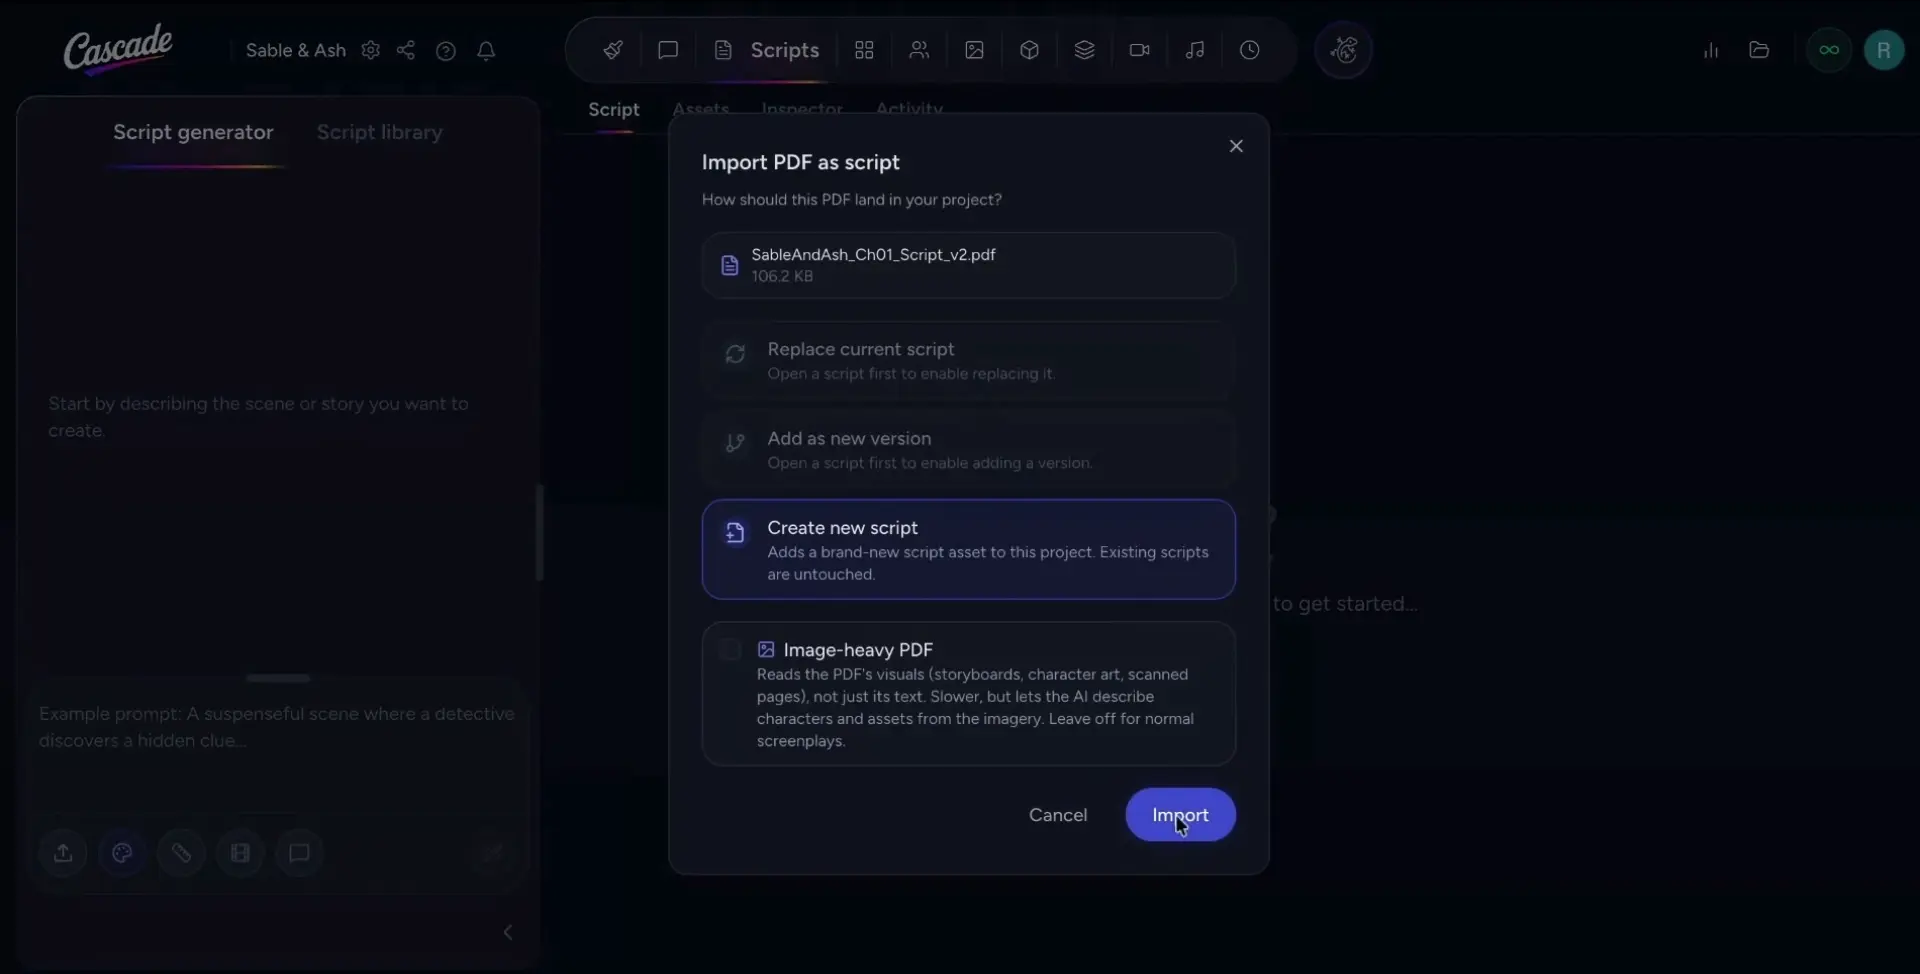
Wait for Cascade to break your script down into scenes and shots. Once the generation is complete; you’ll see Version 1 of your script ready on the Scripts page.
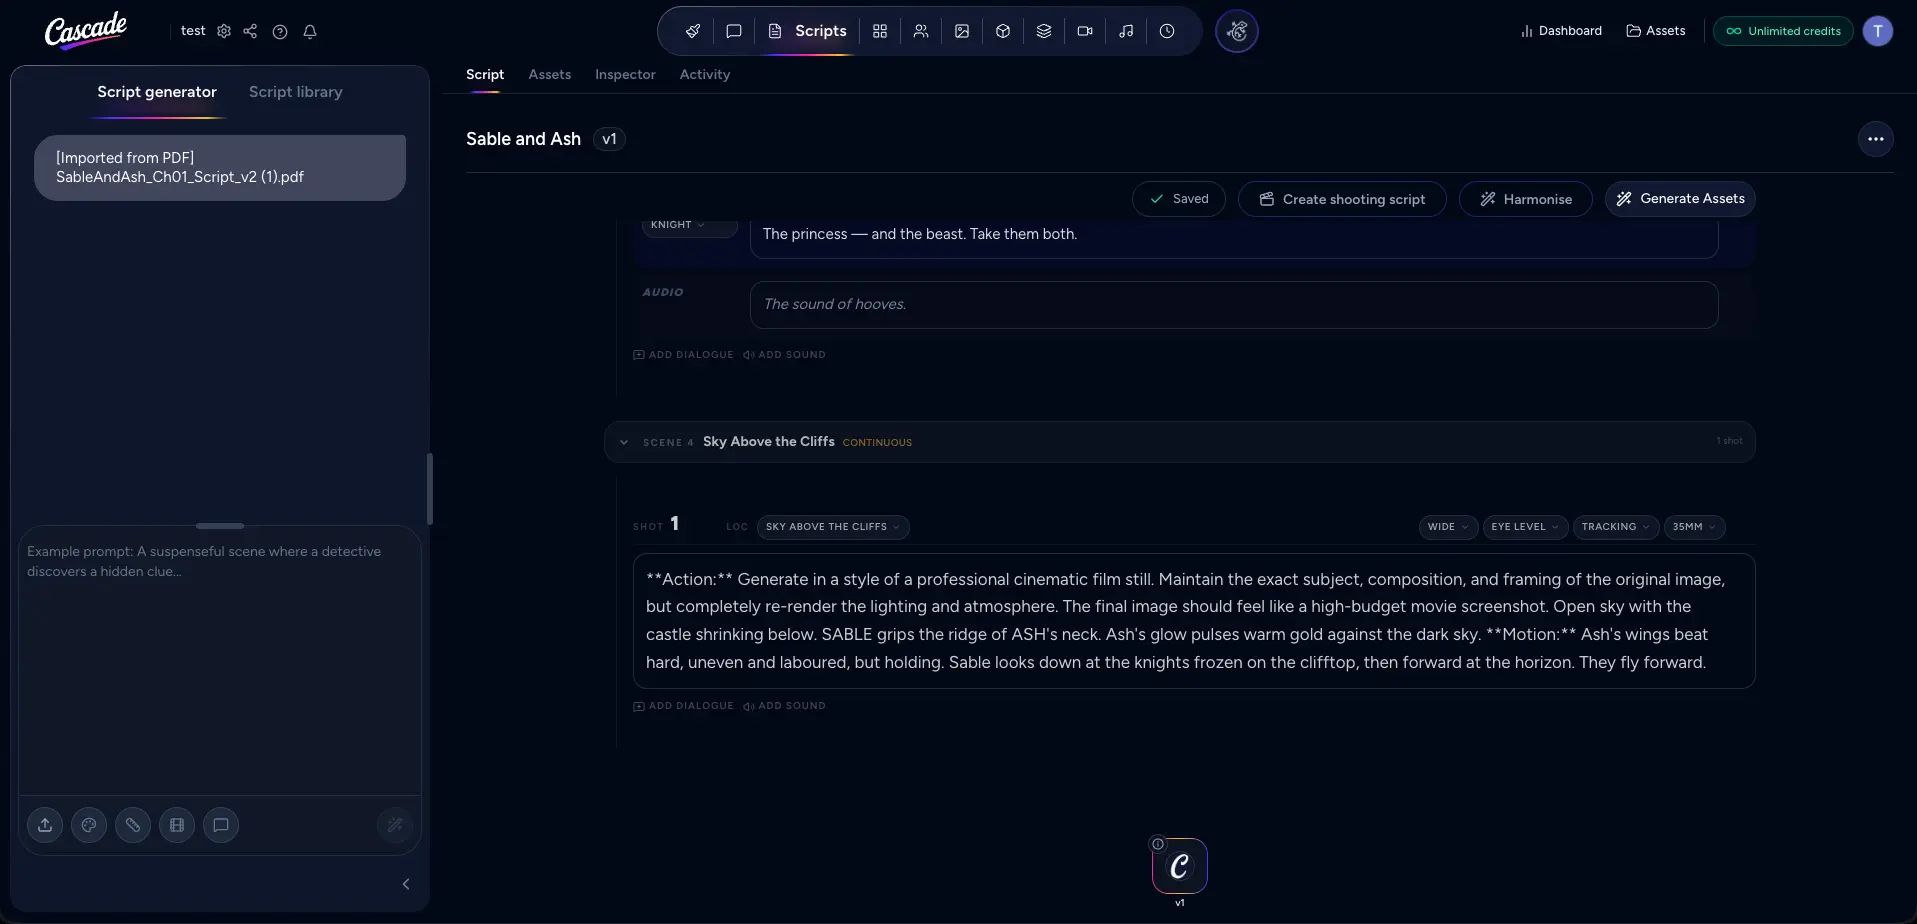
When Version 1 is available, click Create Shooting Script to run the director agent and break your scenes into detailed shots.
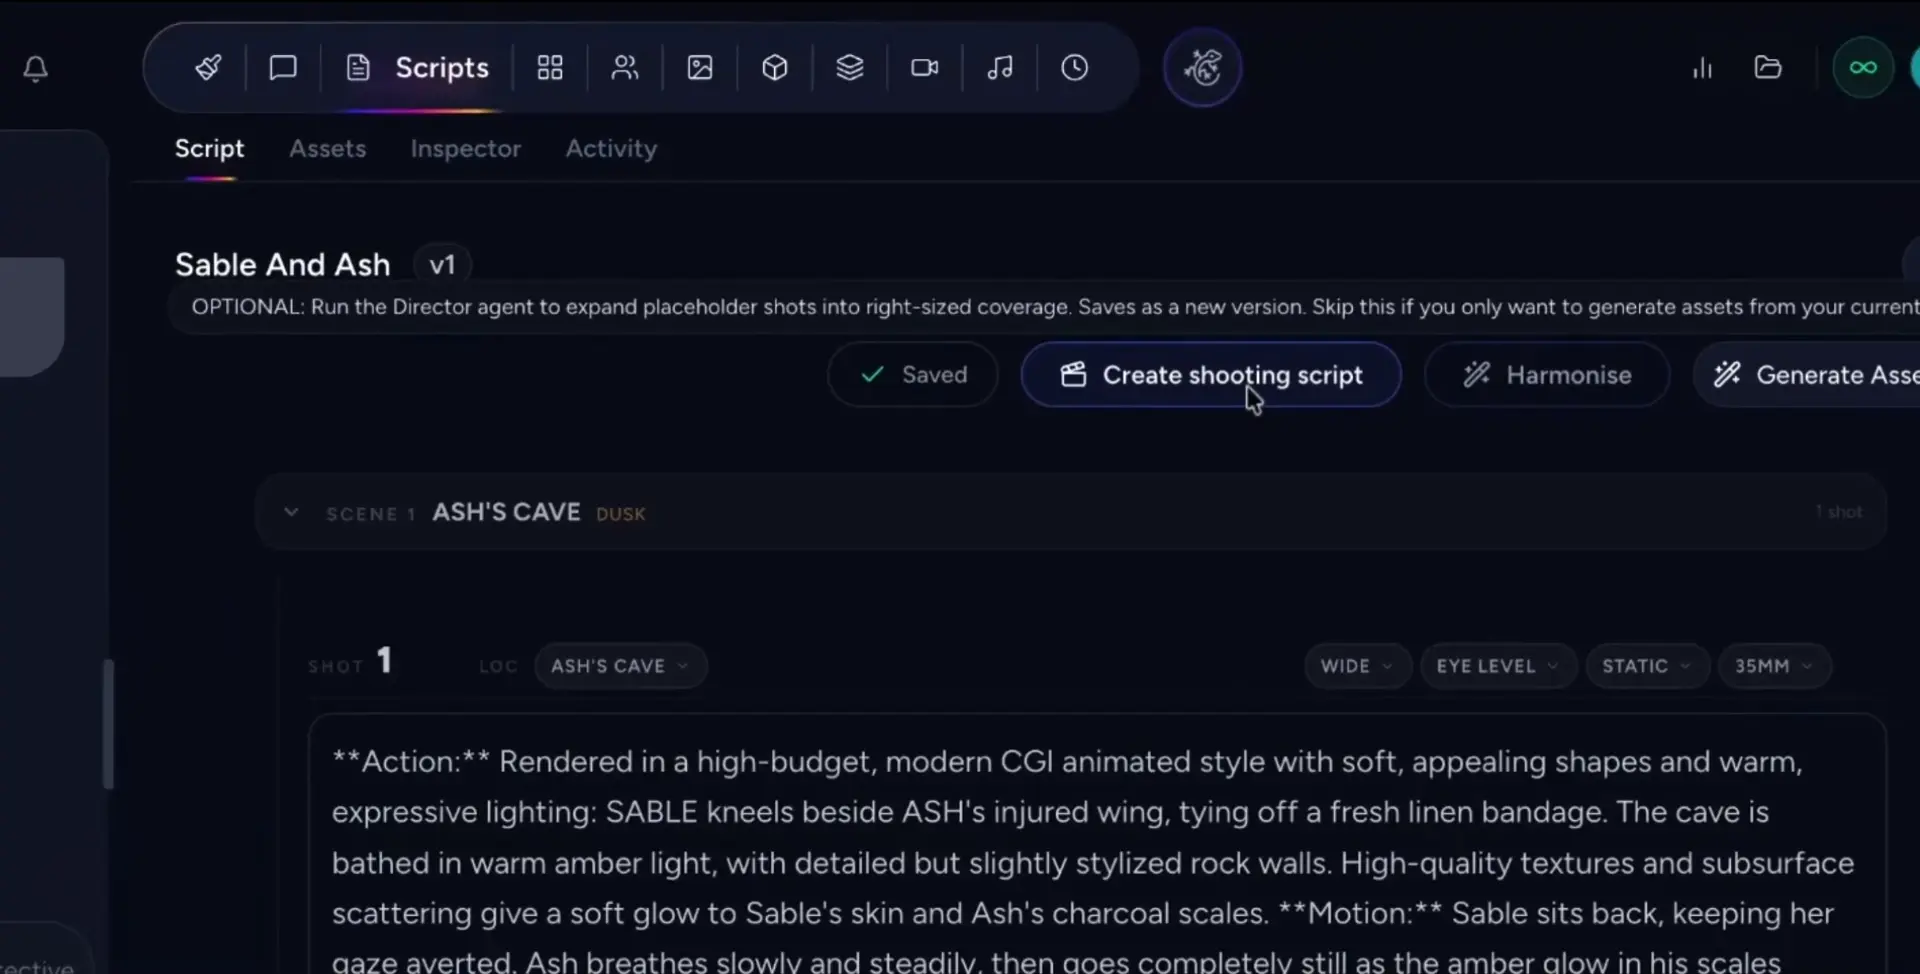
Skip this step if you only need to generate assets from your current script and don’t require shot-level breakdowns.
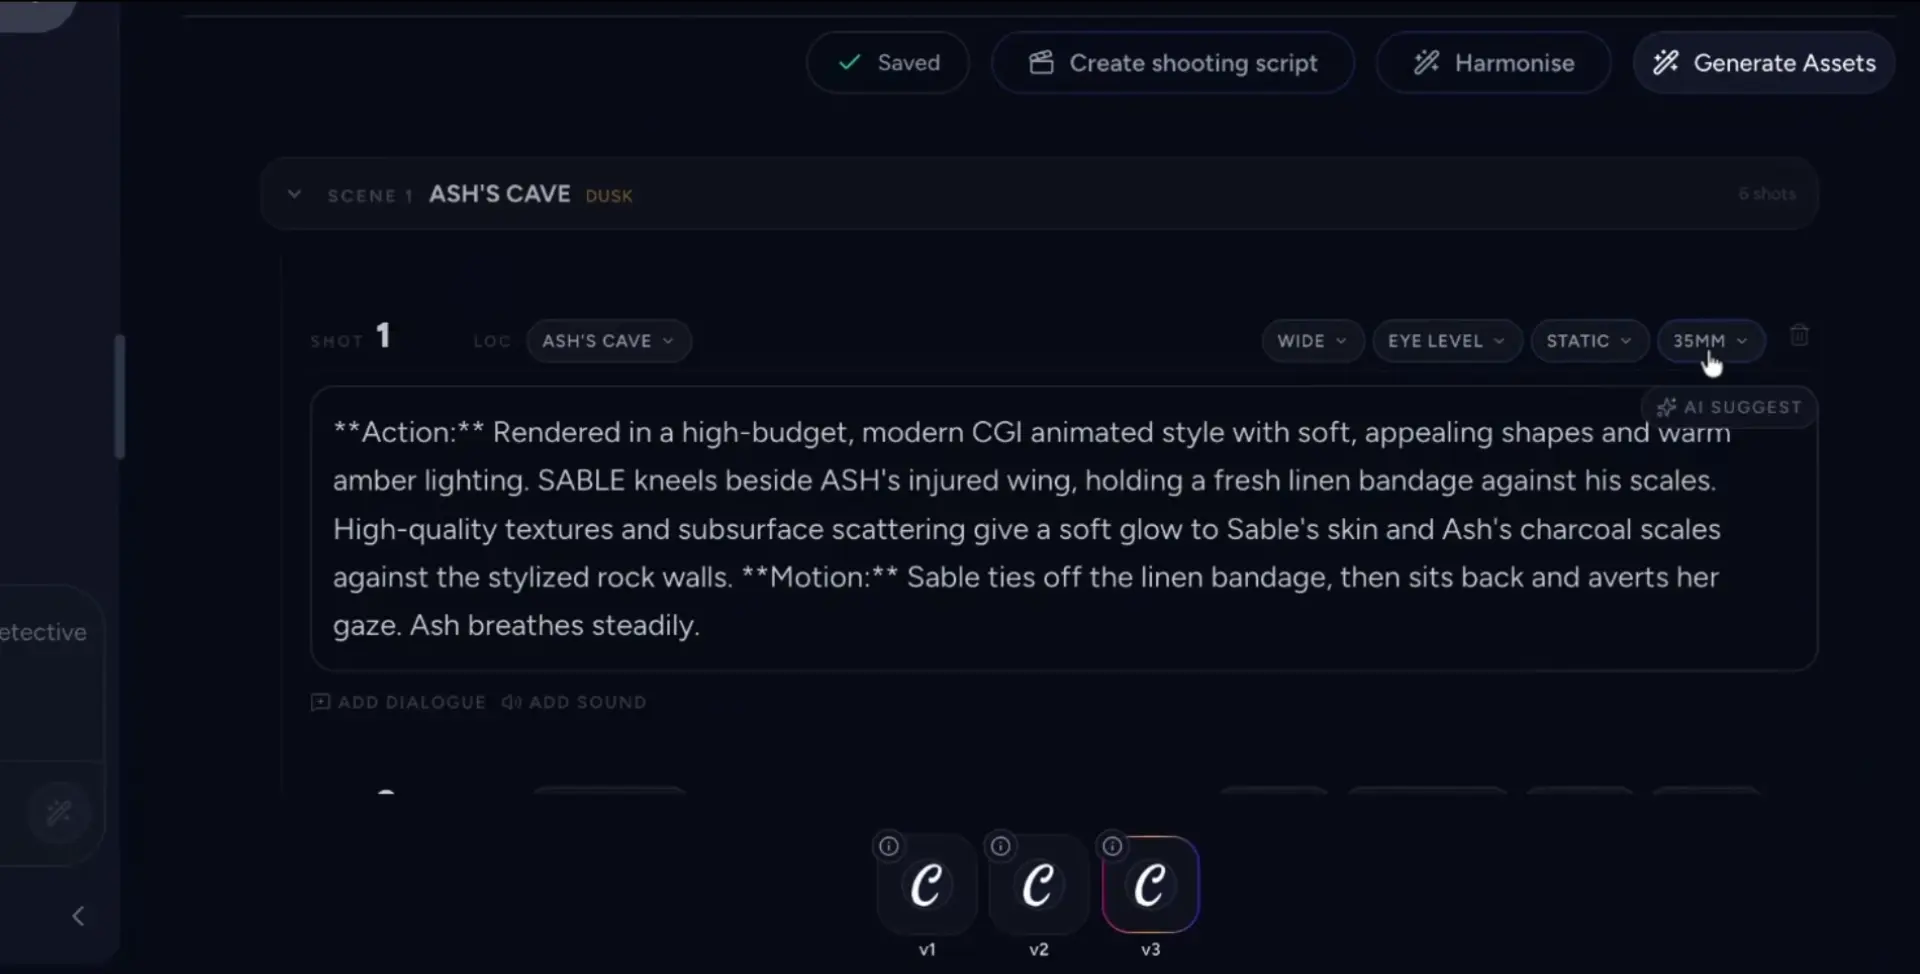
You can edit any scene inline; each time you save, Cascade creates a new script version. After making edits, you may see Version 2 (or higher) appear automatically.
If you’ve inserted or edited shots and want to smooth transitions, click Harmonize.
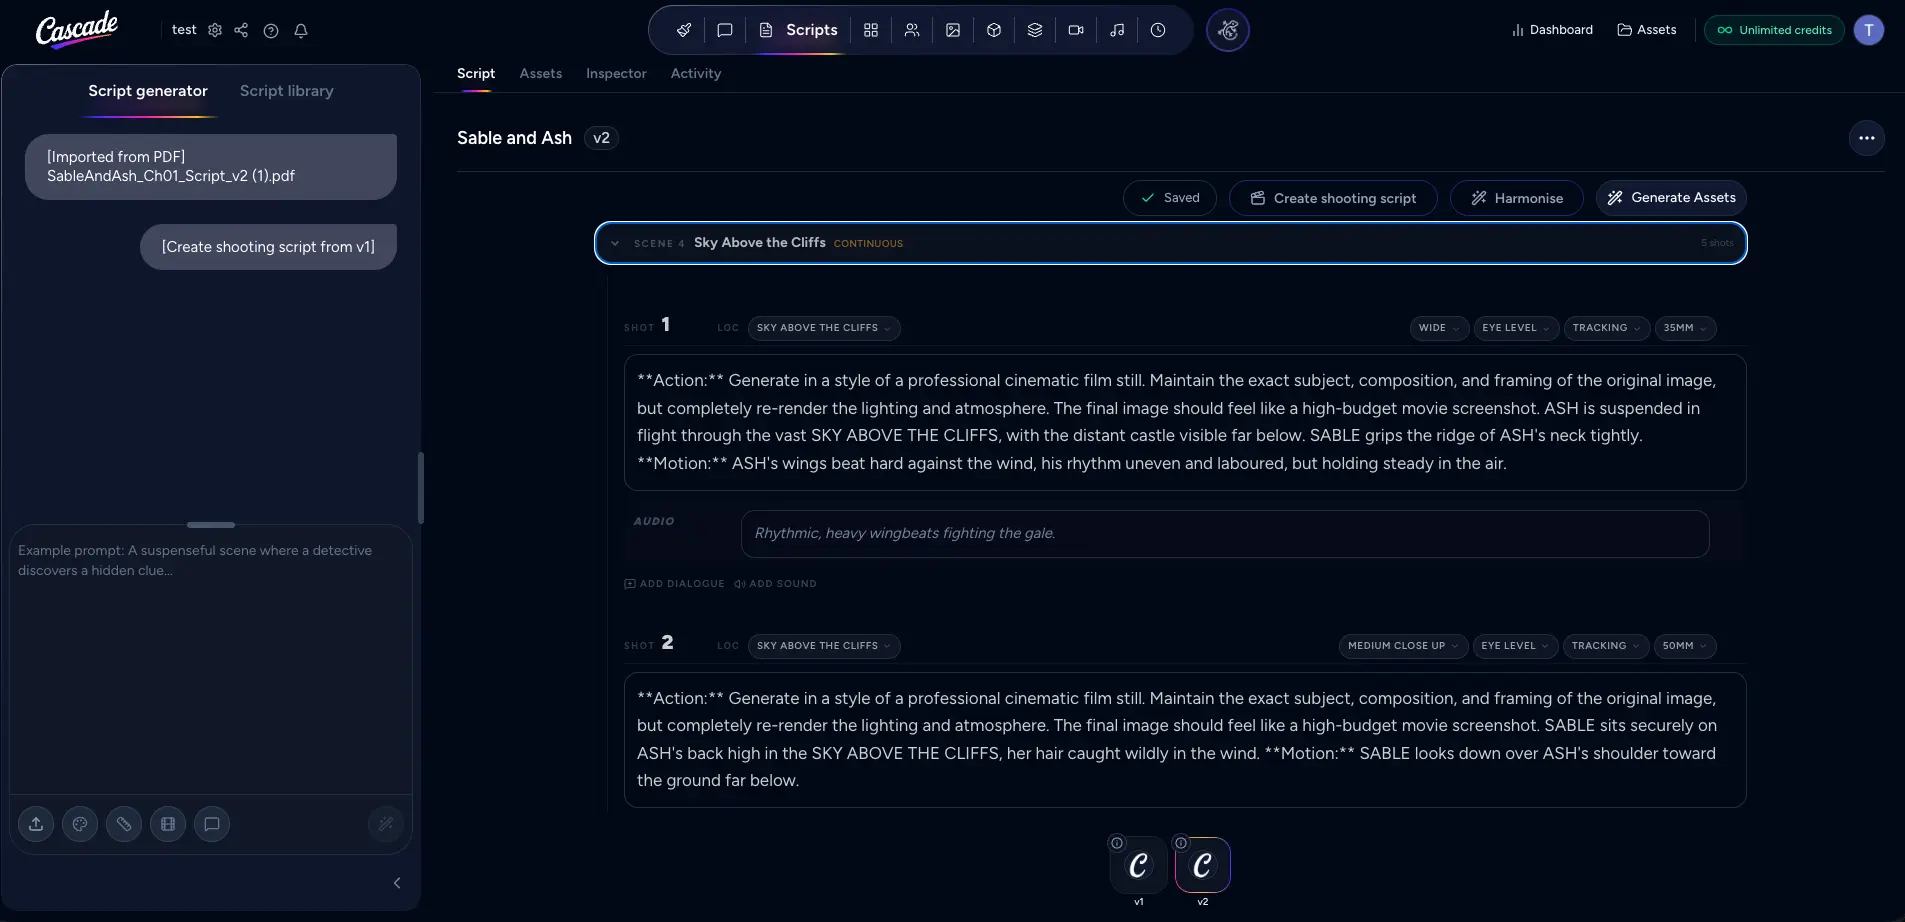
The harmonization agent will adjust your script for continuity and flow. When it finishes, a new version is saved automatically.
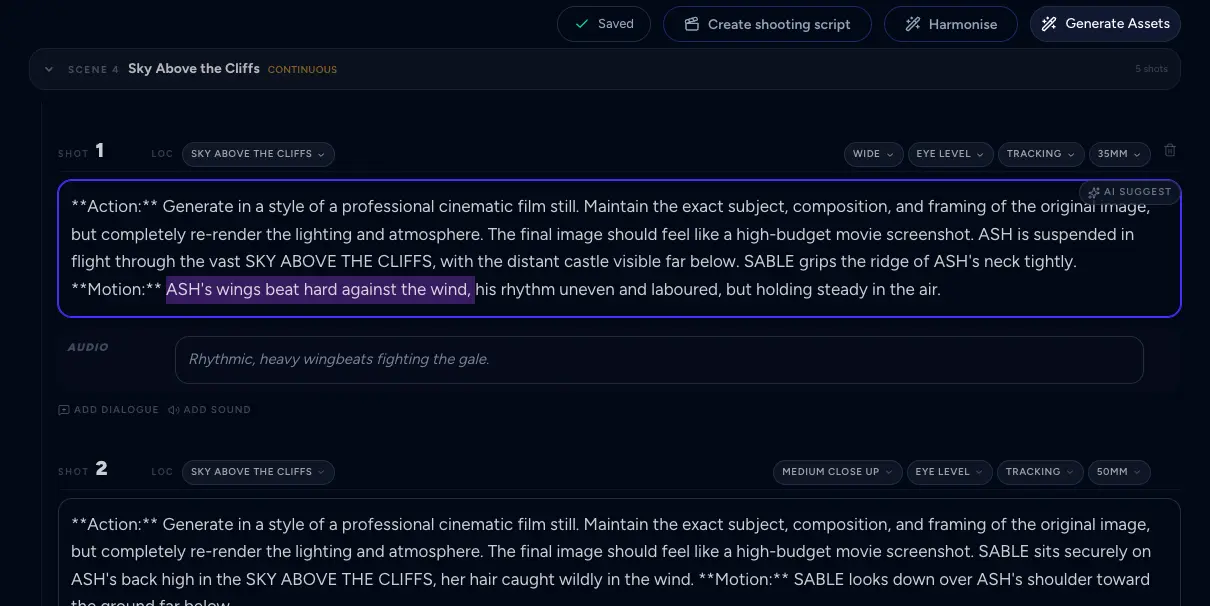
Within the shooting script, refine the visual language of each shot by adjusting:
These controls let you define how each moment will appear on screen.
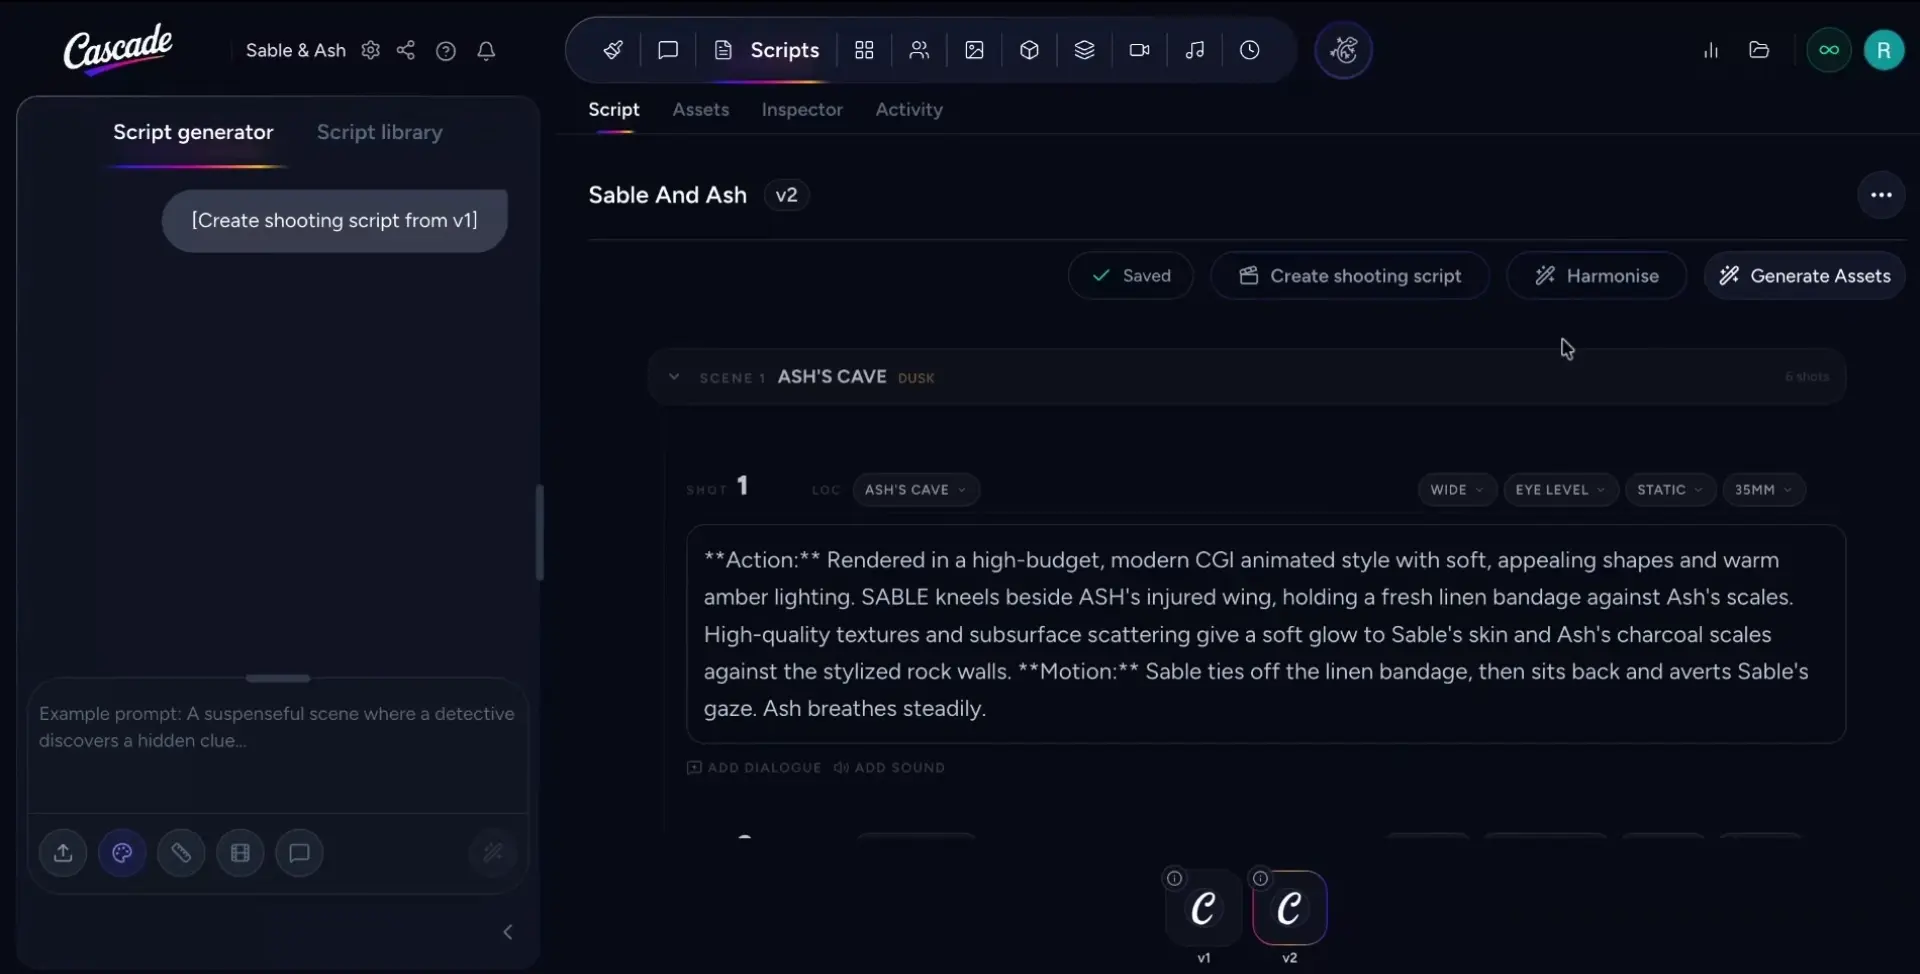
When your script is ready, you can click Generate Assets from the Scripts page.
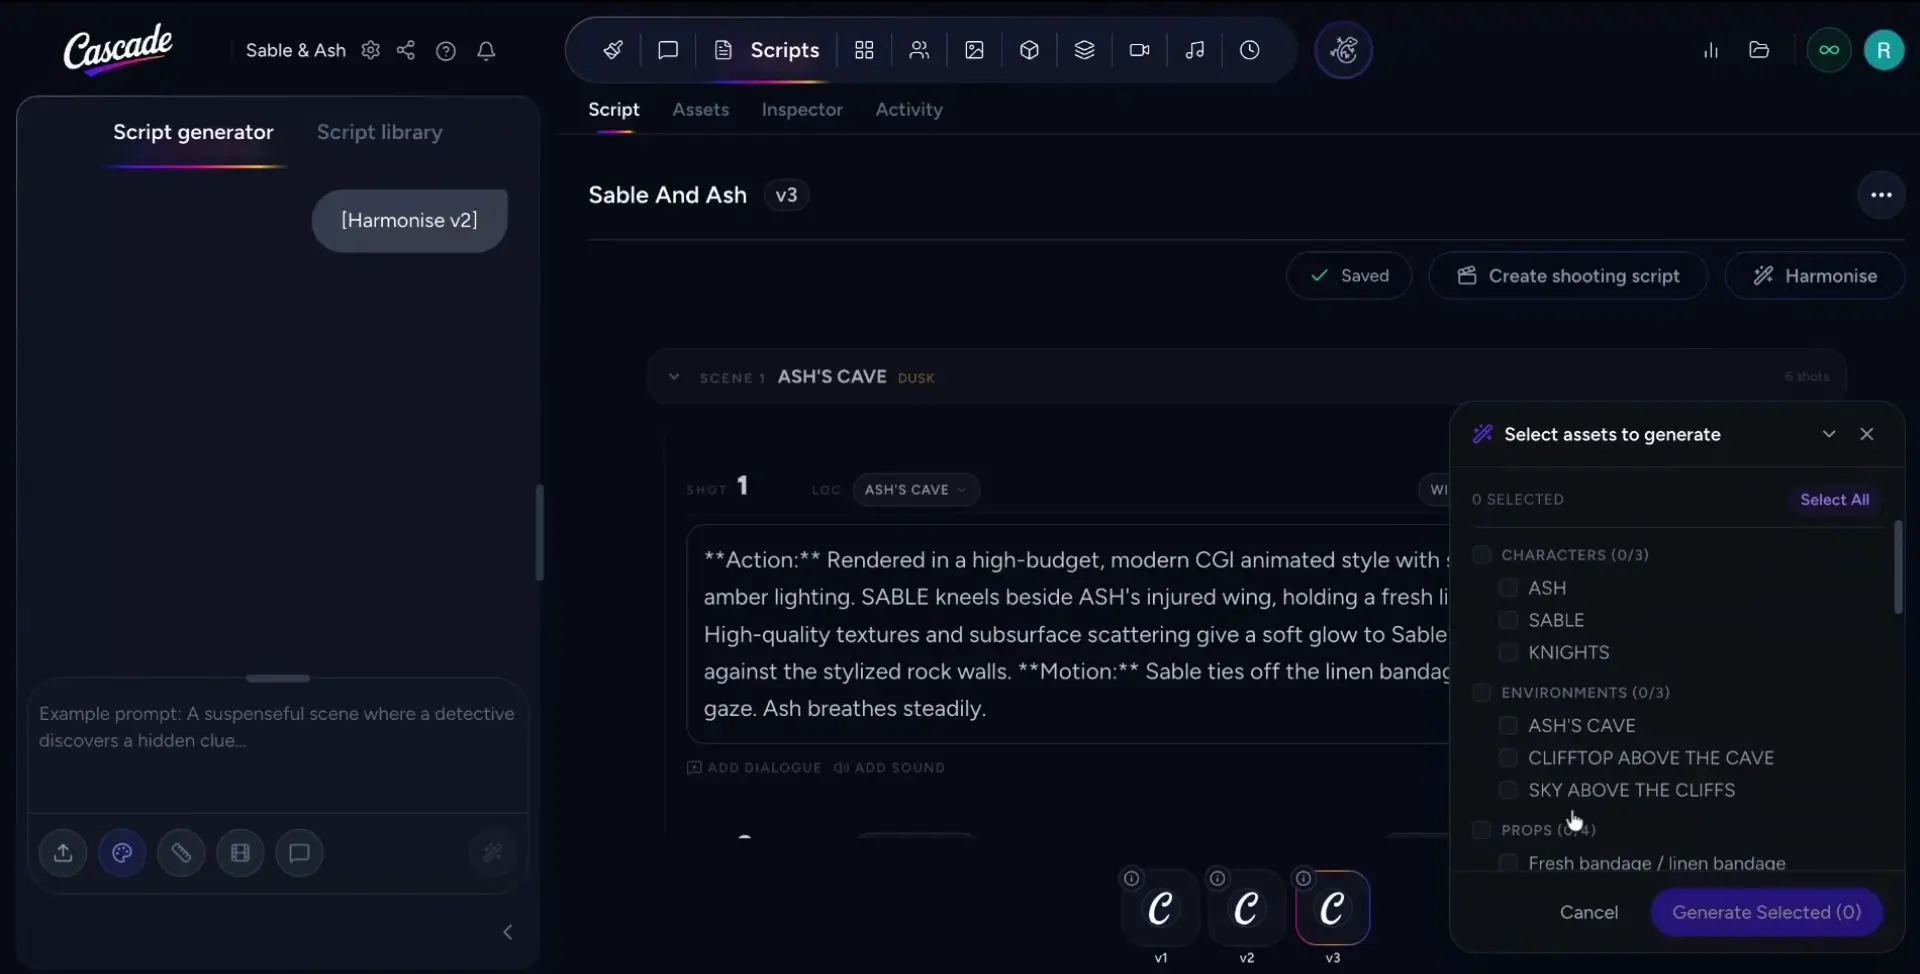
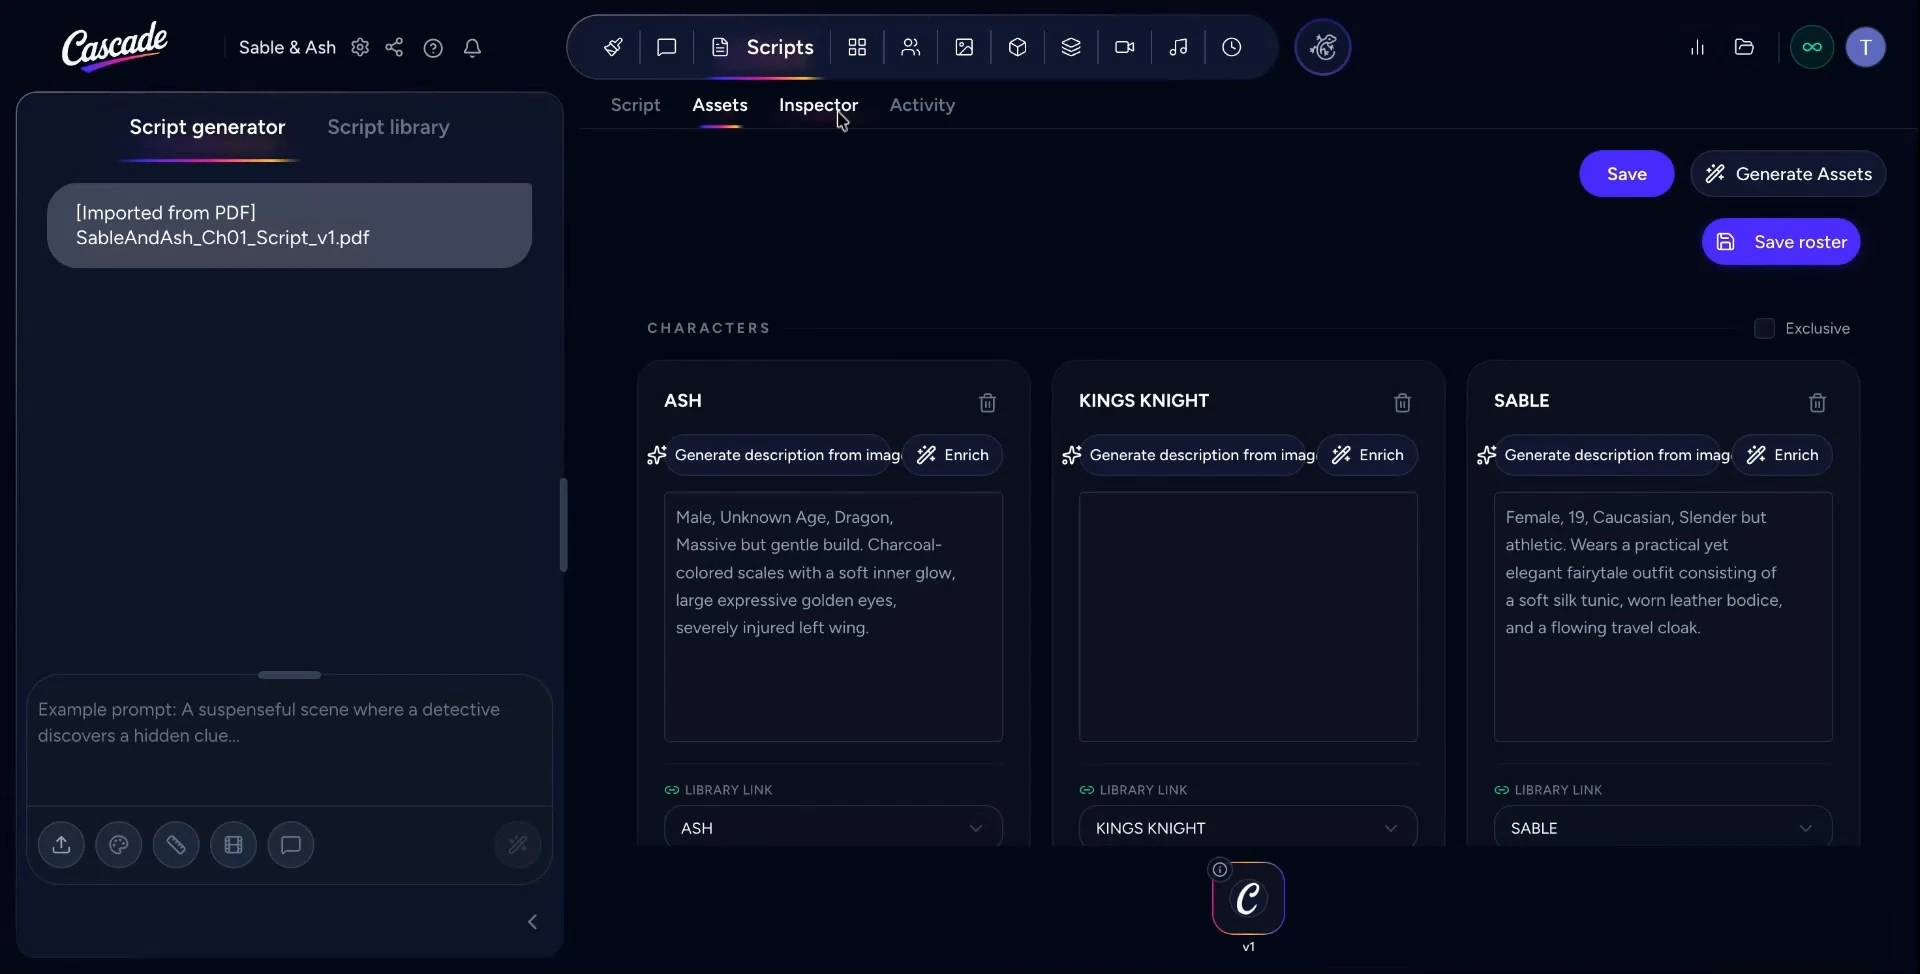
A window will appear listing all detected characters, environments, and props in your script.
Select the items you want to visualize and click Generate to start image generation.
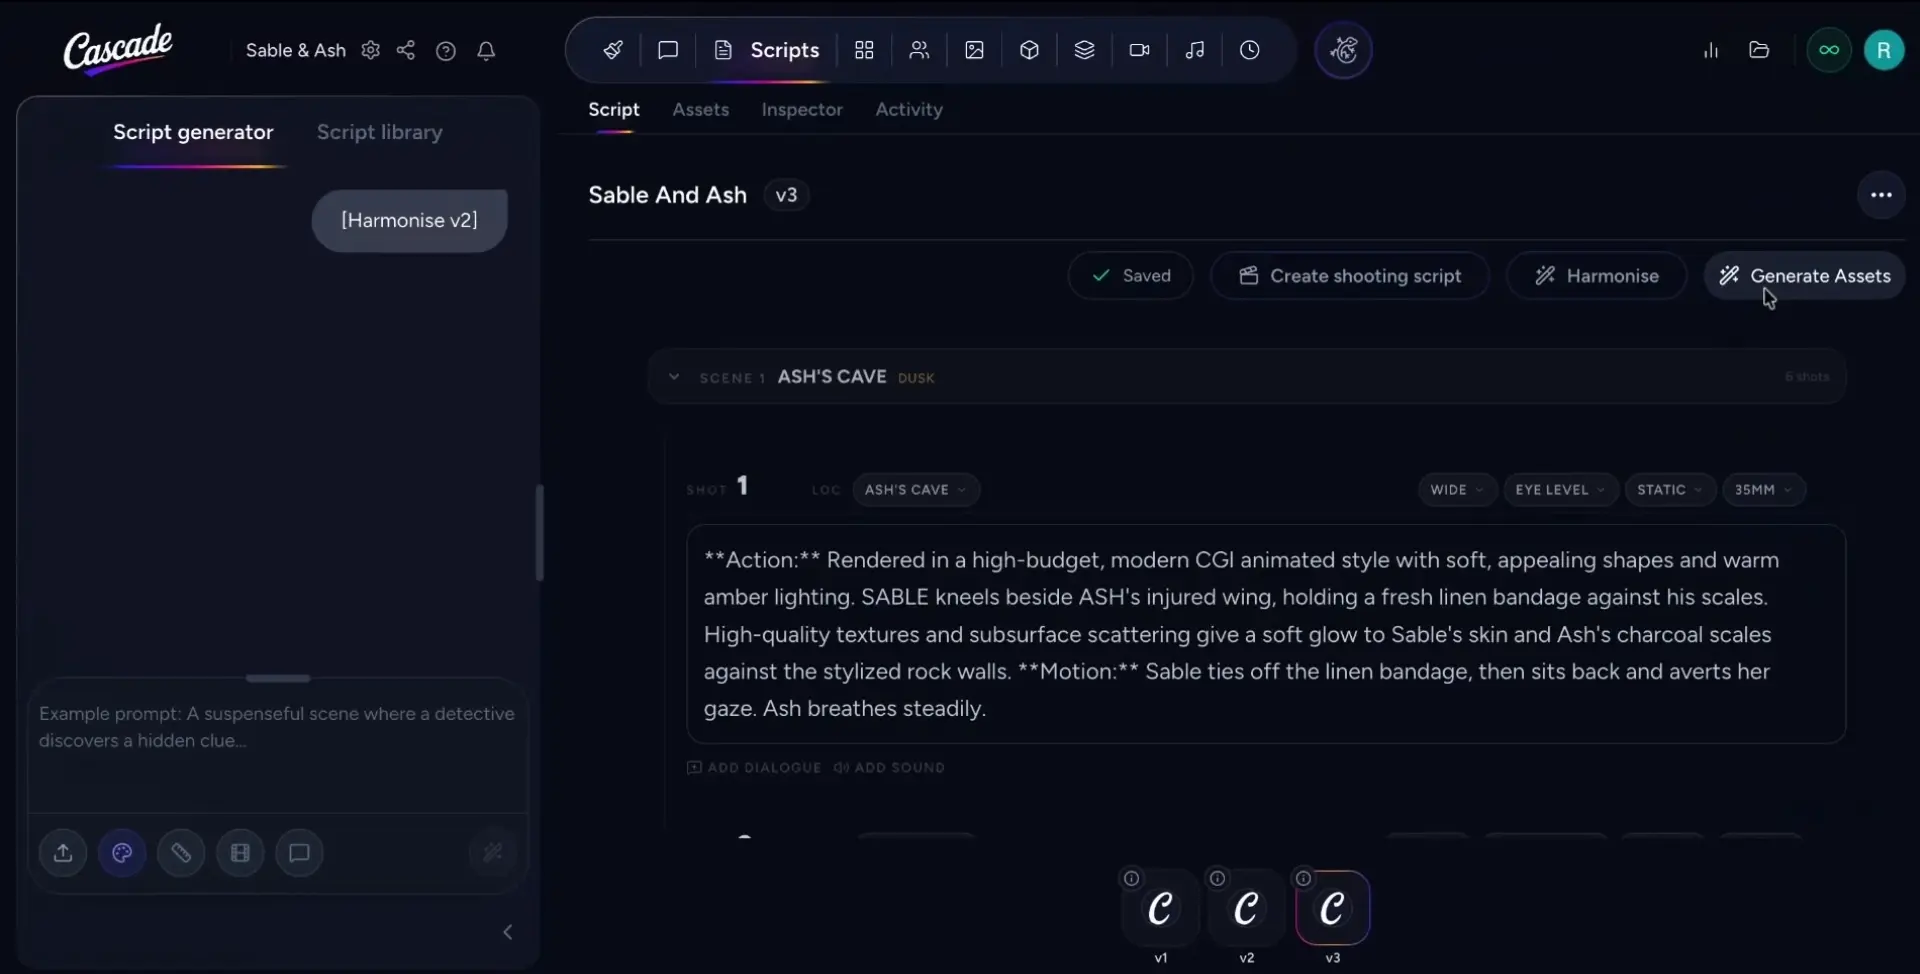
Use the tabs (Assets, Inspector, Activity) in this window to:
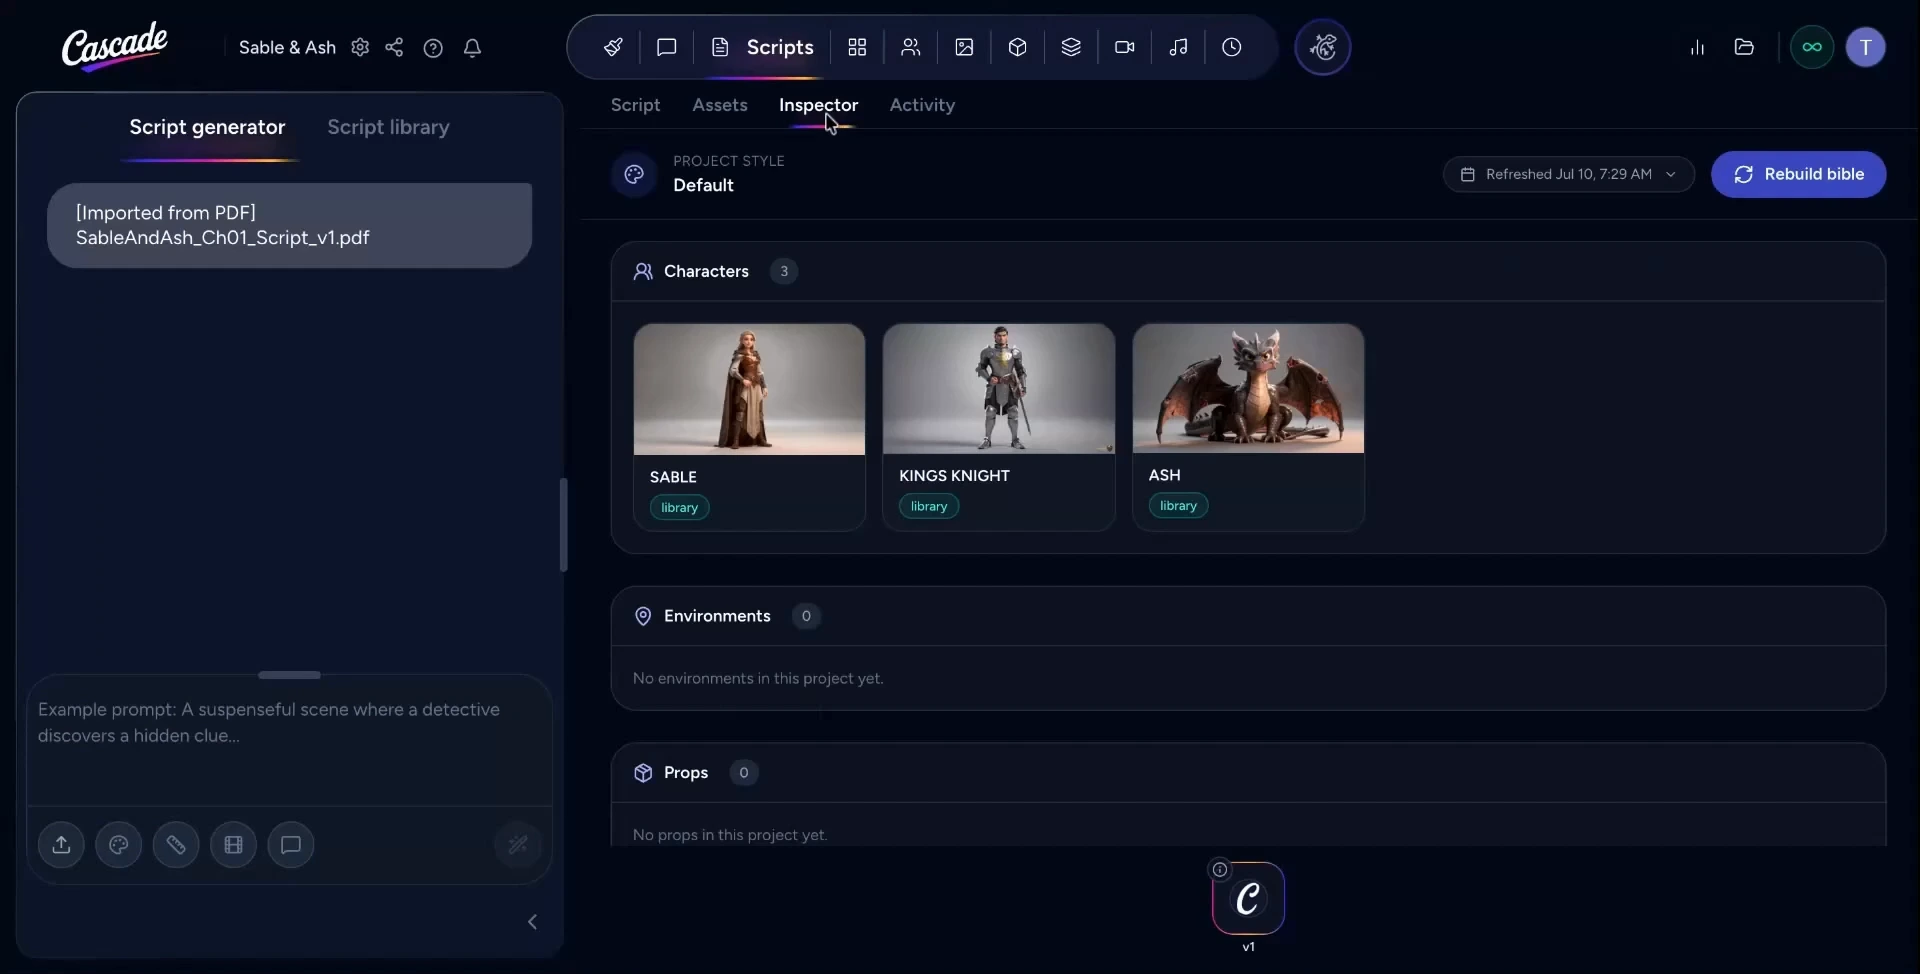
If you switch to the Inspector tab, you’ll see the assets that have been generated and linked to your script.
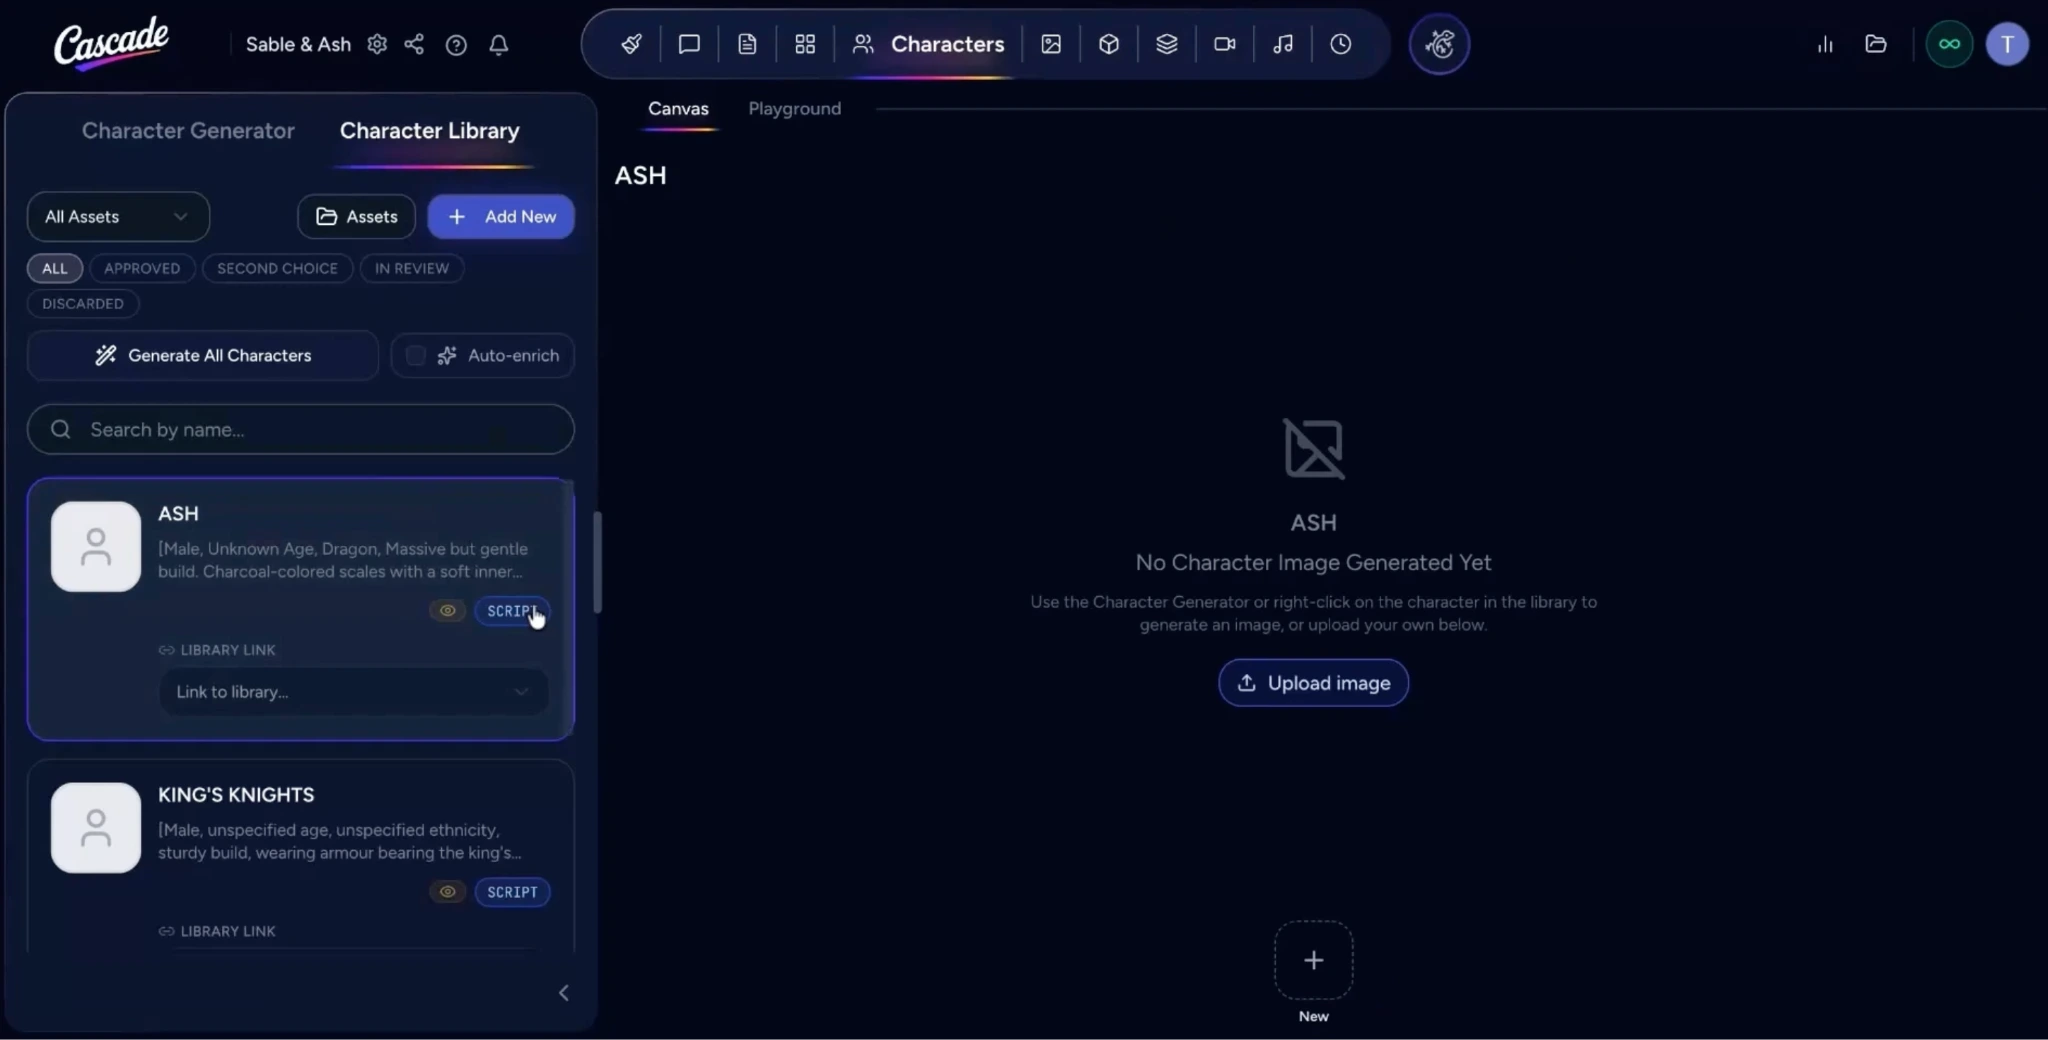
Alternatively, if you already have existing assets (characters, environments, or props), you can attach them directly to your script elements instead of generating new ones.
For instance, to add your character assets, go to the Characters page.
Click Assets to open the asset manager folder. To add new characters to the library, click Add New and import their reference media from your device.
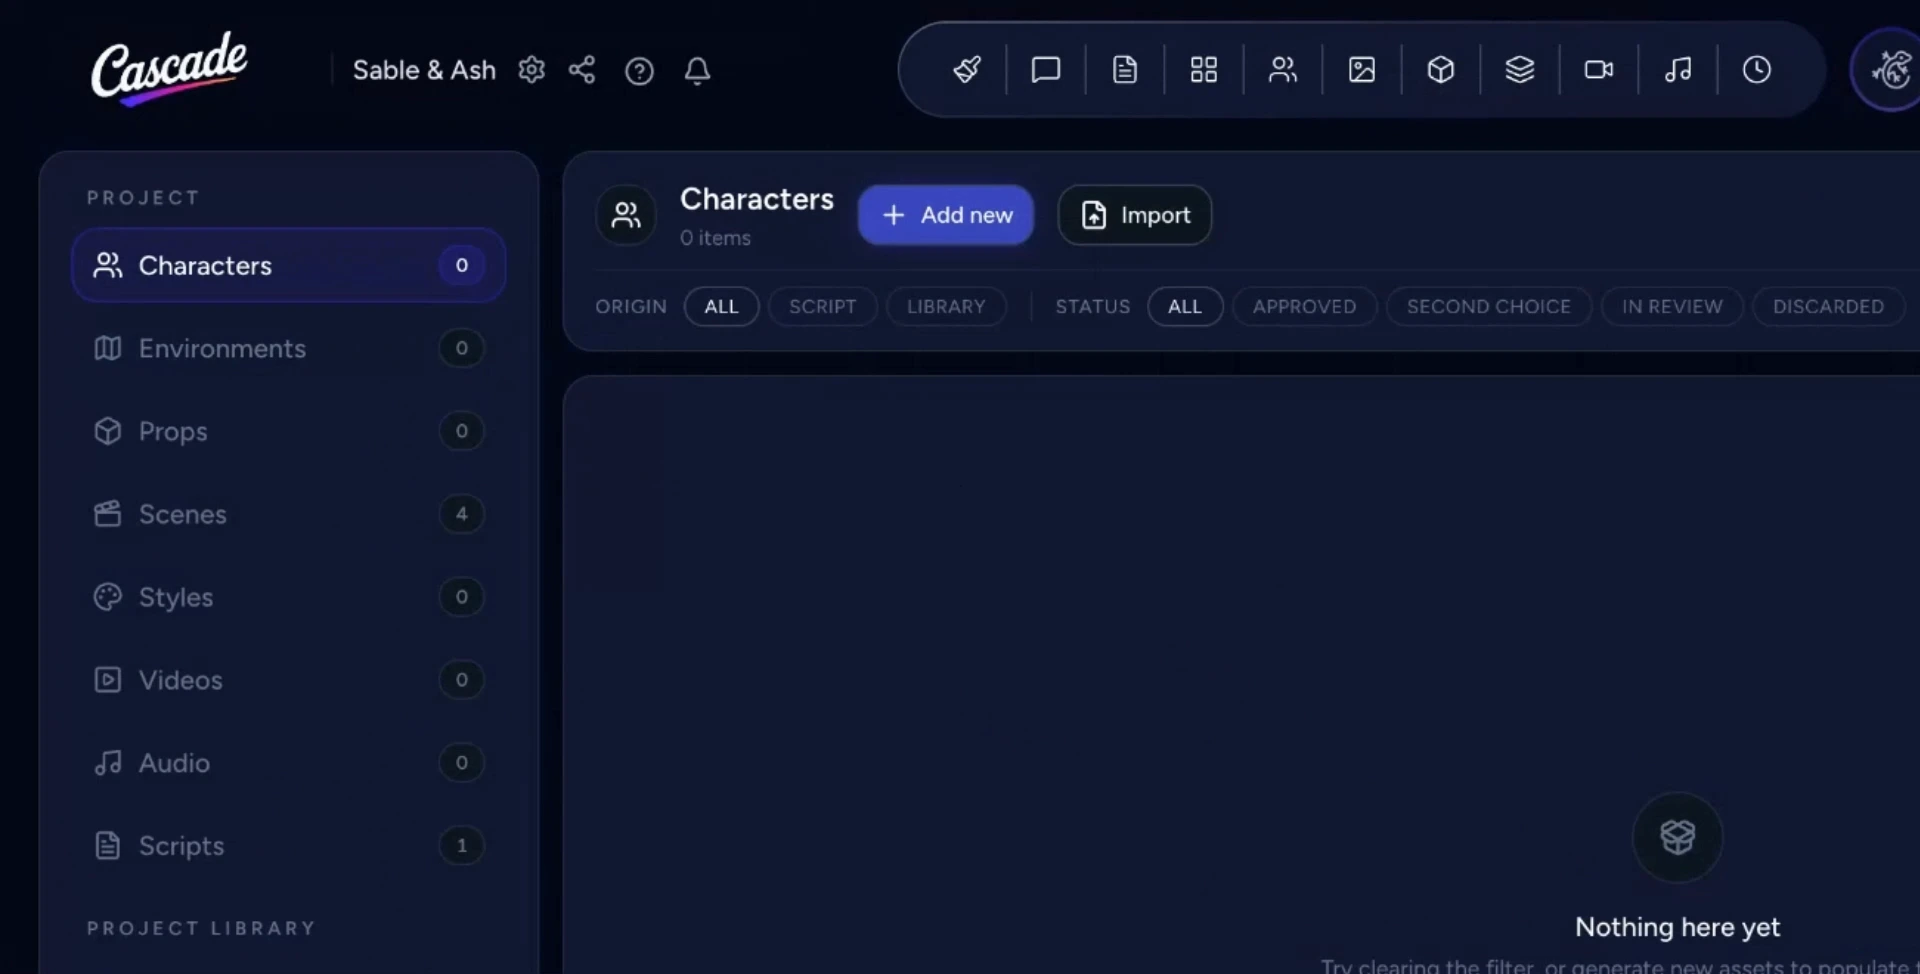
Then click Create Character to save each new character entry.
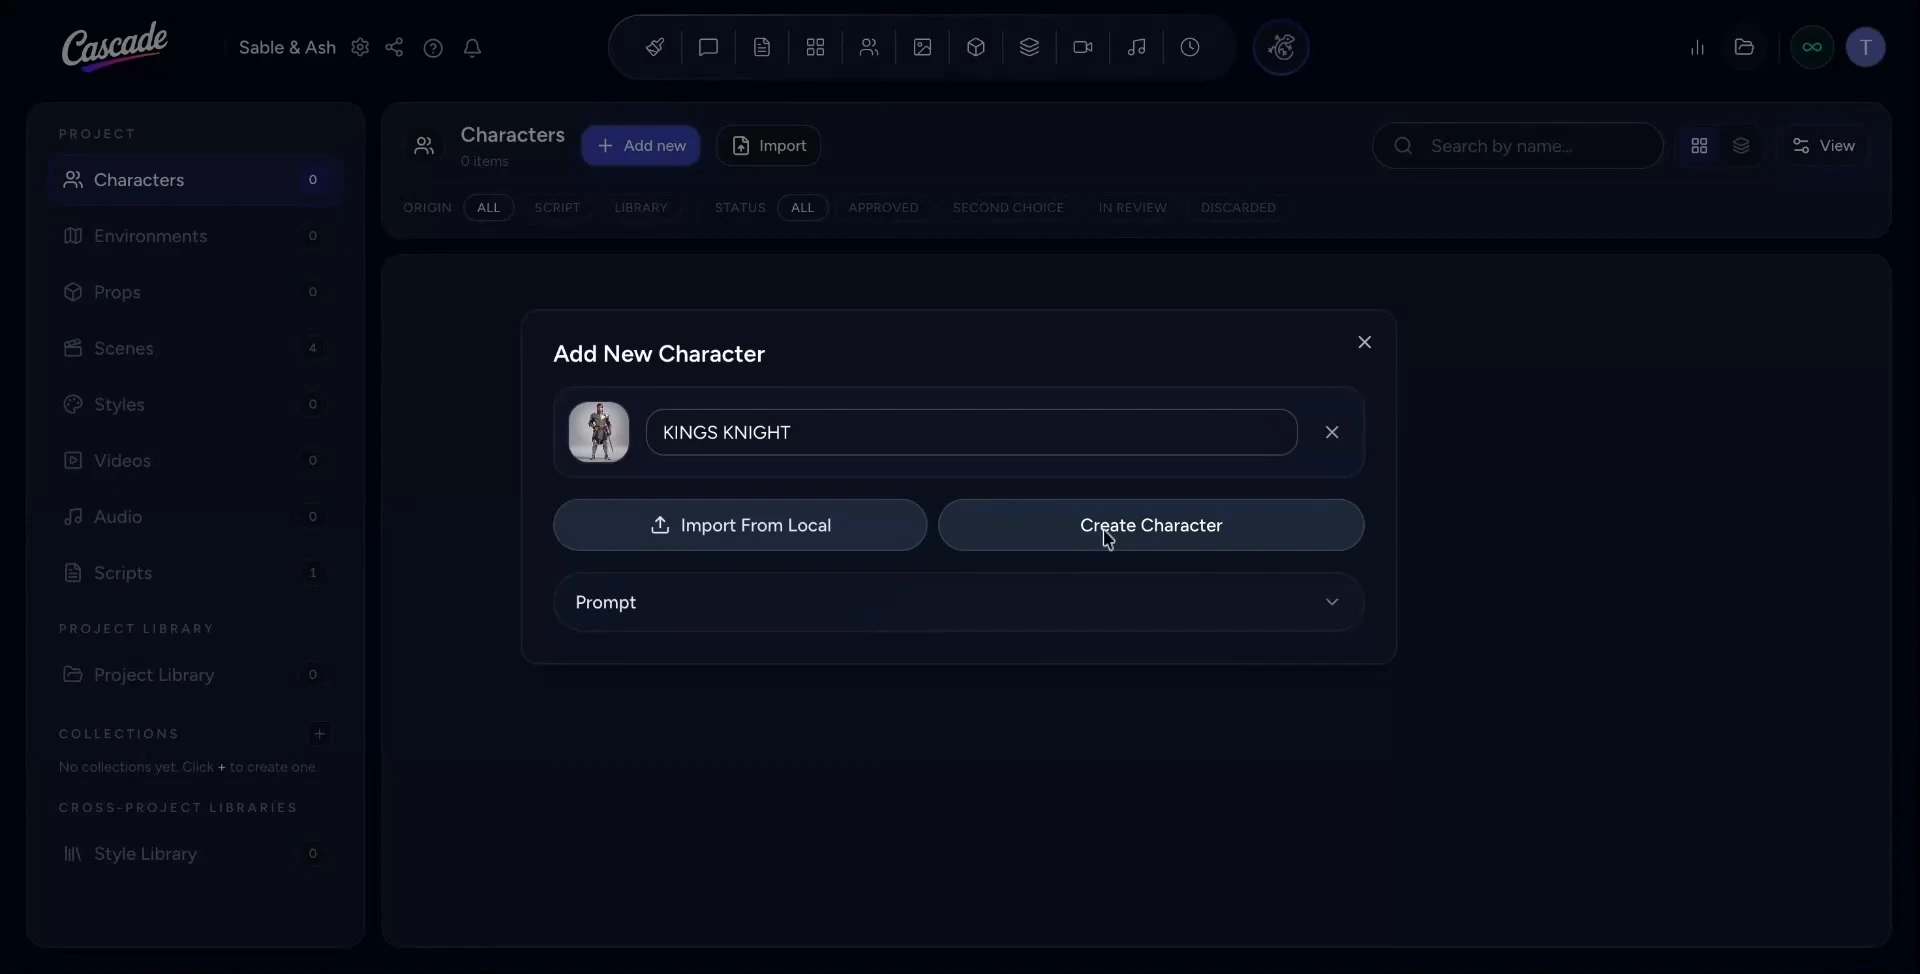
Repeat this process for all relevant assets, including environments and props, so that your library is complete.
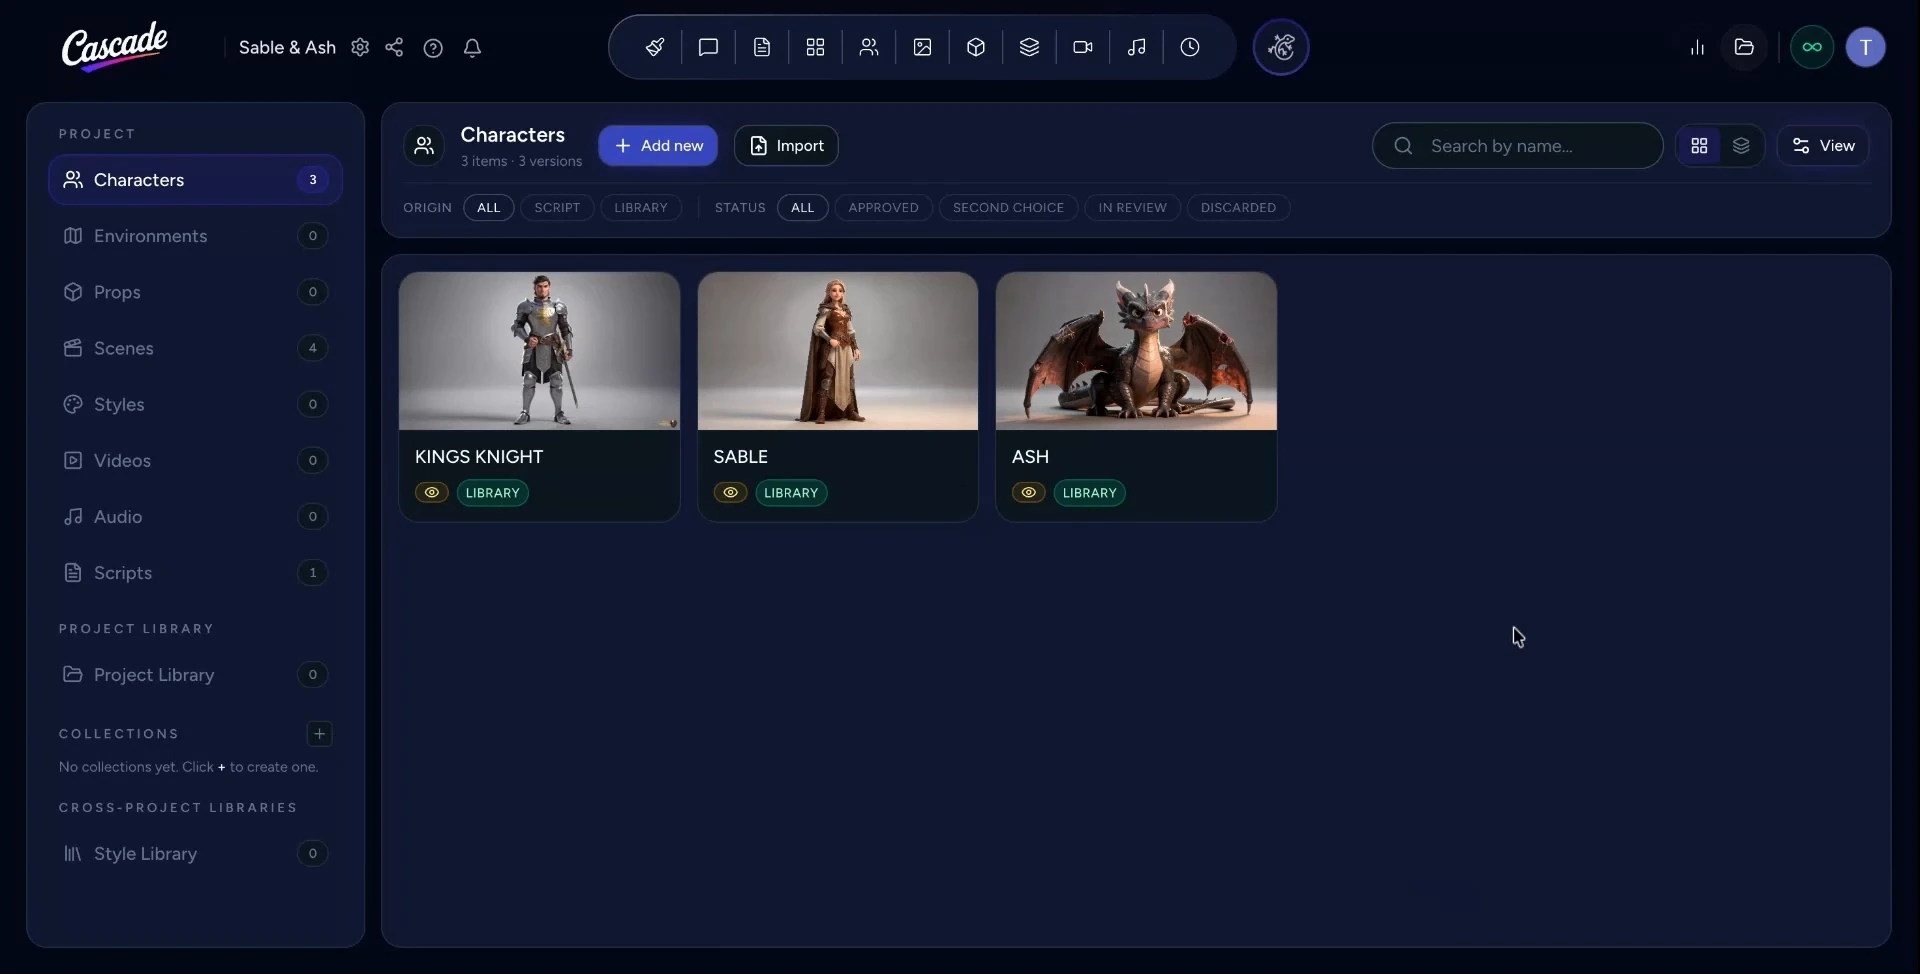
Once your assets are uploaded, return to the Scripts page to connect them to the script.
Link your assets by choosing the appropriate character, environment, or prop from the dropdown library menu within the script.
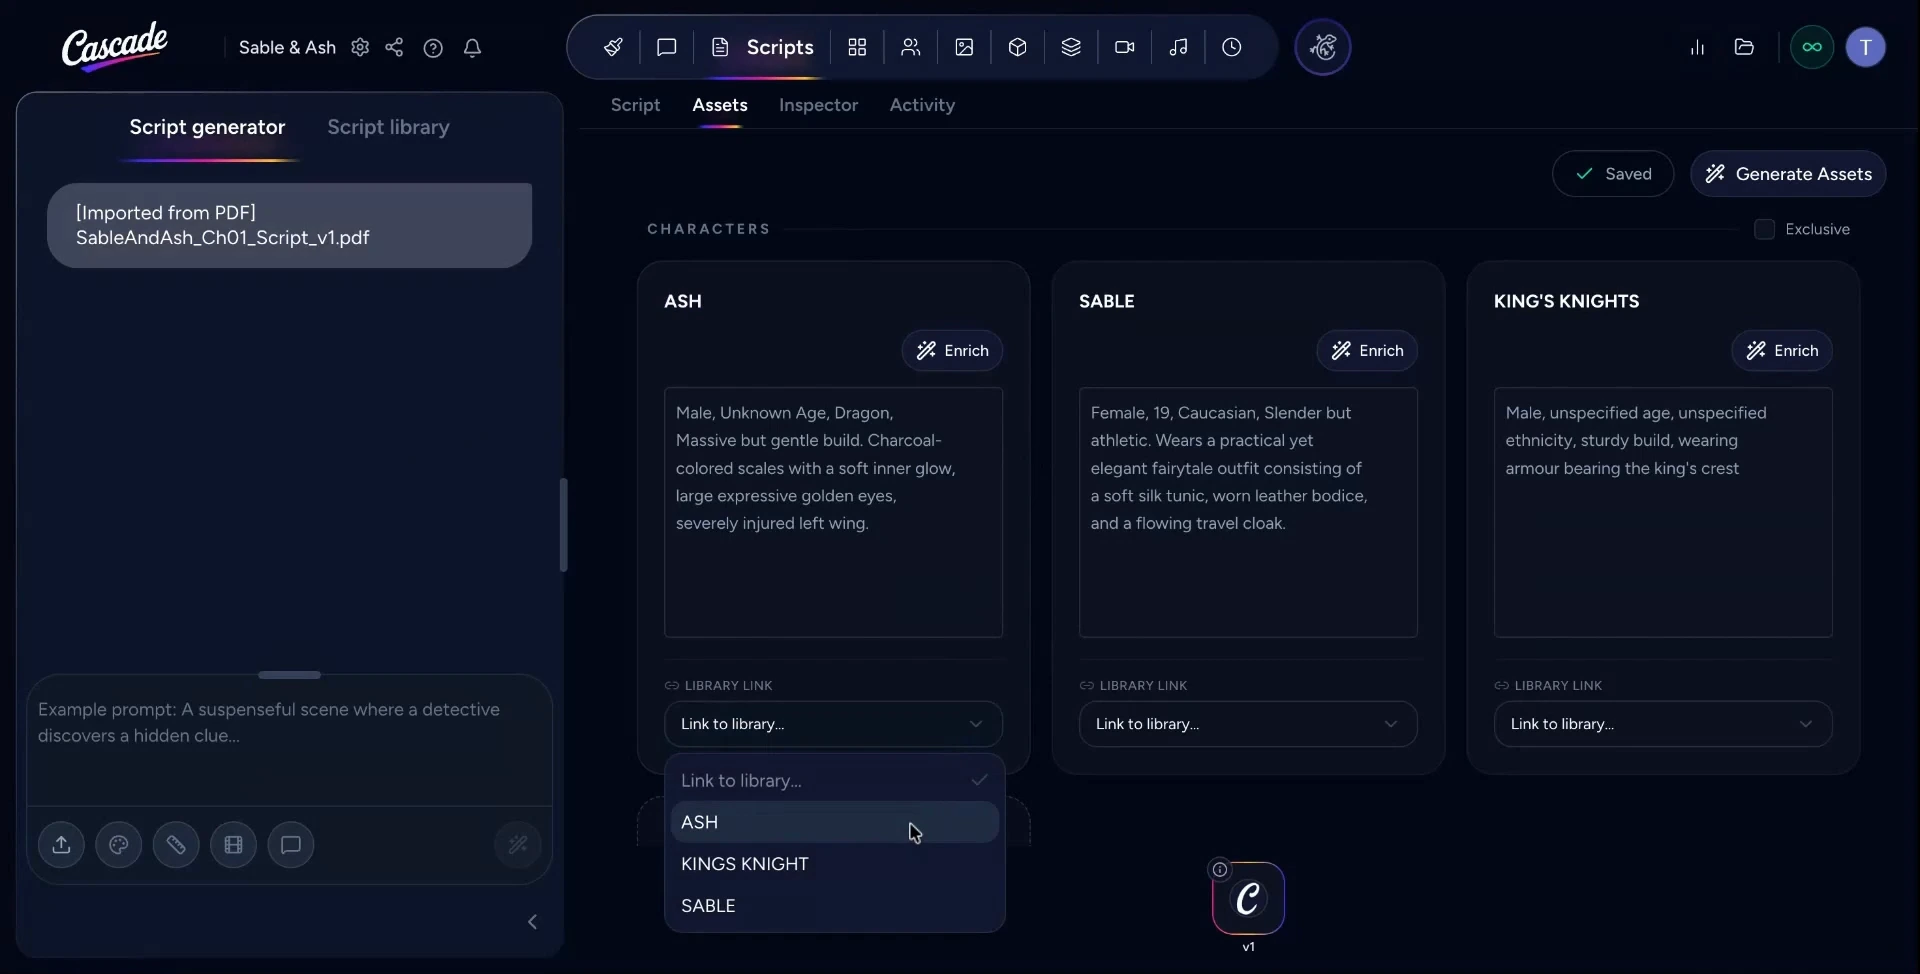
After linking, open the Inspector to confirm that all characters (and other assets) are correctly associated with their script references.
You are now ready to work fully with your script and visual assets on the Scripts page.