How to create, refine, import, and experiment with characters, as well as create character sheets and experiment in the Playground to compare outputs in parallel.
The Character Library is where all characters you create will be stored. To add a new character, simply click on Add New.
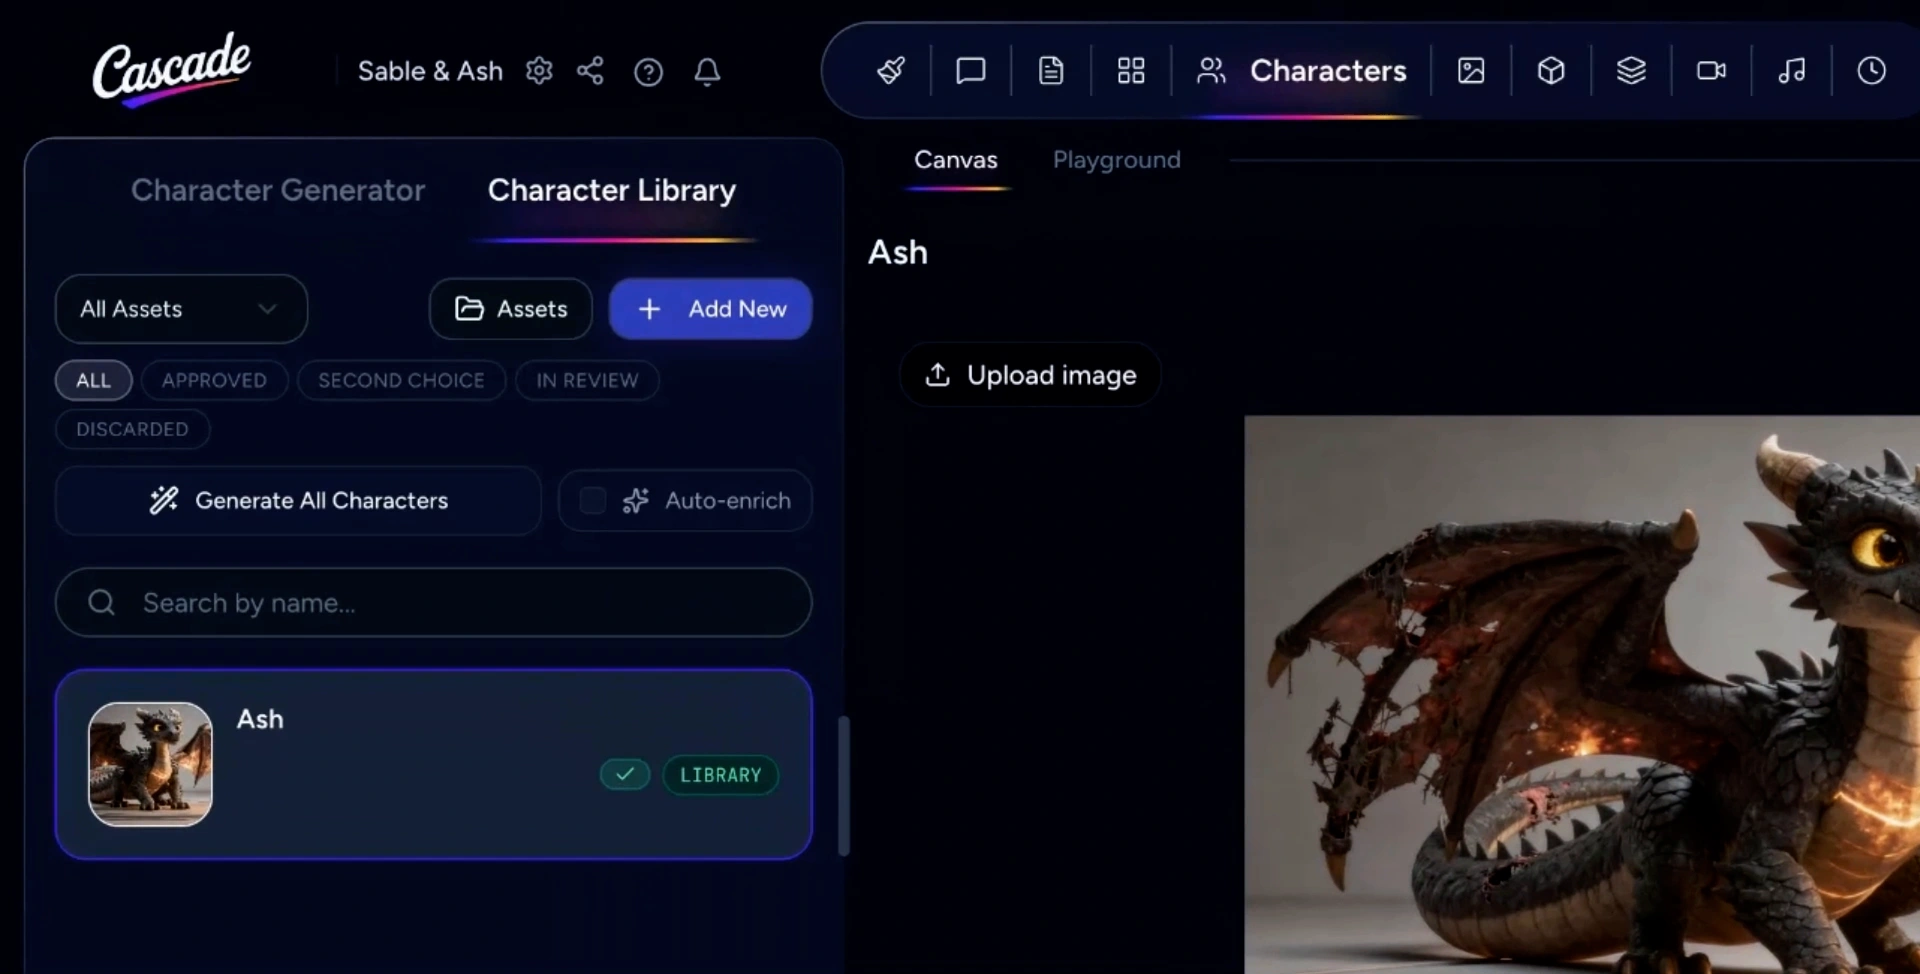
You will see three options:
For this tutorial, choose to import an environment asset that’s already saved on your machine. Then type a name for the asset and click Create Character. Your new character will now appear in your character library.
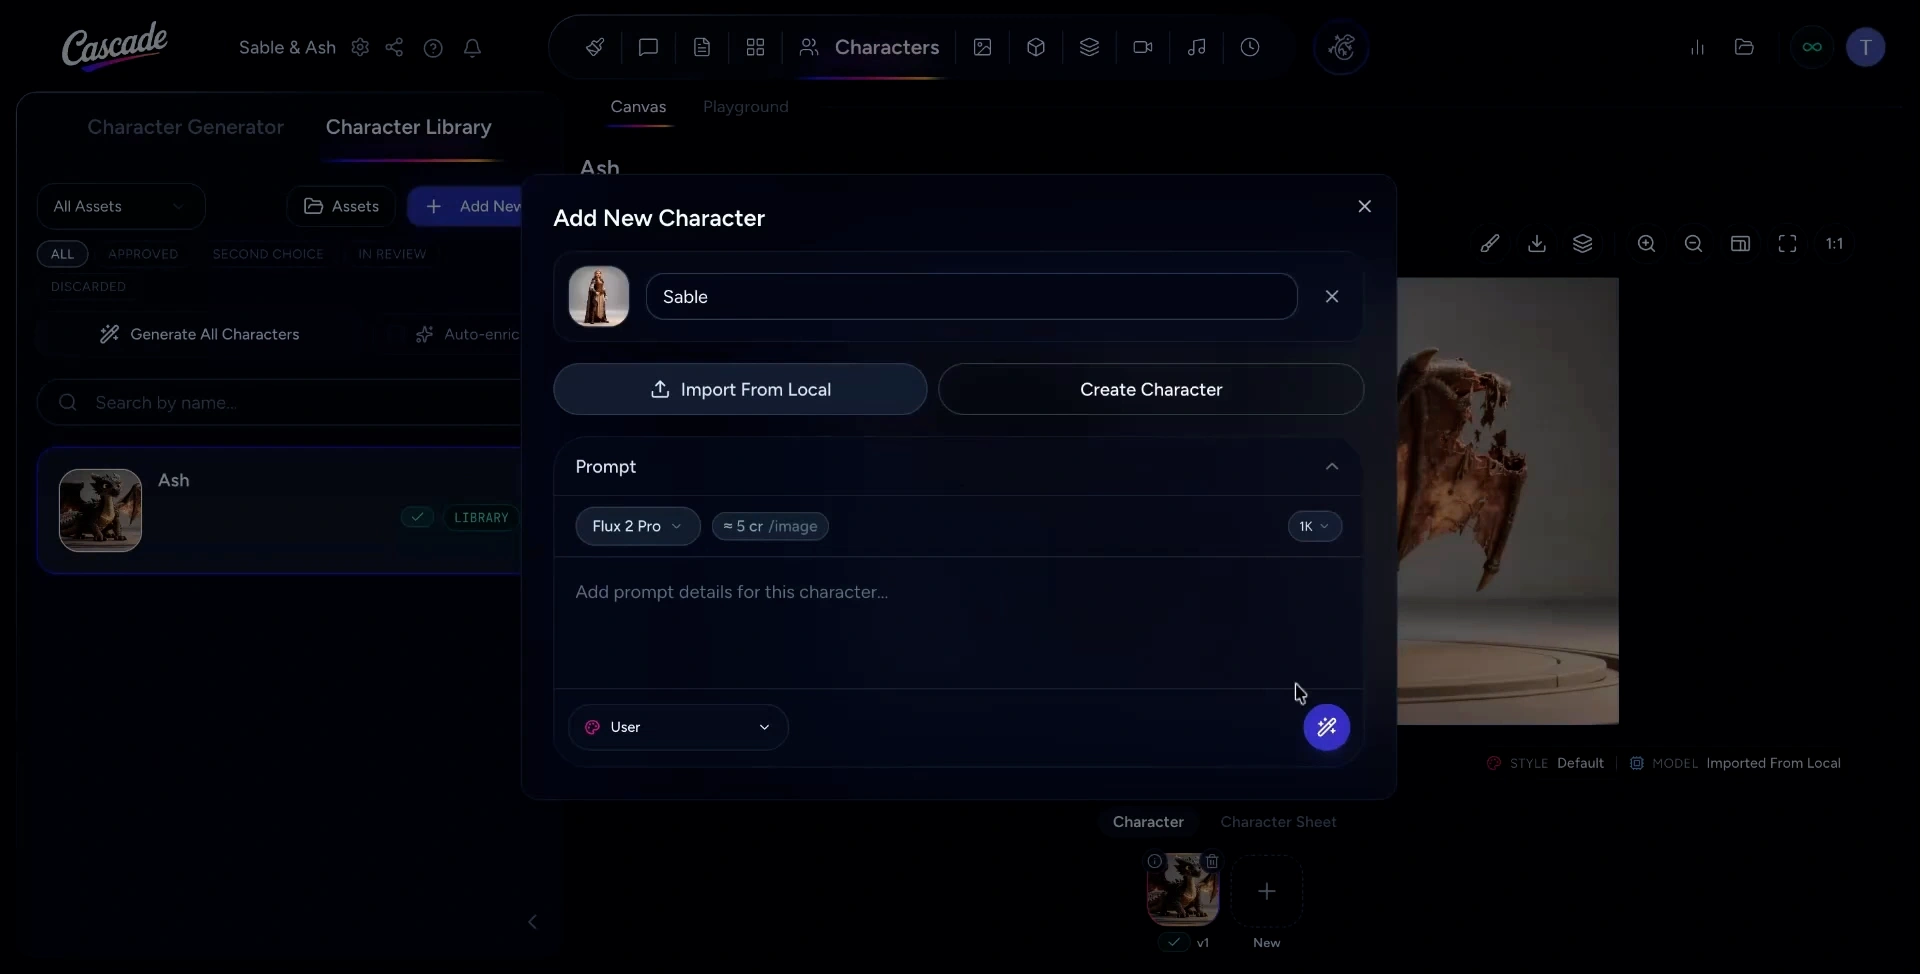
*In this tutorial, a character asset was imported.
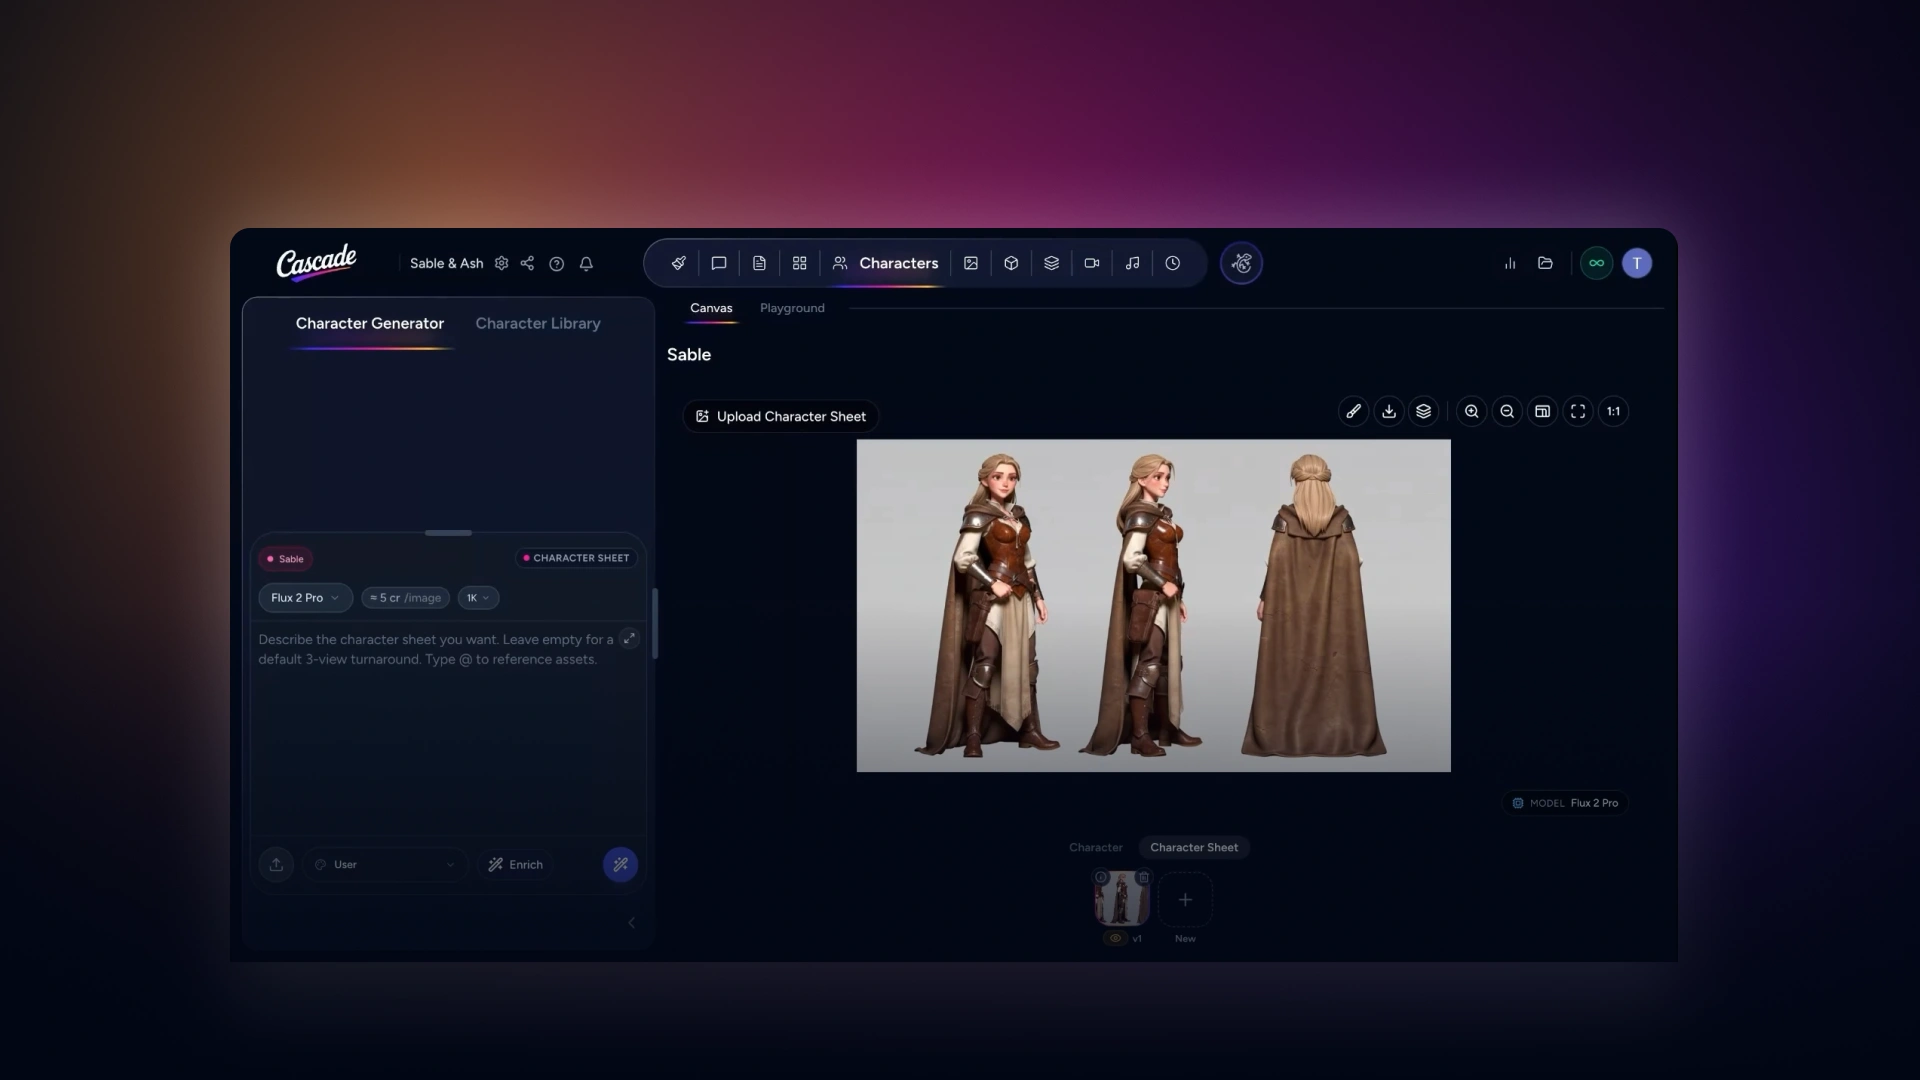
You can create a 3-view turnaround of your character by clicking on the Character Sheet for your new character. At this point, you may notice that a character sheet has not been generated or uploaded yet.
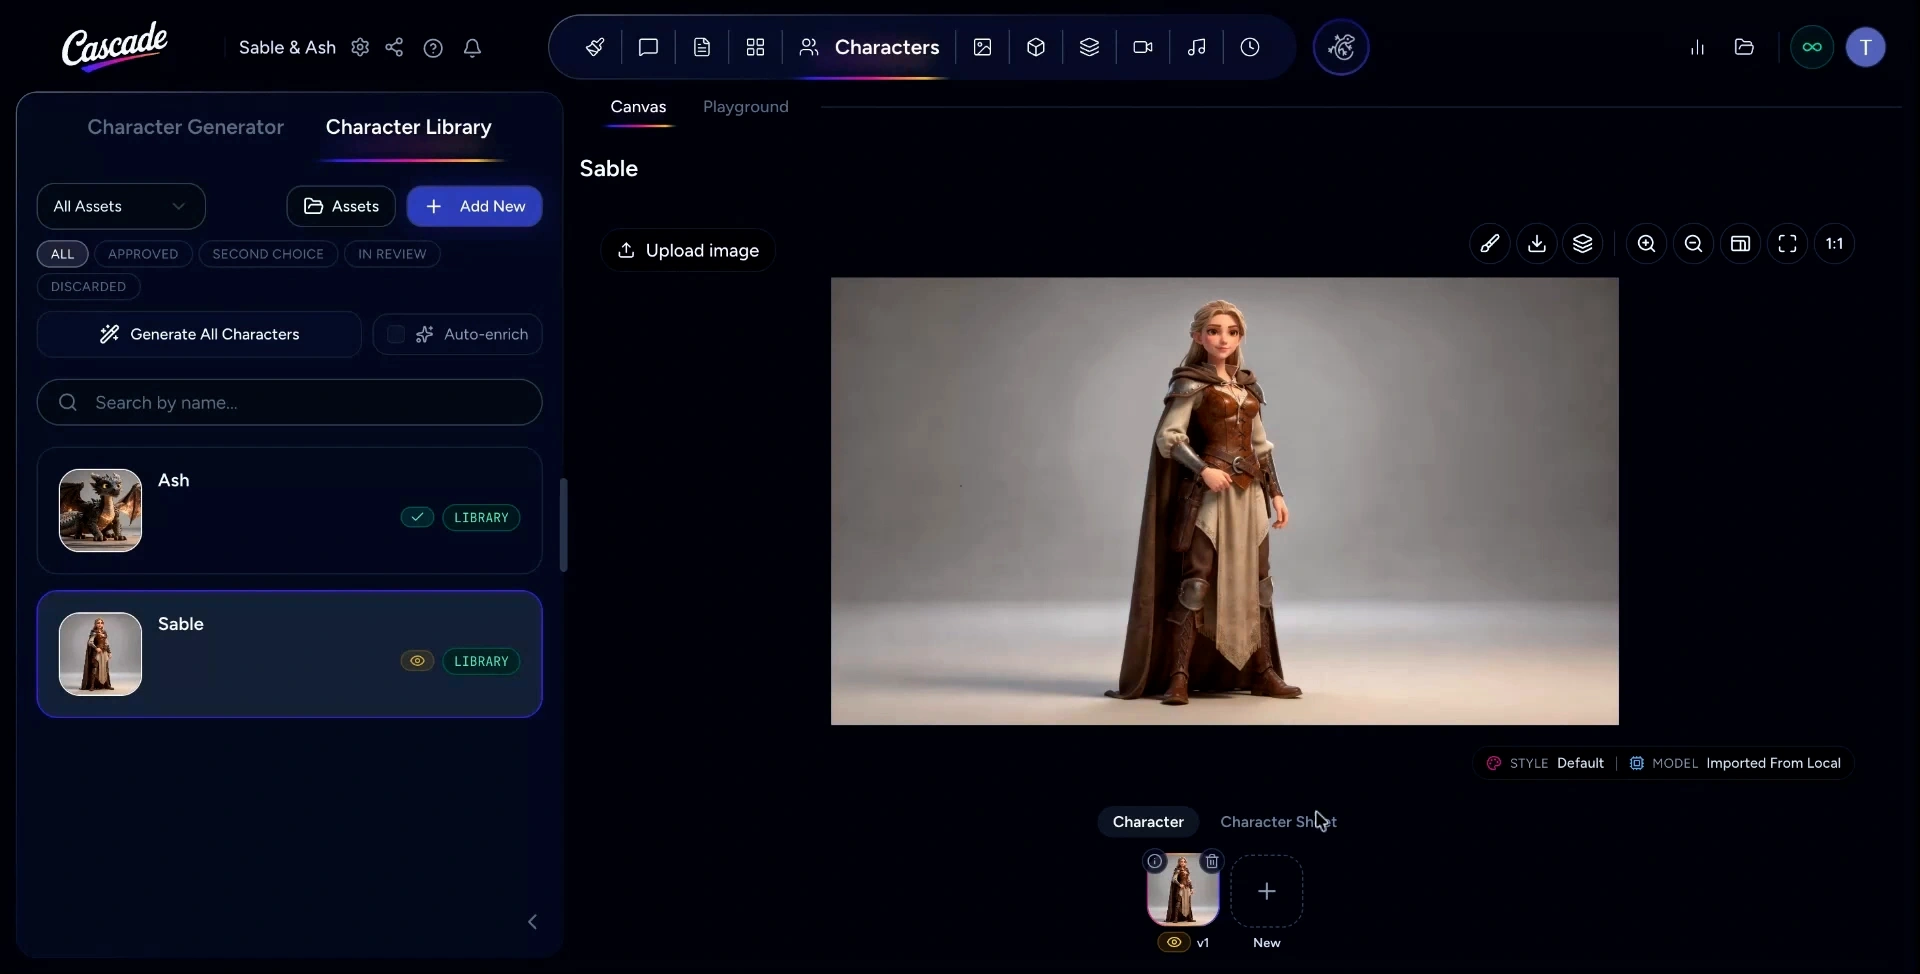
If you have a pre-existing character sheet, add it by selecting Upload Character Sheet.
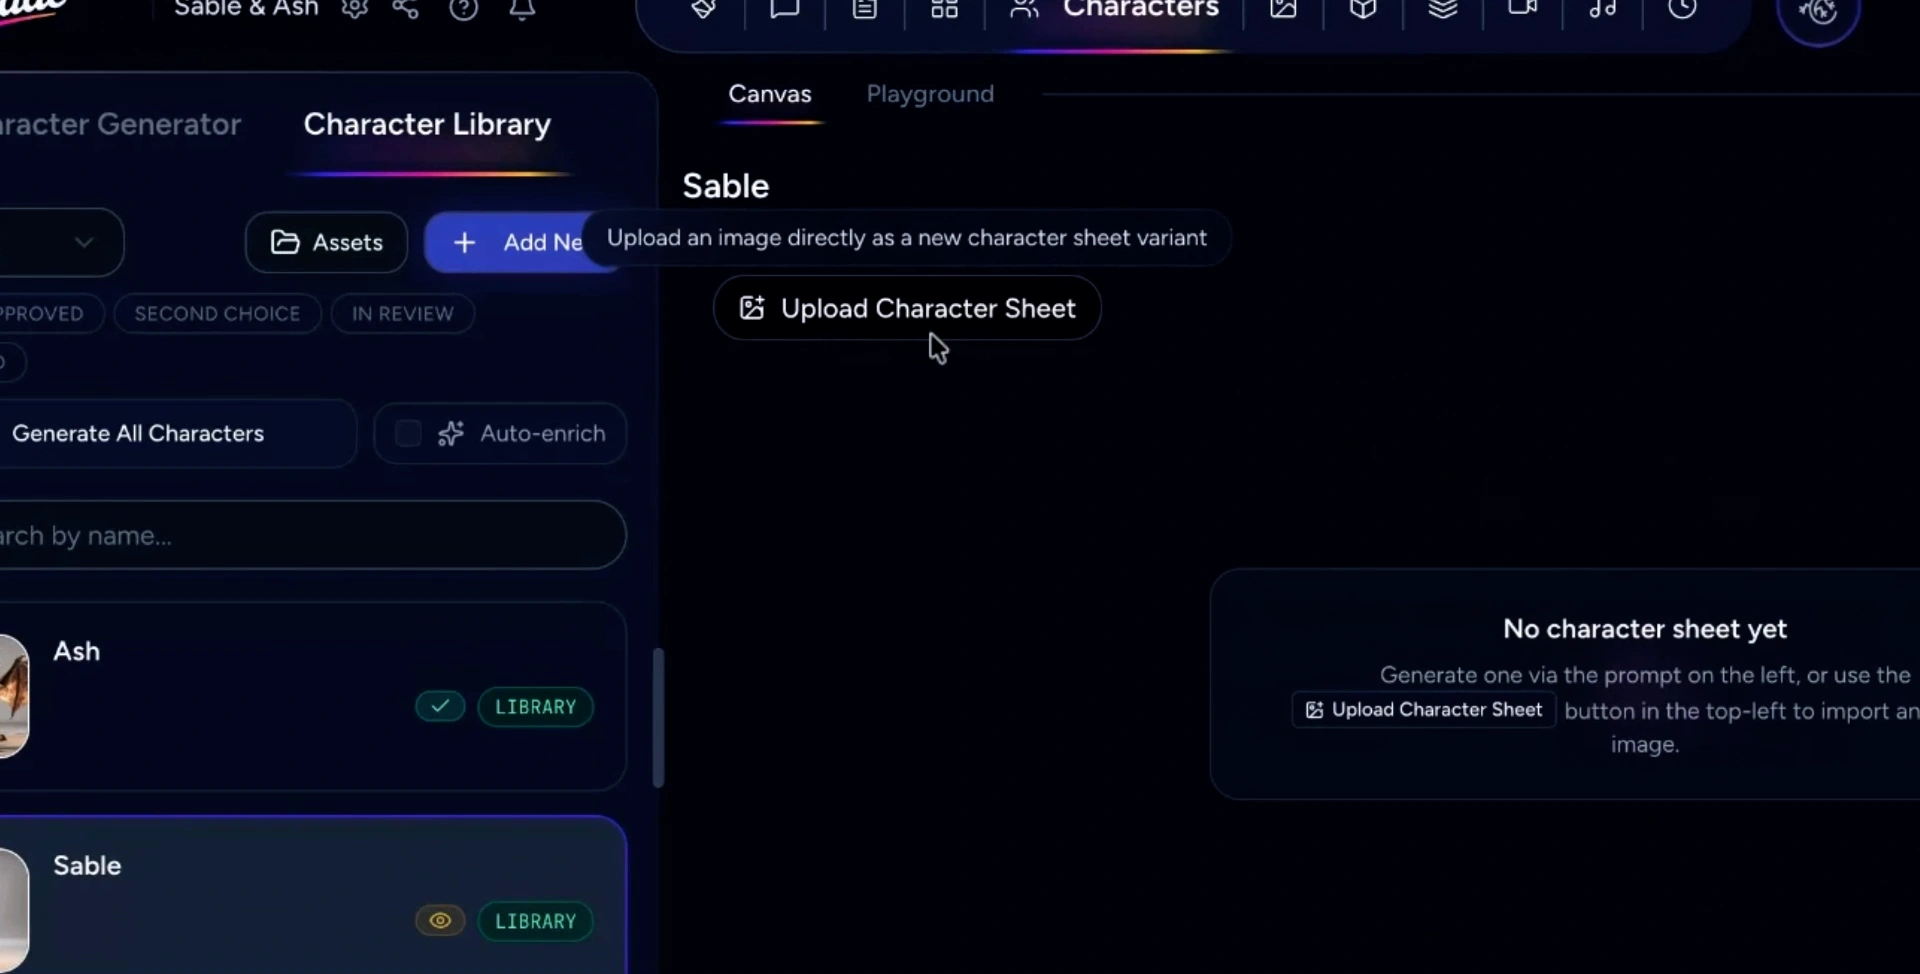
Alternatively, you can use the character generator. If you leave the prompt box empty, the generator will create a default three-view turnaround. Select Generate to produce the character sheet.
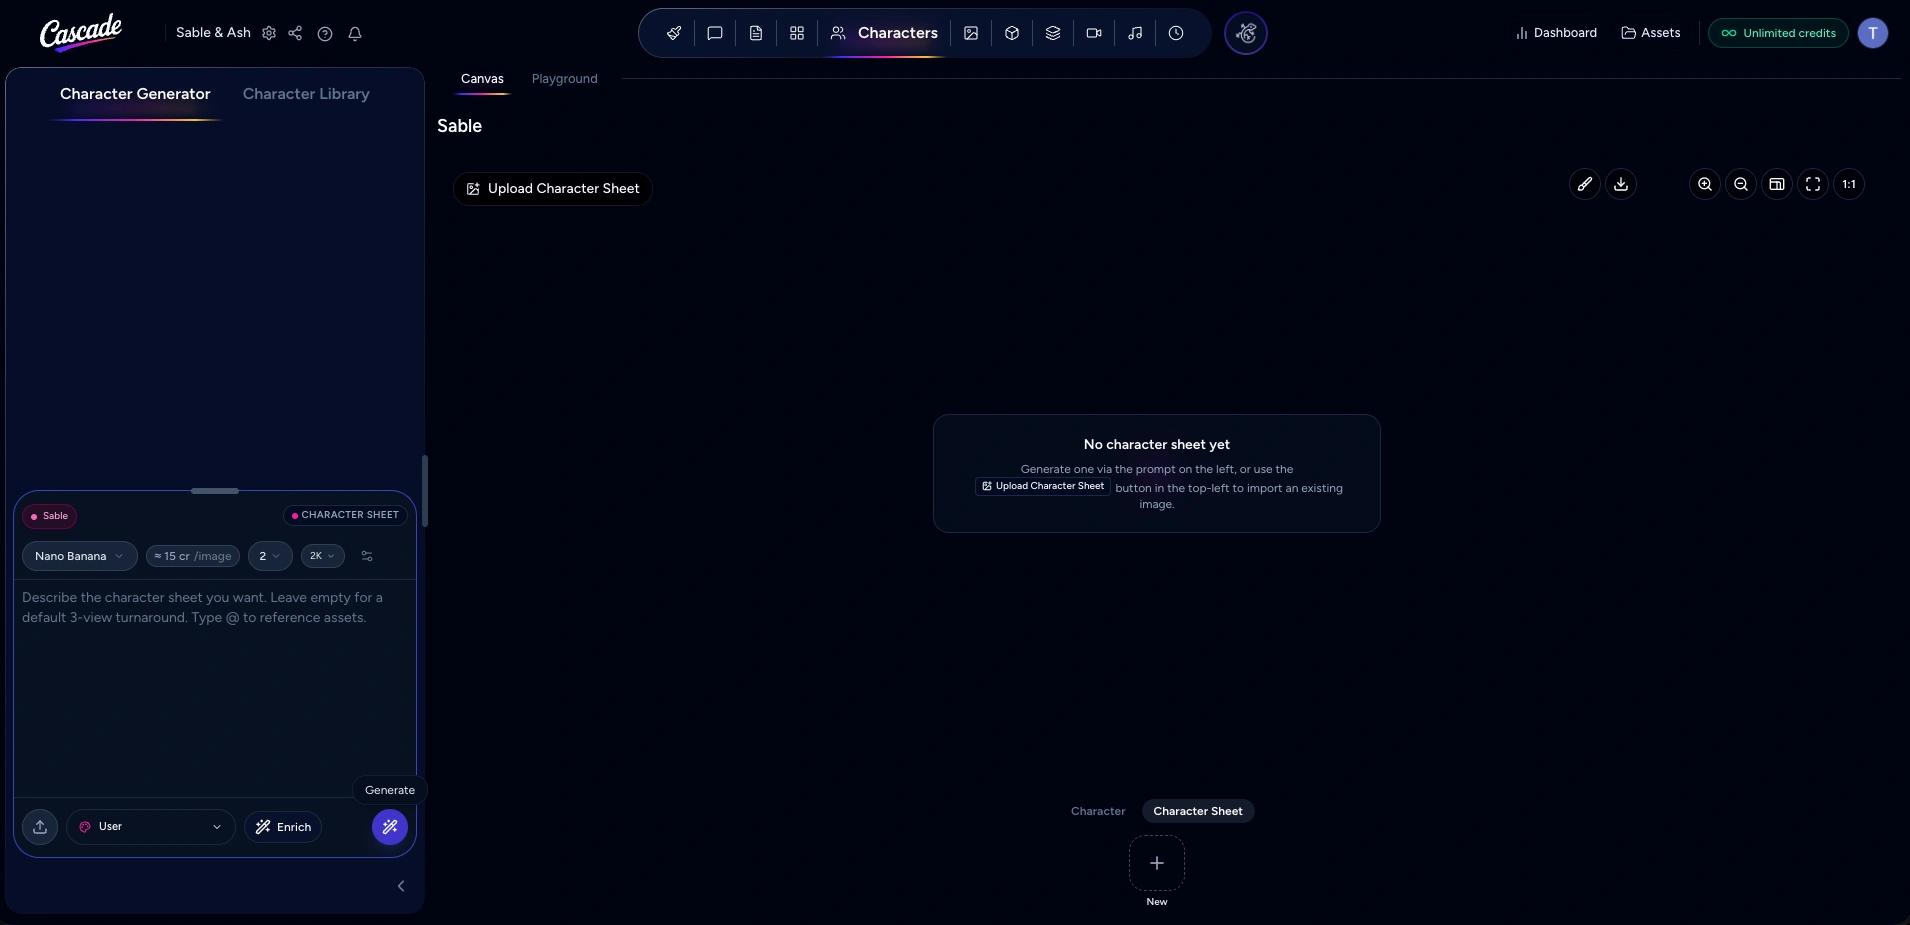
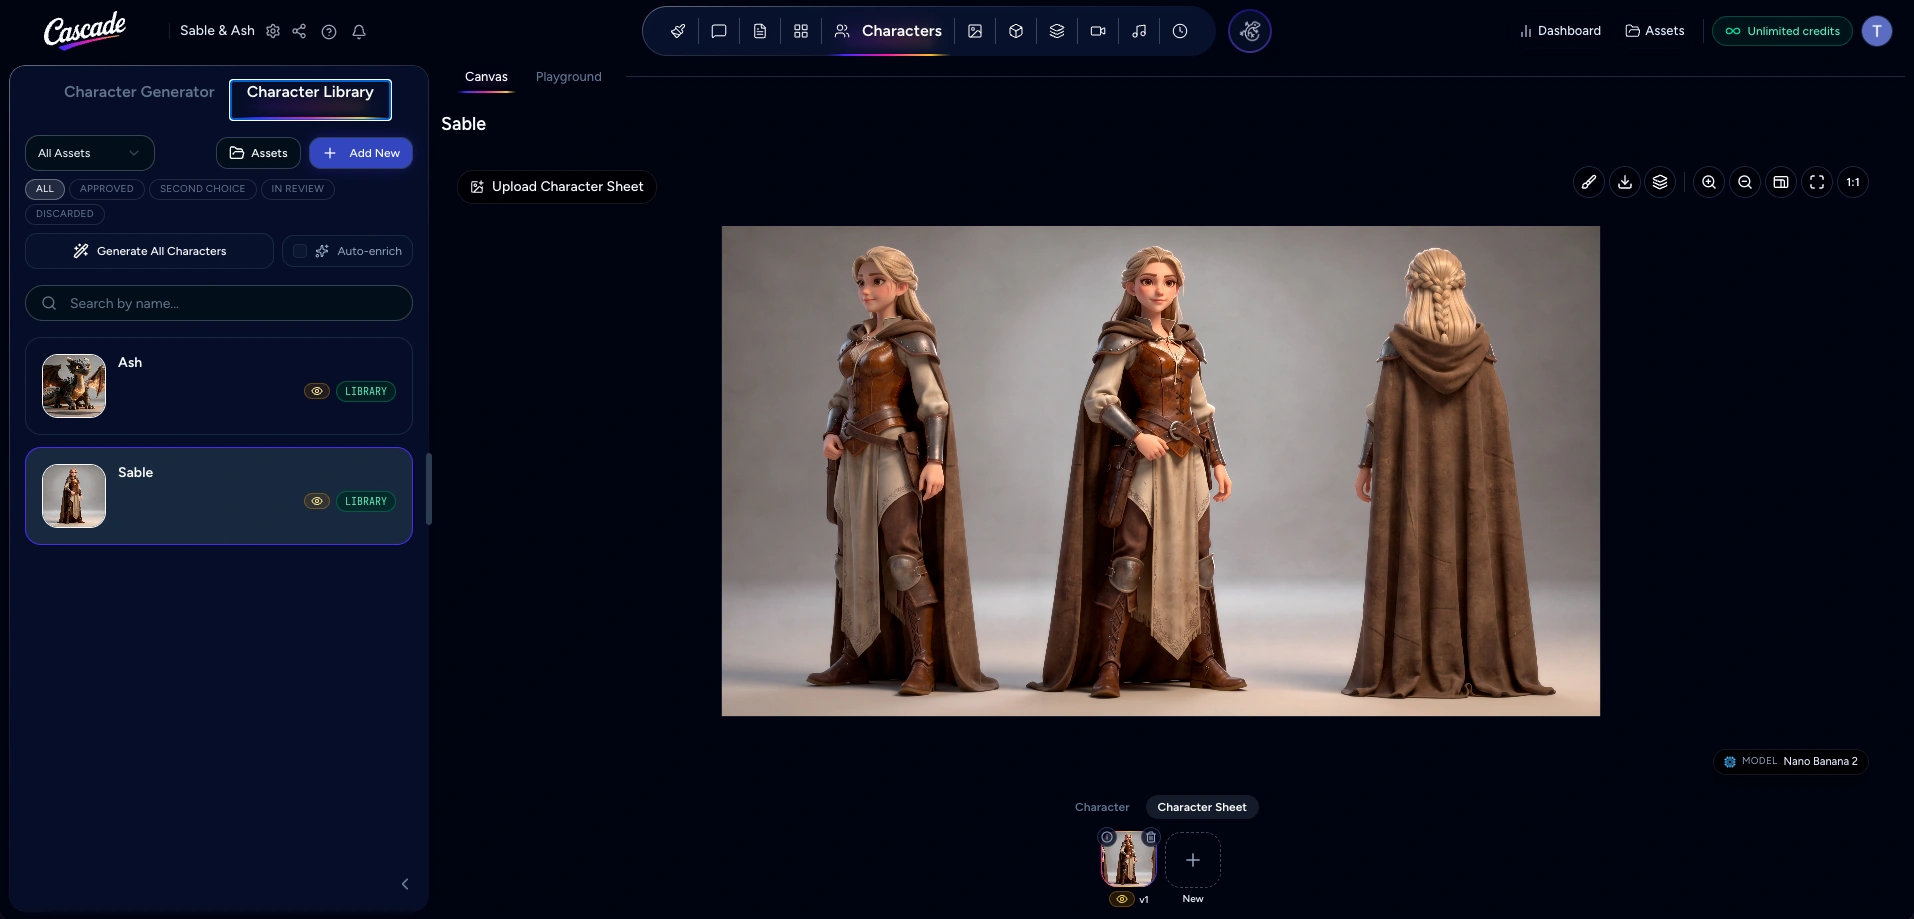
Now you can view your character from three different angles in a turnaround display.
You can refine your character in the Character Generator tab and refine by writing a new prompt.
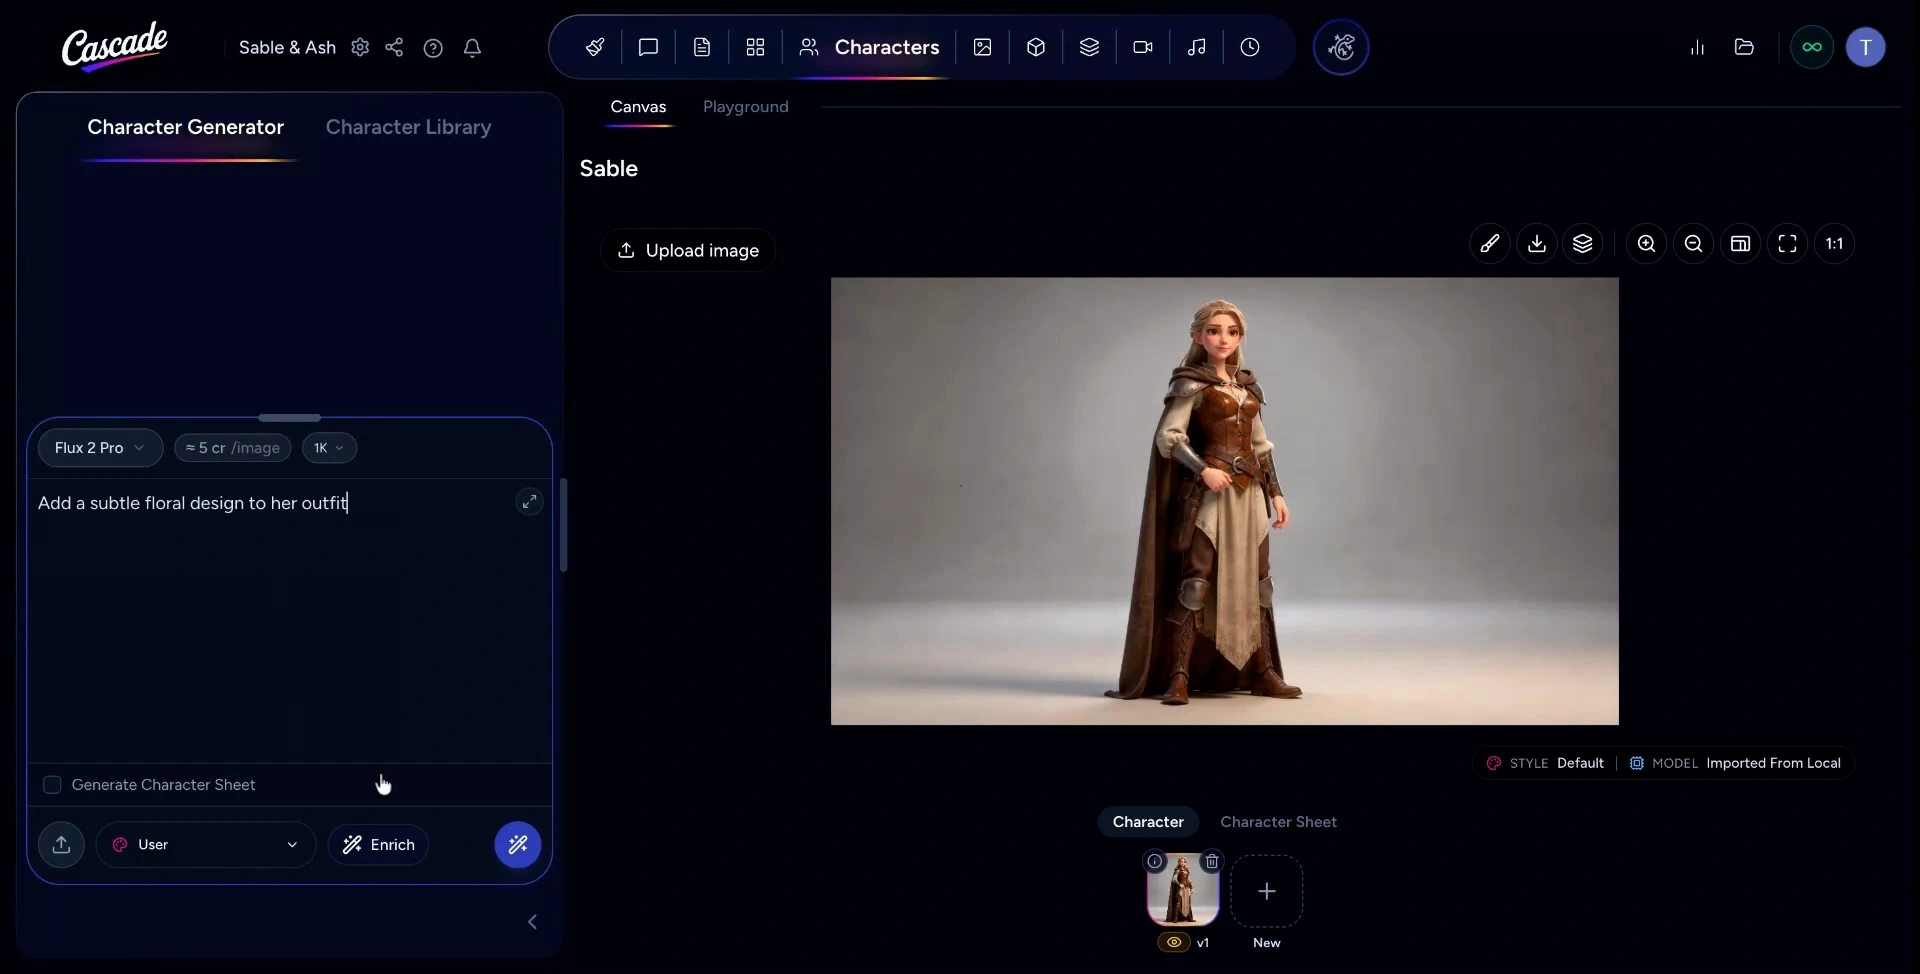
* In this tutorial we have added the prompt ‘add a subtle floral design to her outfit’
Click Enrich to expand your brief prompt into a detailed, model-ready version. If you're satisfied with the enriched result, you can use the prompt as is or discard it if you prefer.
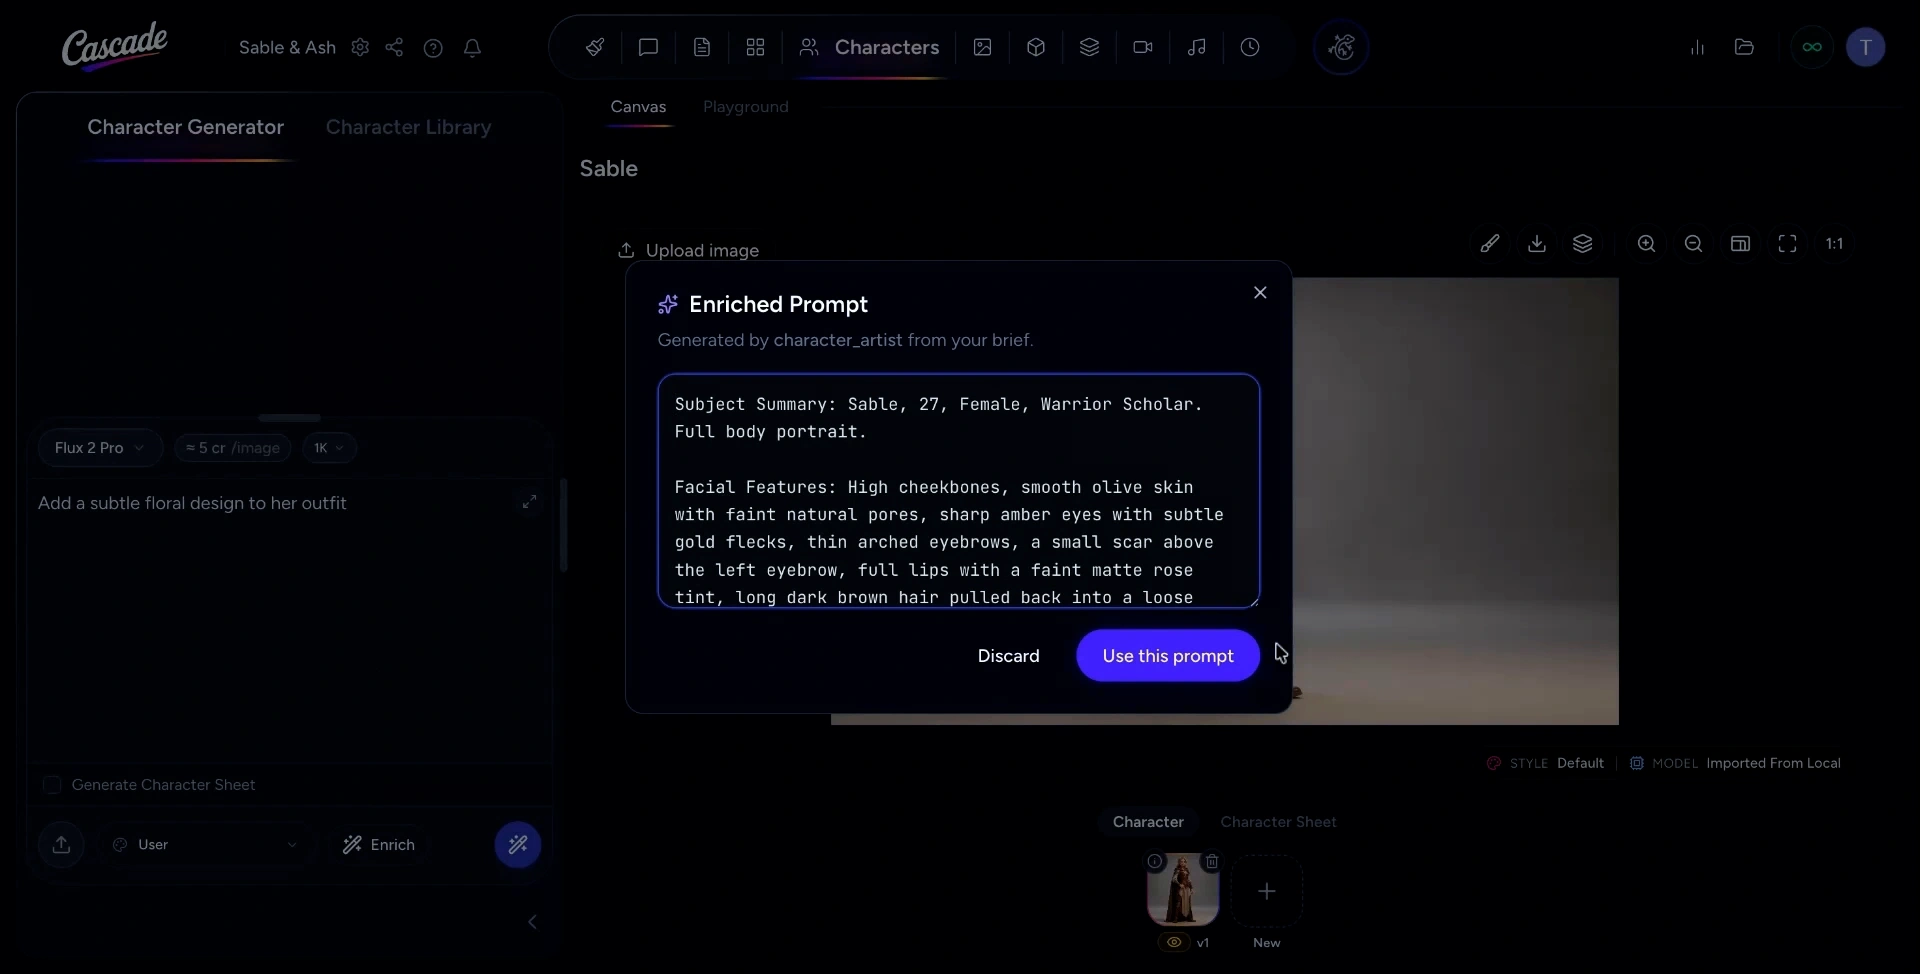
When you're happy with your prompt, select your preferred model and resolution, choose from a predefined style or your own custom style. Then generate another character sheet if needed.
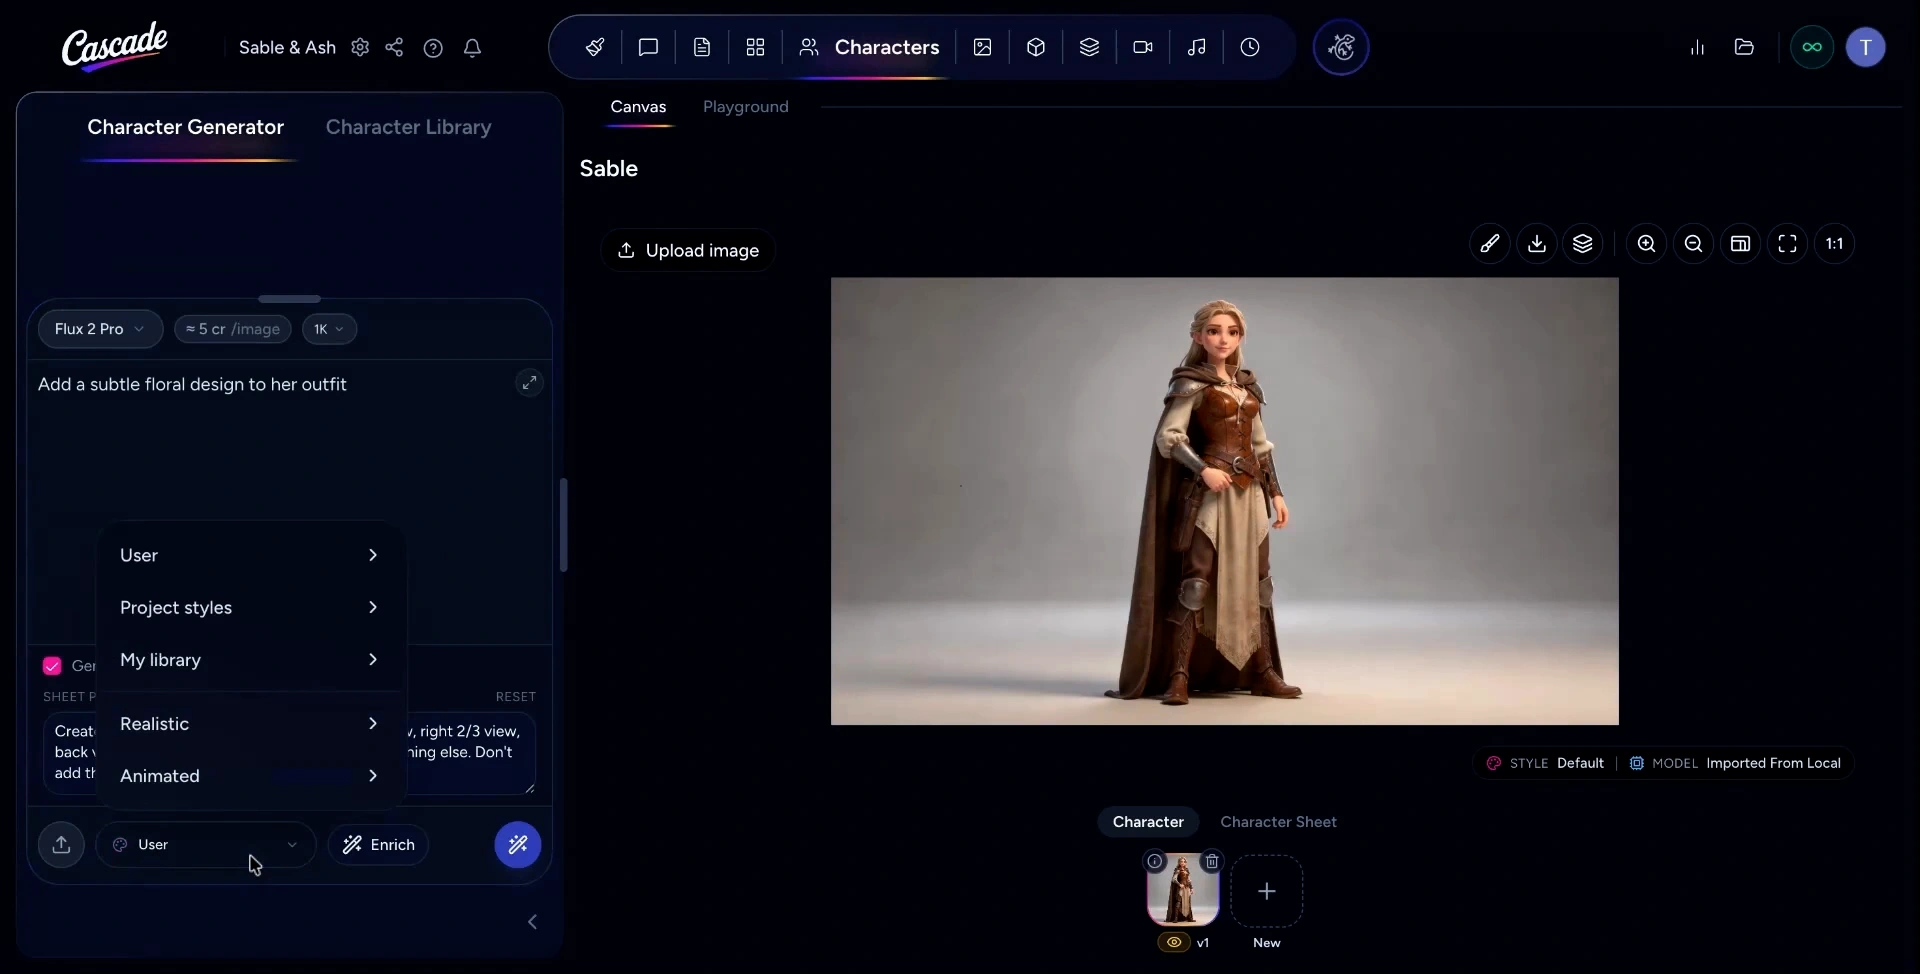
When everything is set, click Generate.
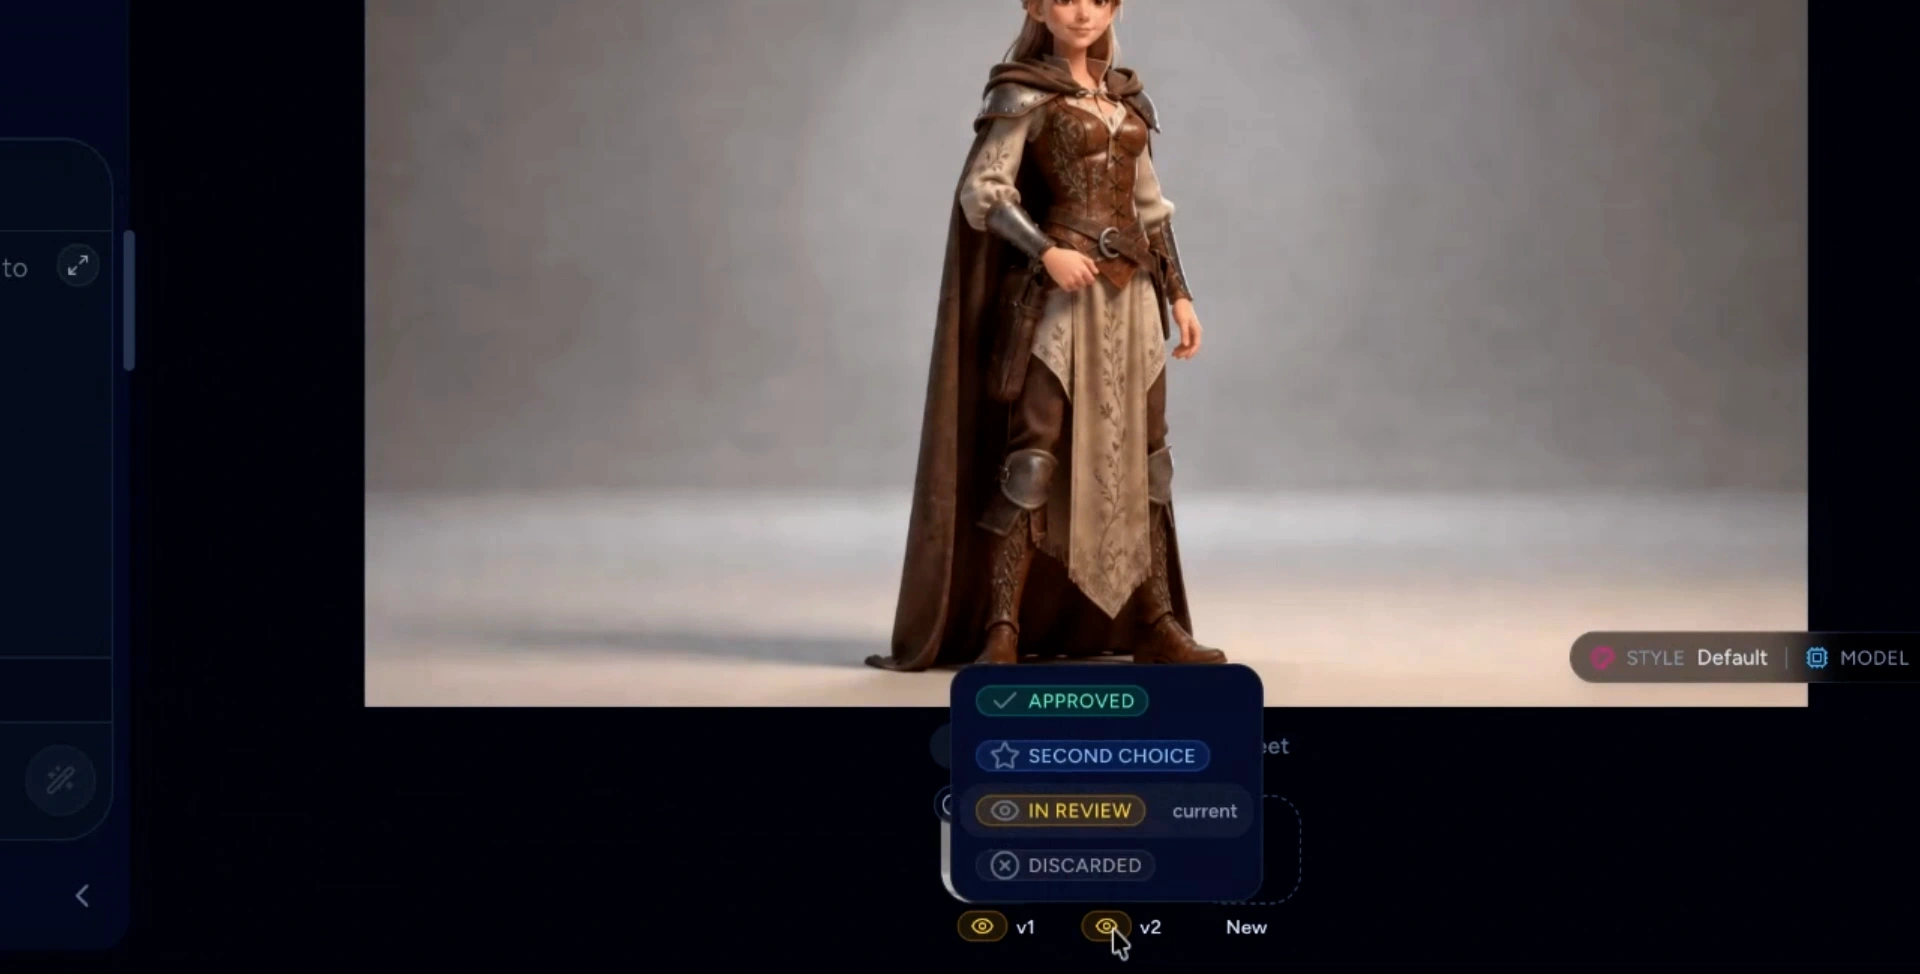
Once the character is generated, you can zoom in on the Canvas to closely examine your refinements. If you're satisfied with this latest version, you can mark it as approved, save it as your second choice, leave it in review, or discard it.
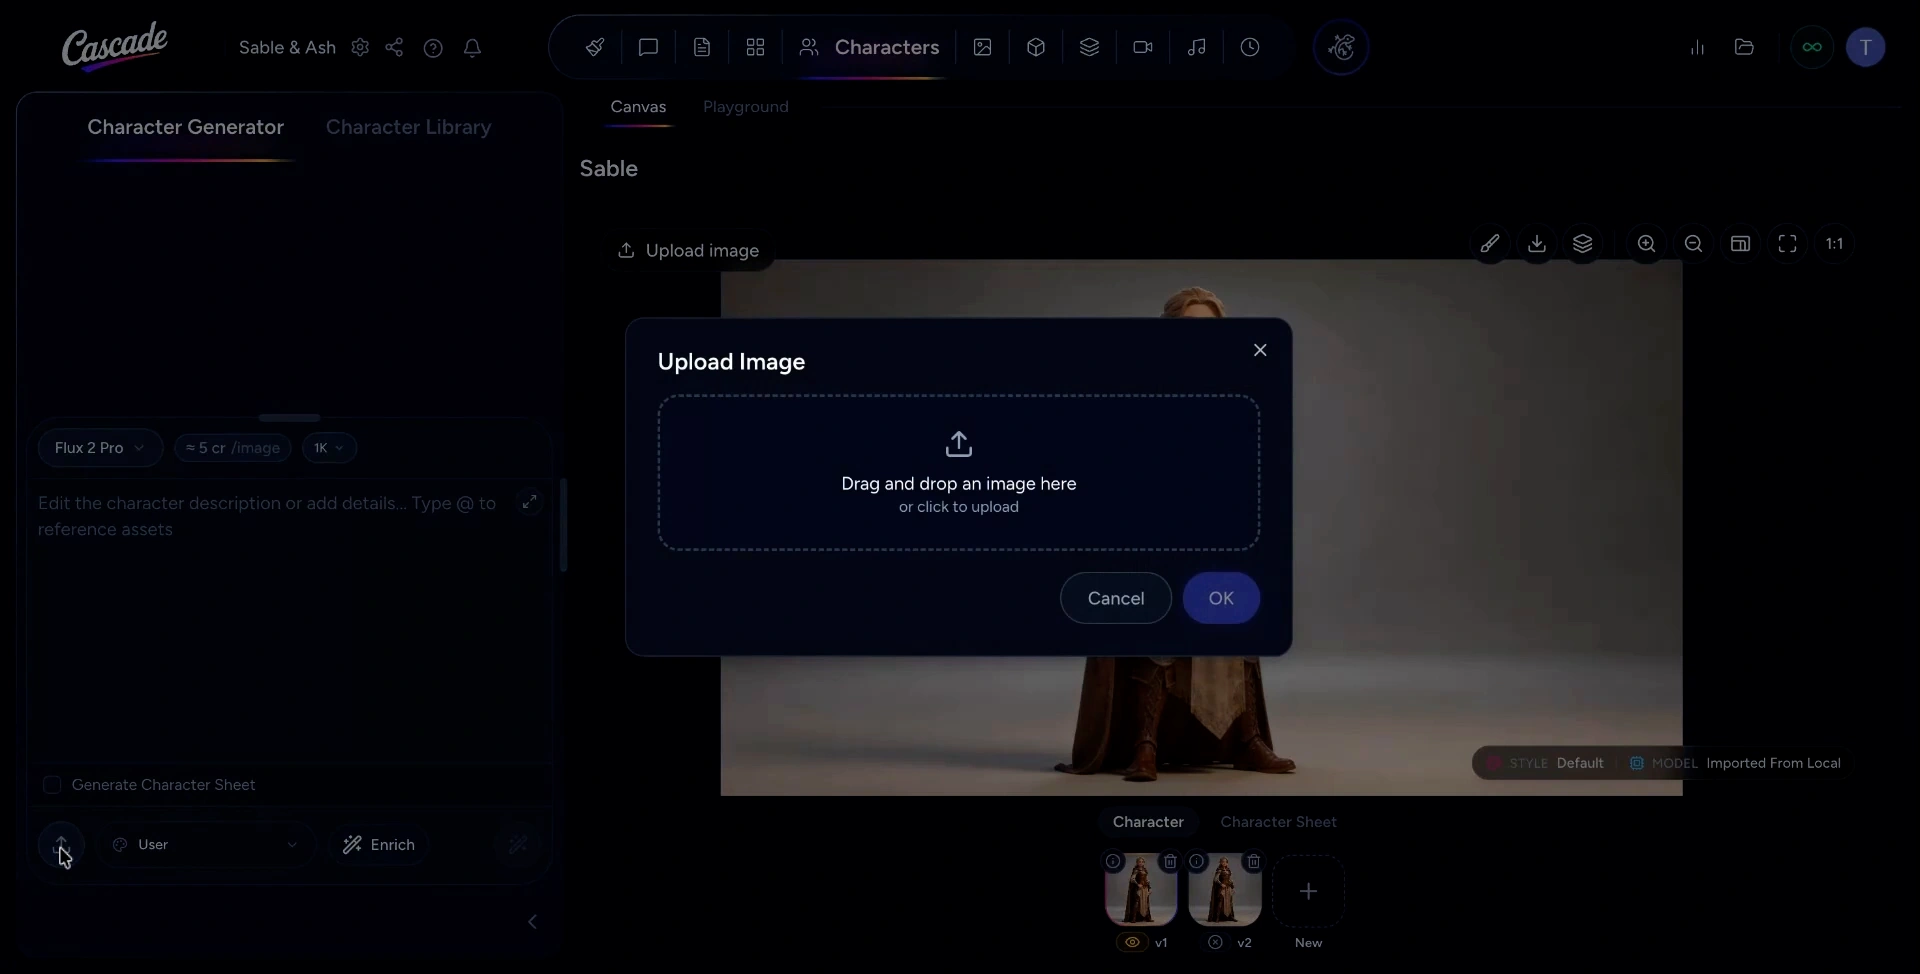
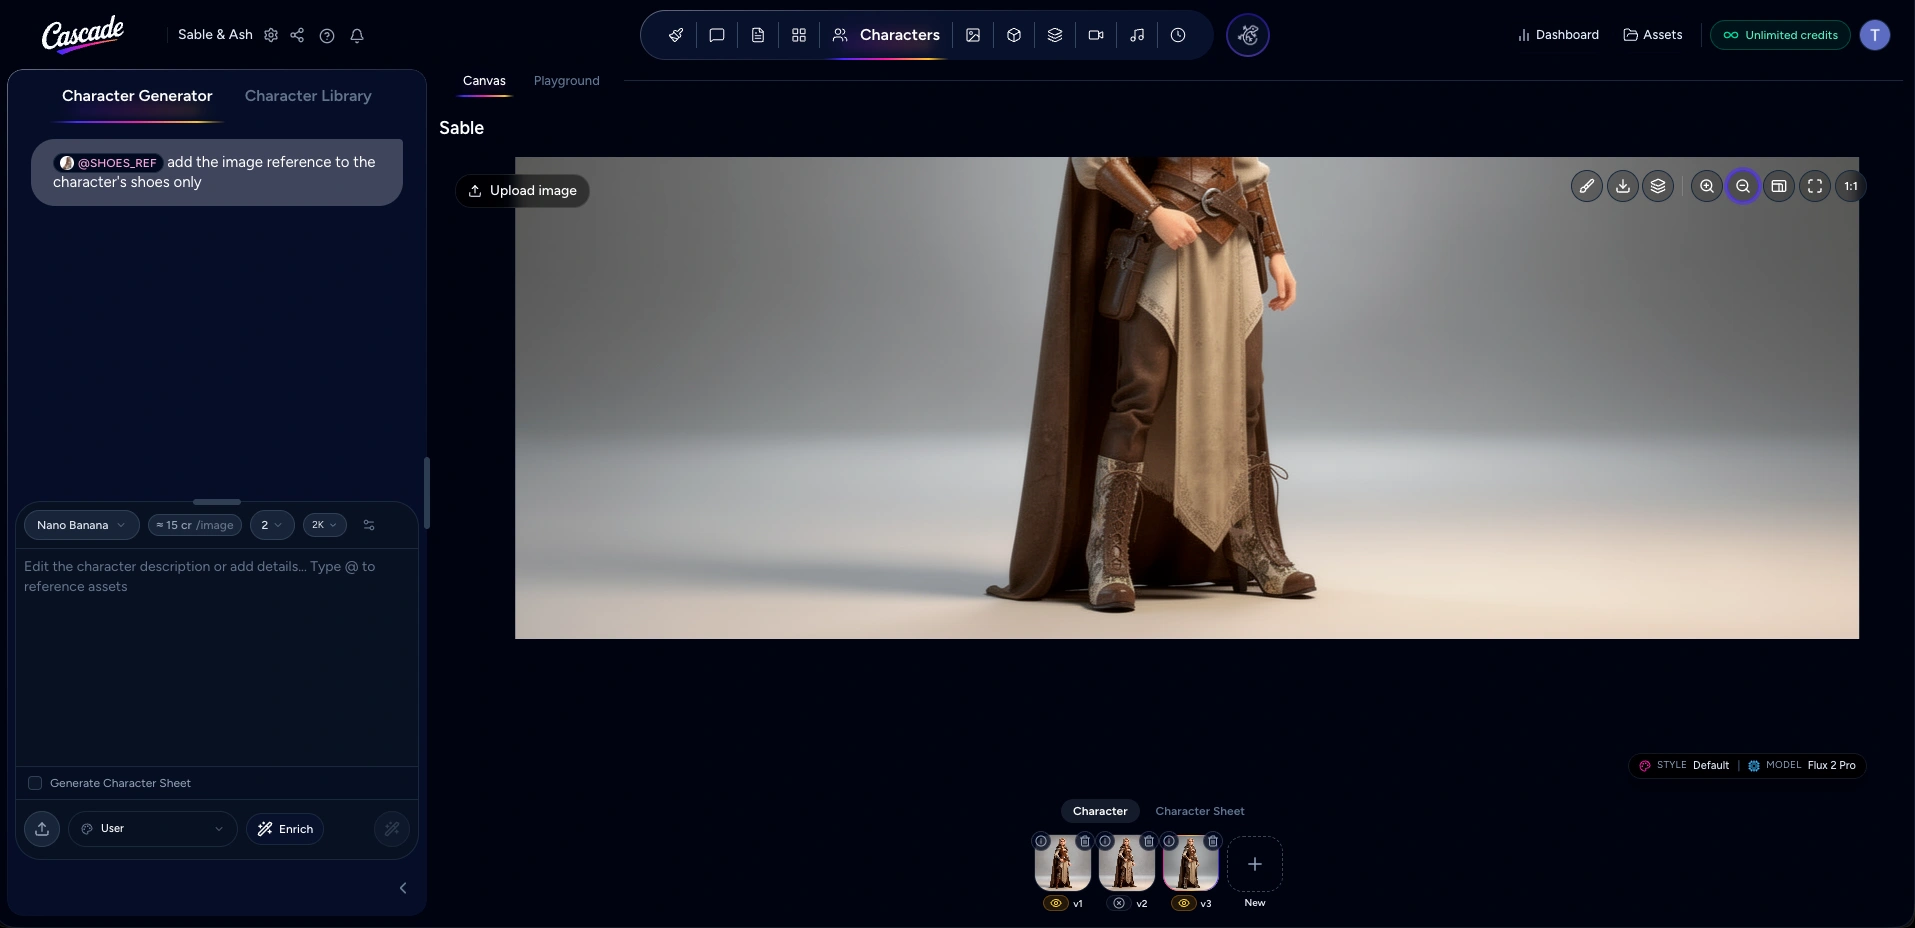
To refine a character using an image as a reference, go to the prompt box and upload your chosen image by dragging and dropping it into the upload area.
Then select OK to upload the image.
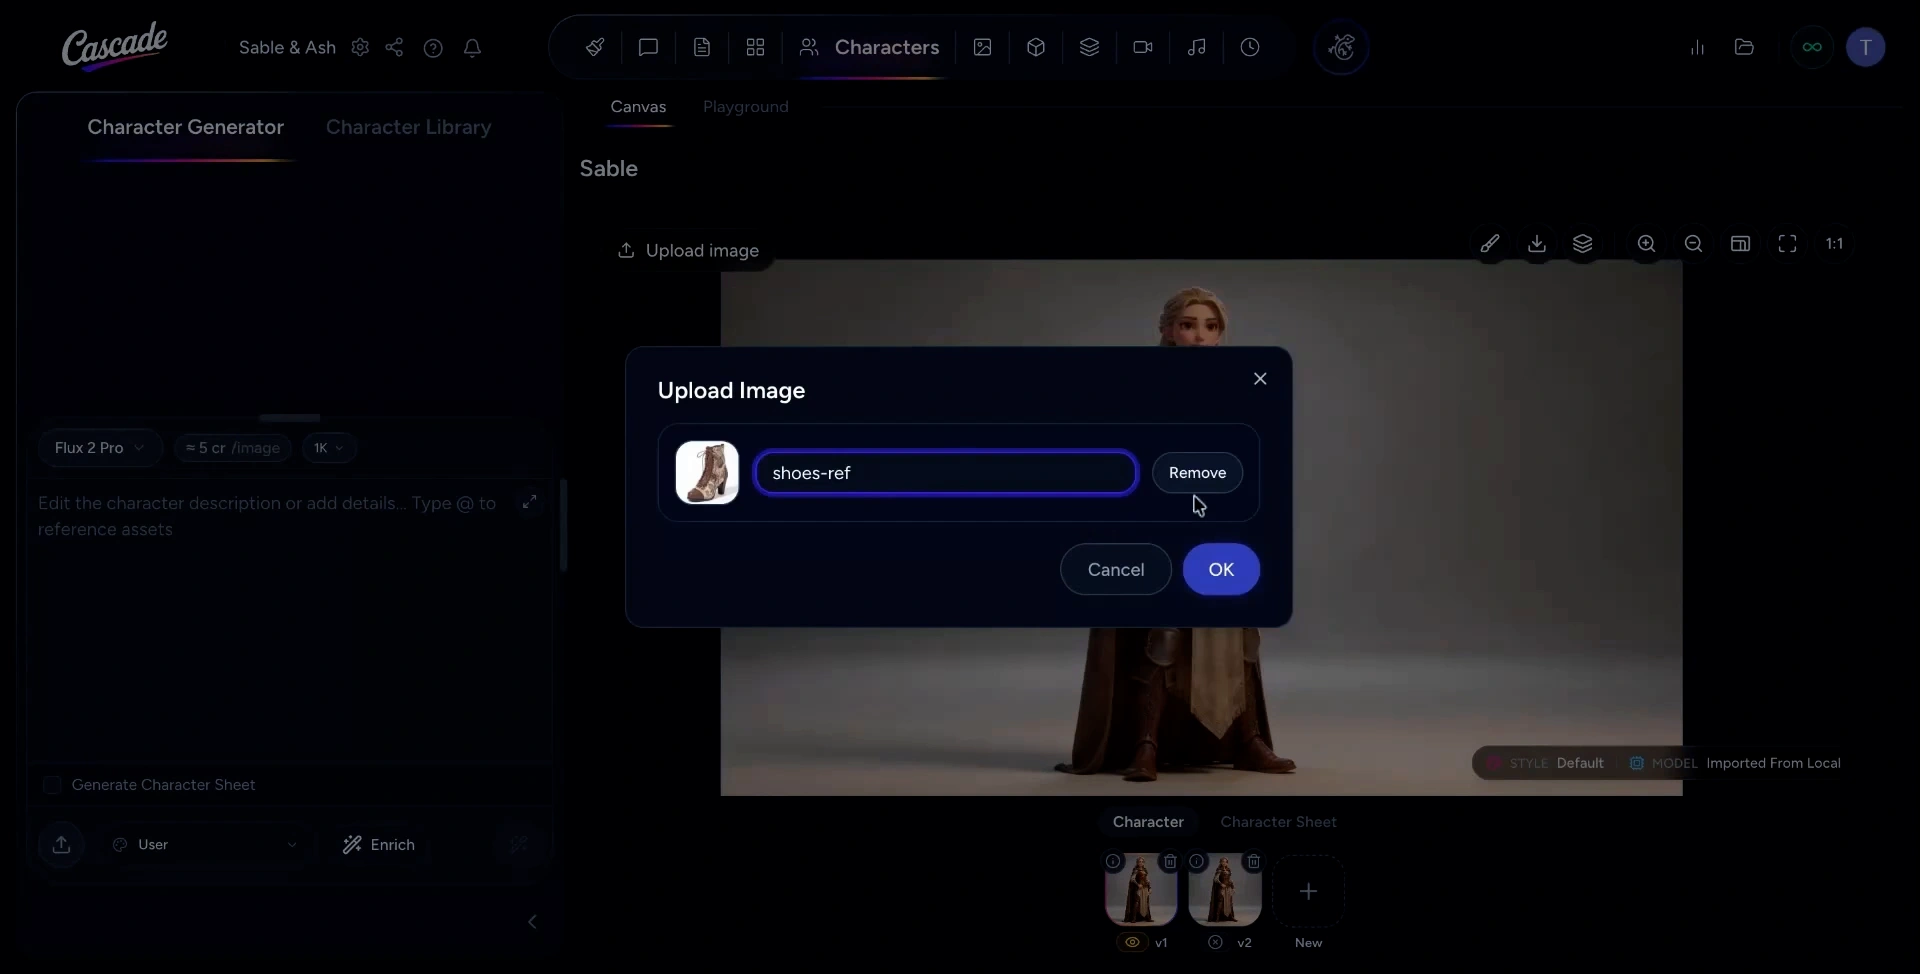
You will see the image referenced in the prompt box. Write a prompt that describes how you want the image to influence your character, and when you're happy with your prompt, select Generate.
Once generation is finished, the image reference will be included in the latest character version, and you can review the updated design on the Canvas.
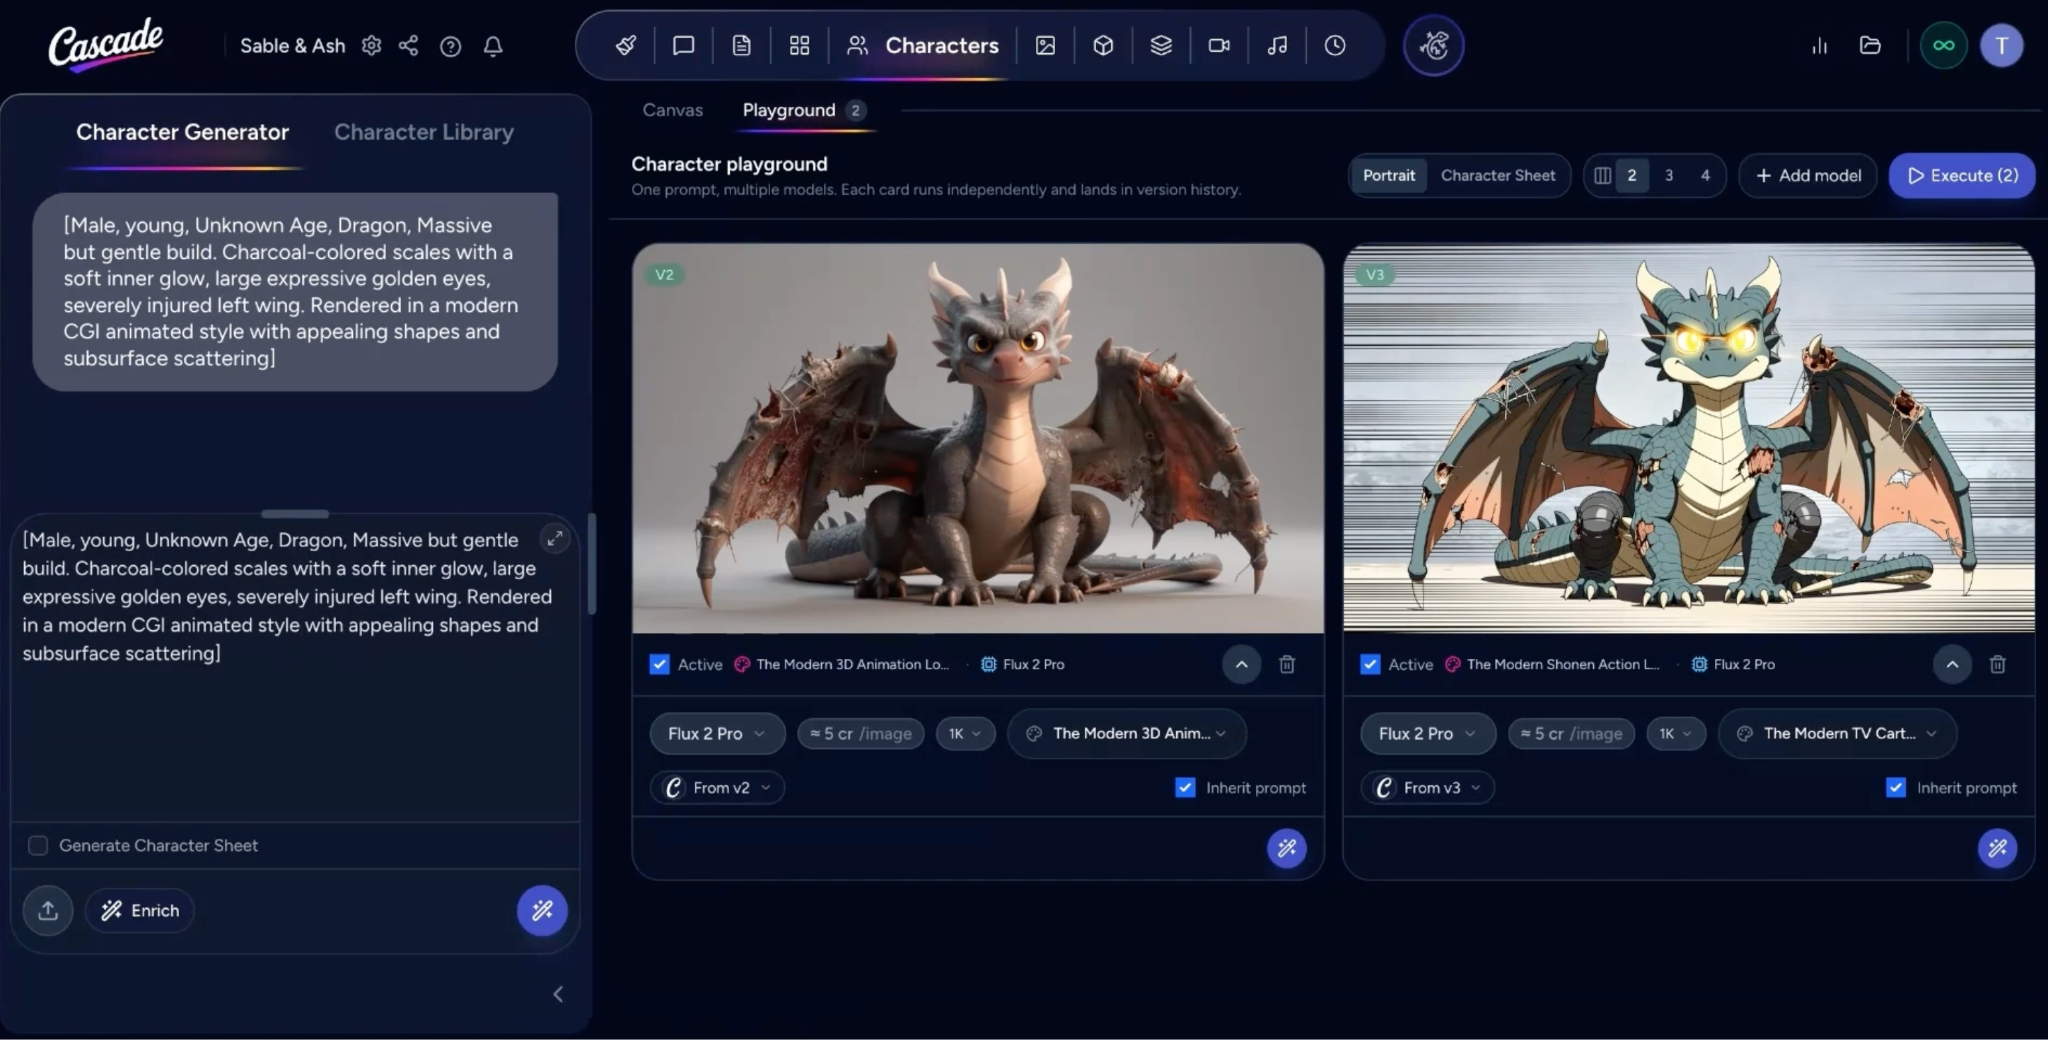
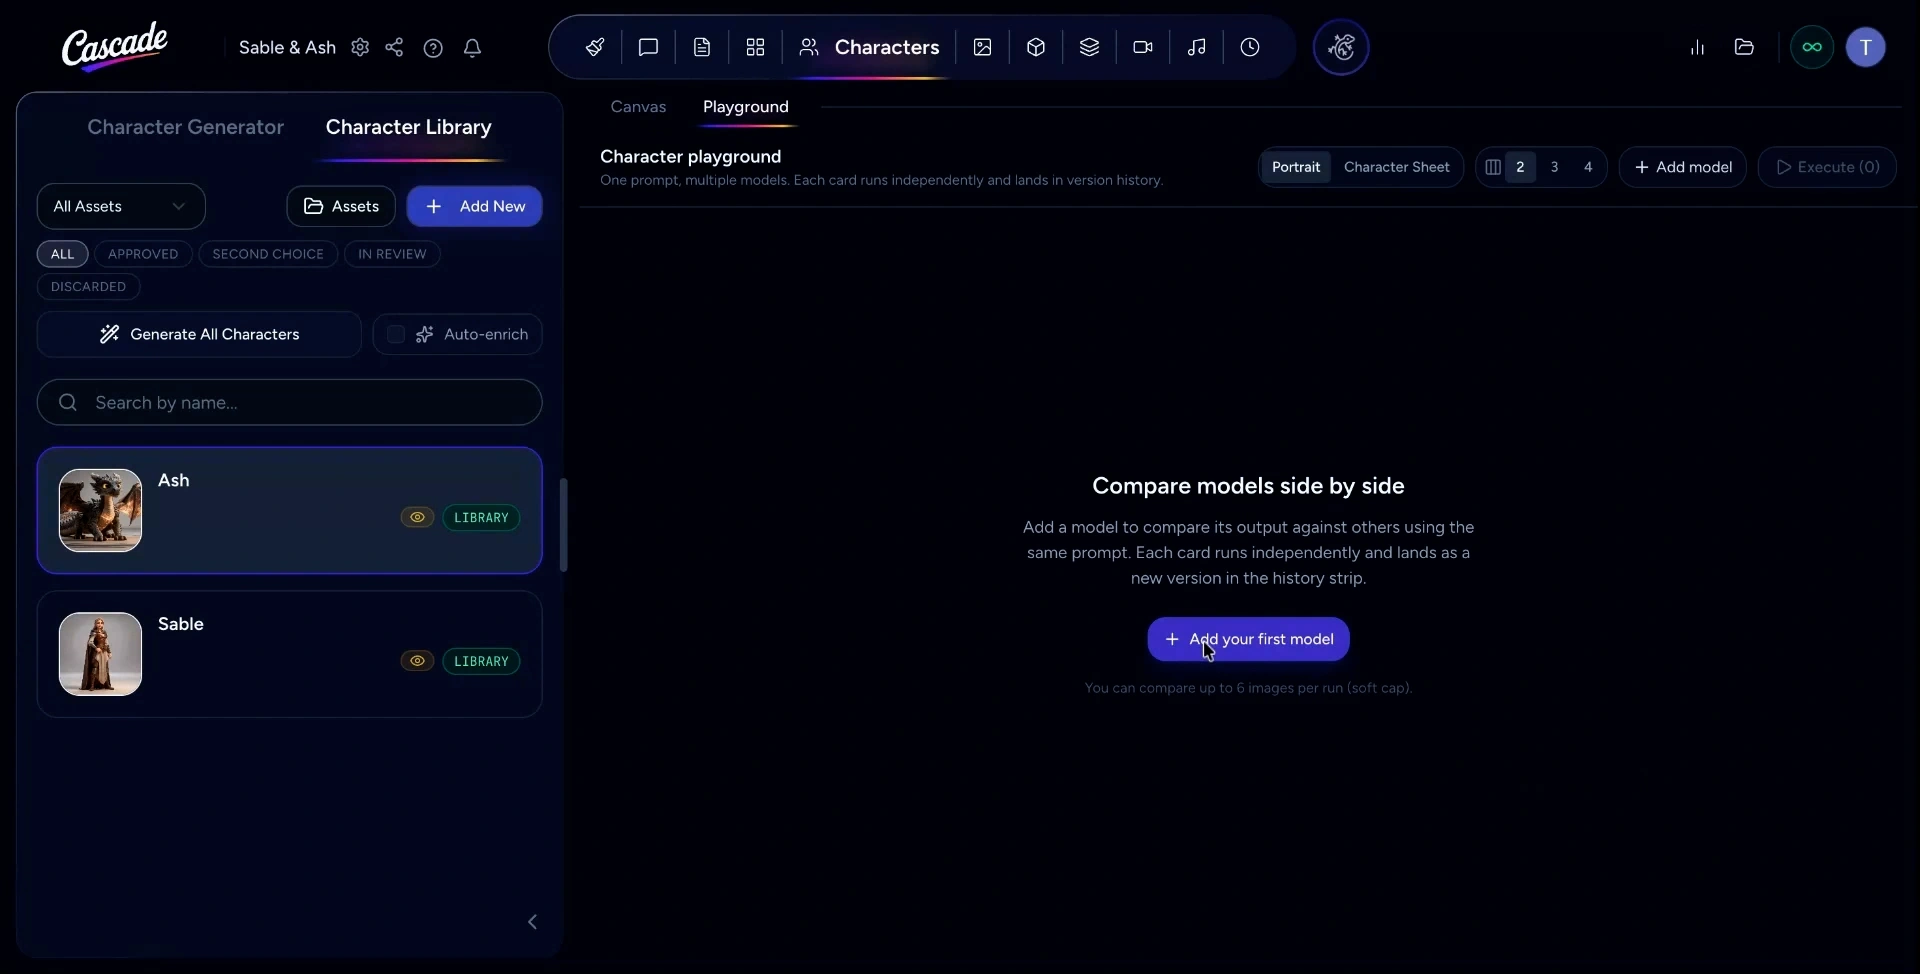
In the Playground tab, you can experiment by generating different models and styles at the same time using multiple cards executed in parallel. To start, select Add Your First Model.
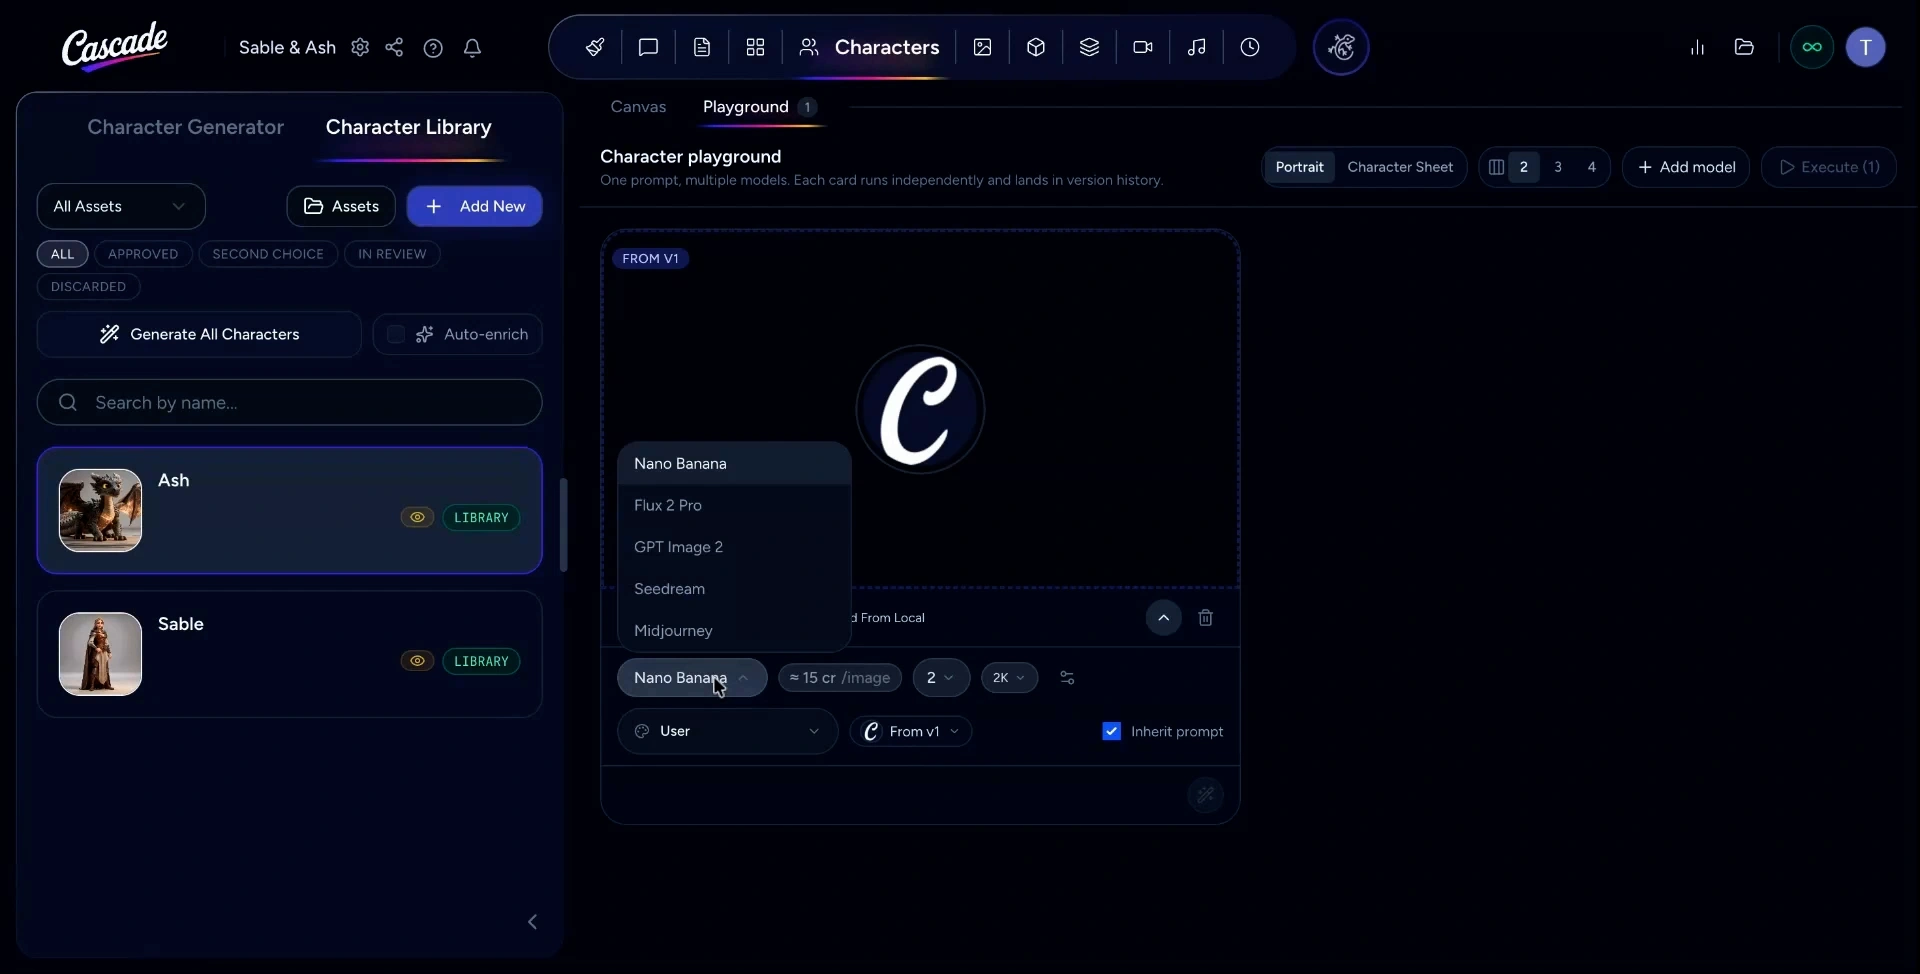
Define the character model(s) you want to test, as well as the resolution and style.
Add another model by clicking + Add Model. Select your model and style choices for this additional card. Then head over to the character generator and enter your character prompt to test the multiple models. Press Execute to run all the cards in parallel.
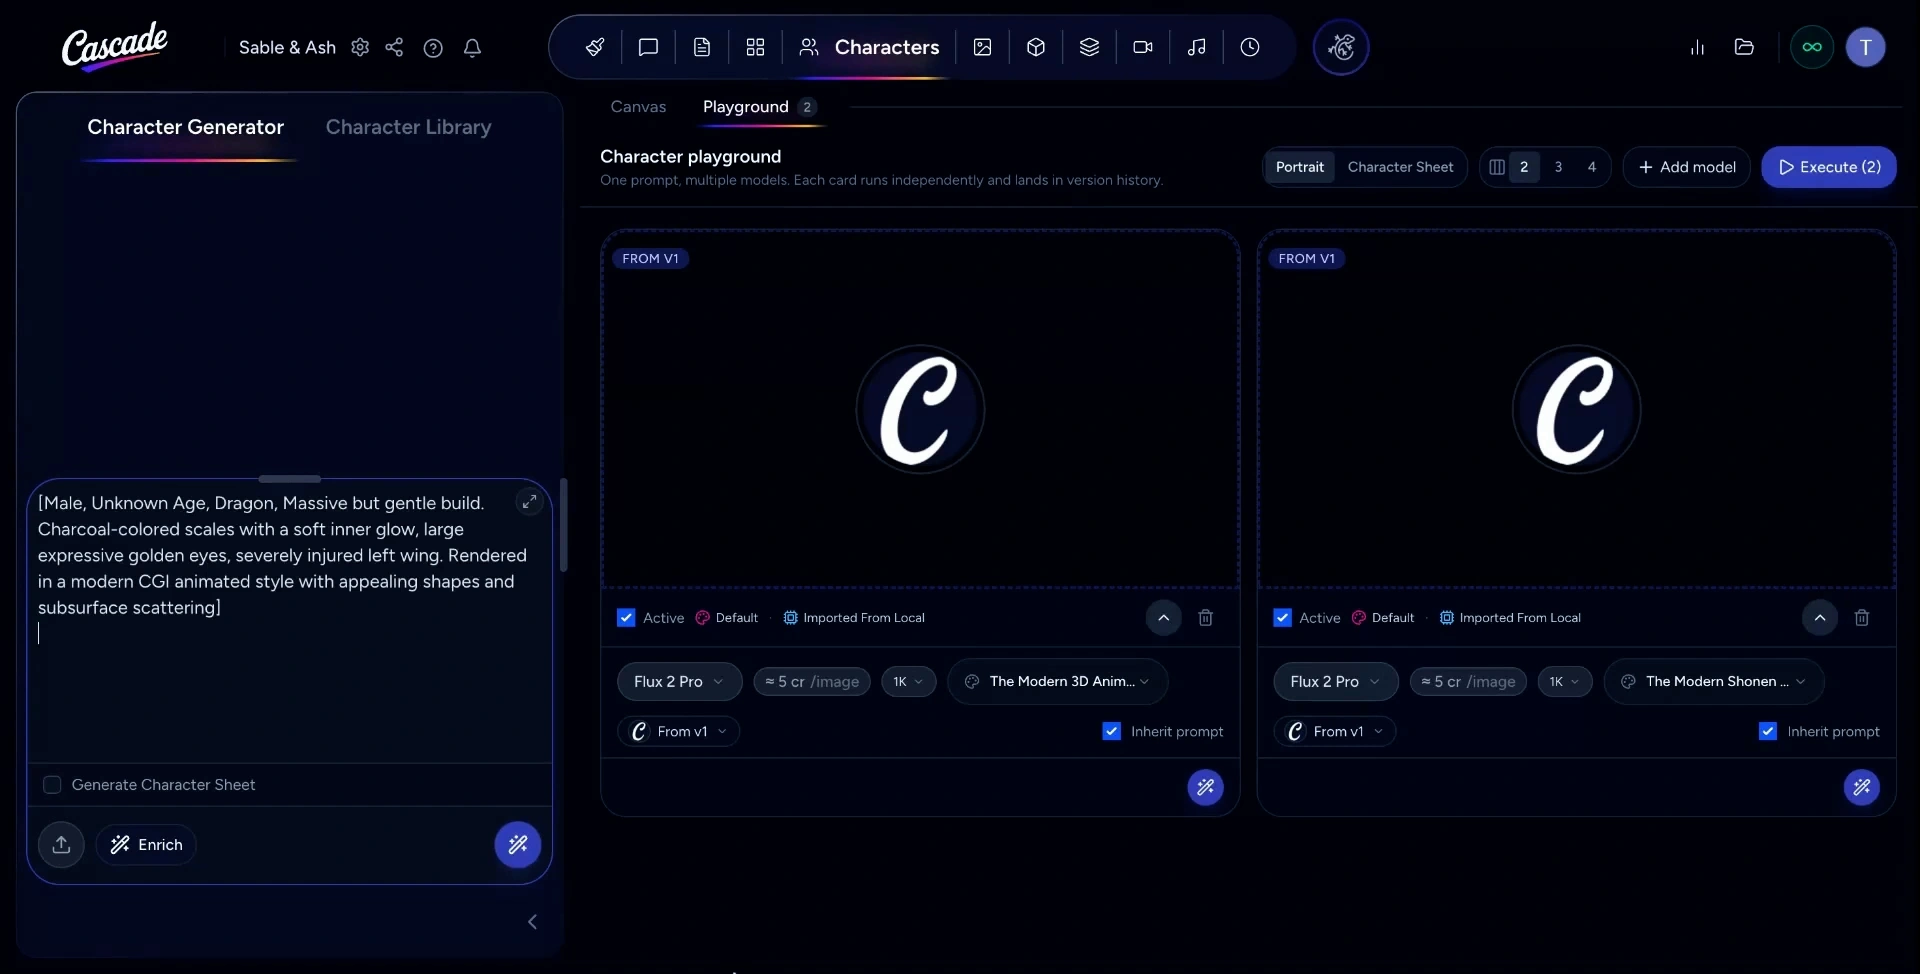
Once the results are generated, compare the outputs and choose the best version for your story.