artboard-tutorial-from-script-to-screen
03 Artboard | Tutorial from Script to Screen
August 7, 2026

Artboard is an infinite canvas for ideating and creating story assets. This guide covers importing assets, using stock imagery, and collaborating with AI agents to build scenes and videos.

Step 1: Explore the Artboard Interface and Asset Sources

From the Artboard page, familiarise yourself with the main areas:
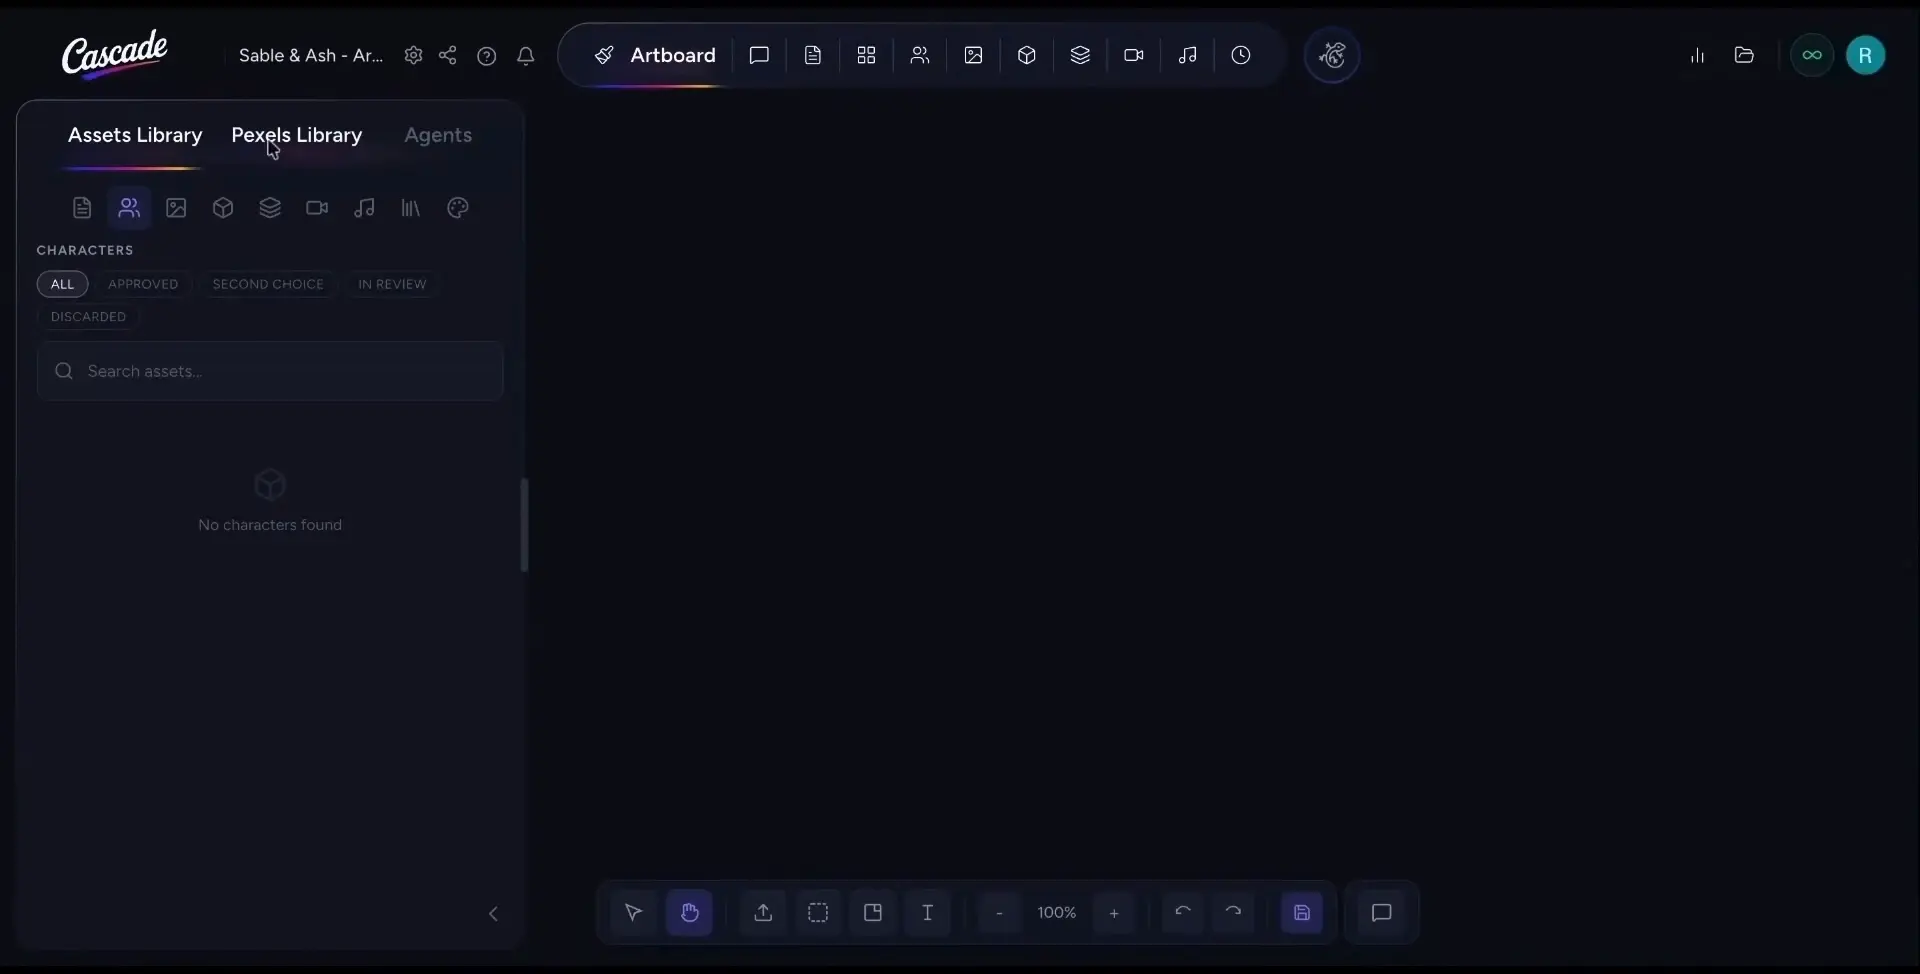
  • Use the asset source switcher to move between:
    • Your own project assets
    • Free stock photos from the Pexels library
    • AI agents that help generate new content

Step 2: Using Pexels Stock Image(s) as a Reference

One way to begin is by using stock photography as inspiration:
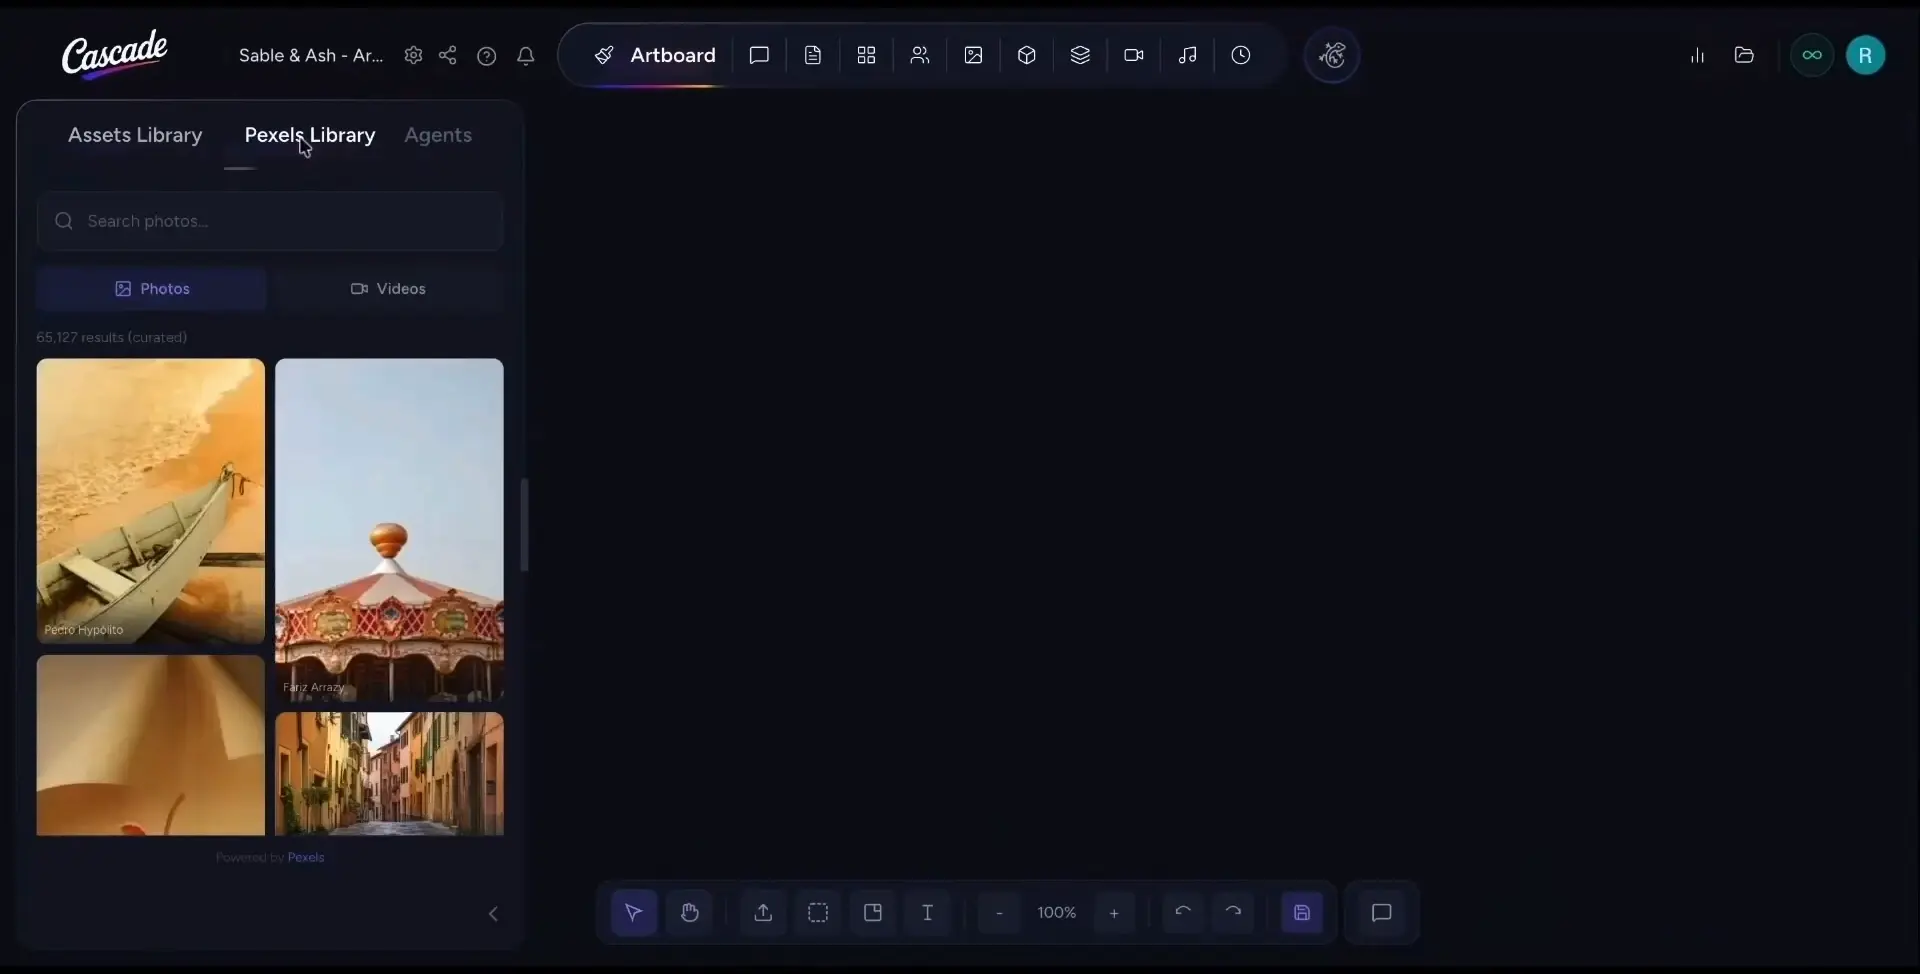
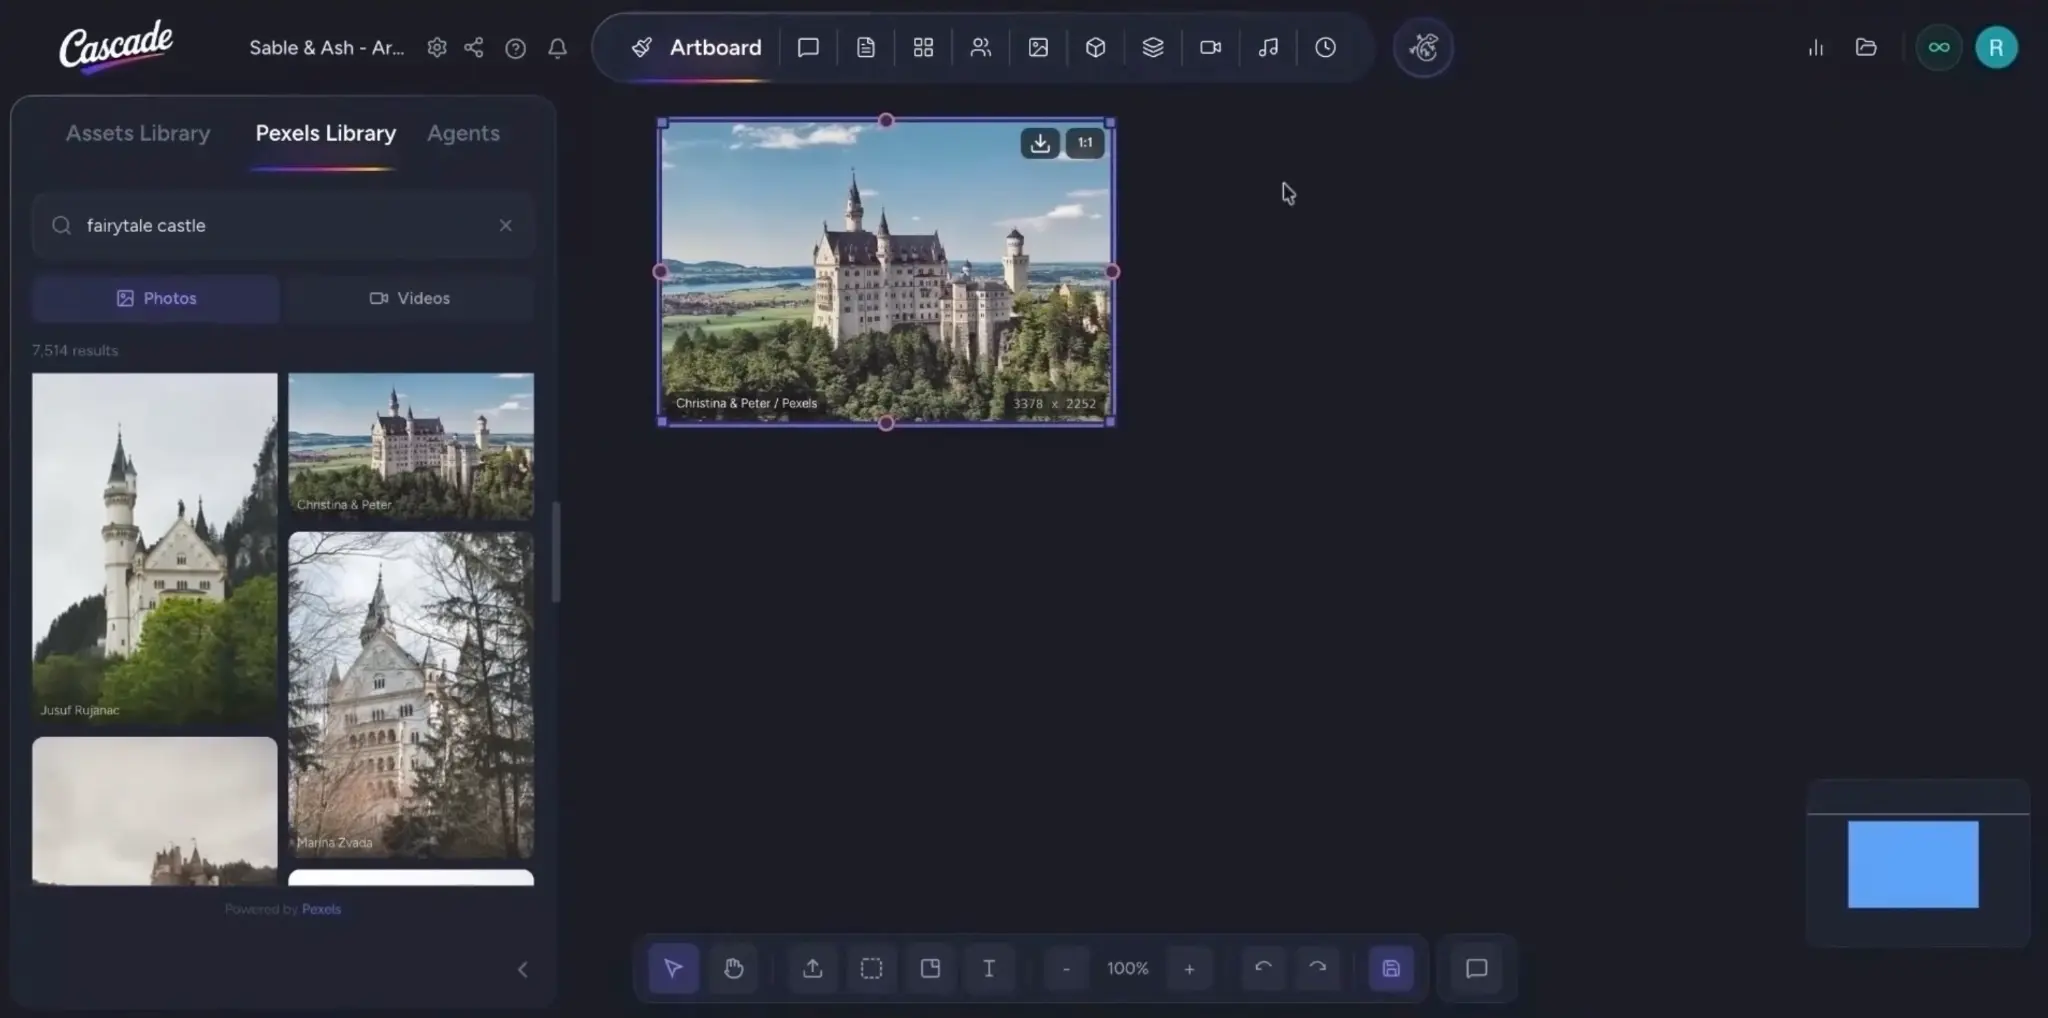
  • Open the Pexels library tab and search for free stock photos relevant to your story.
  • Drag and drop a selected Pexels image onto the canvas to use it as a reference image for later generations.

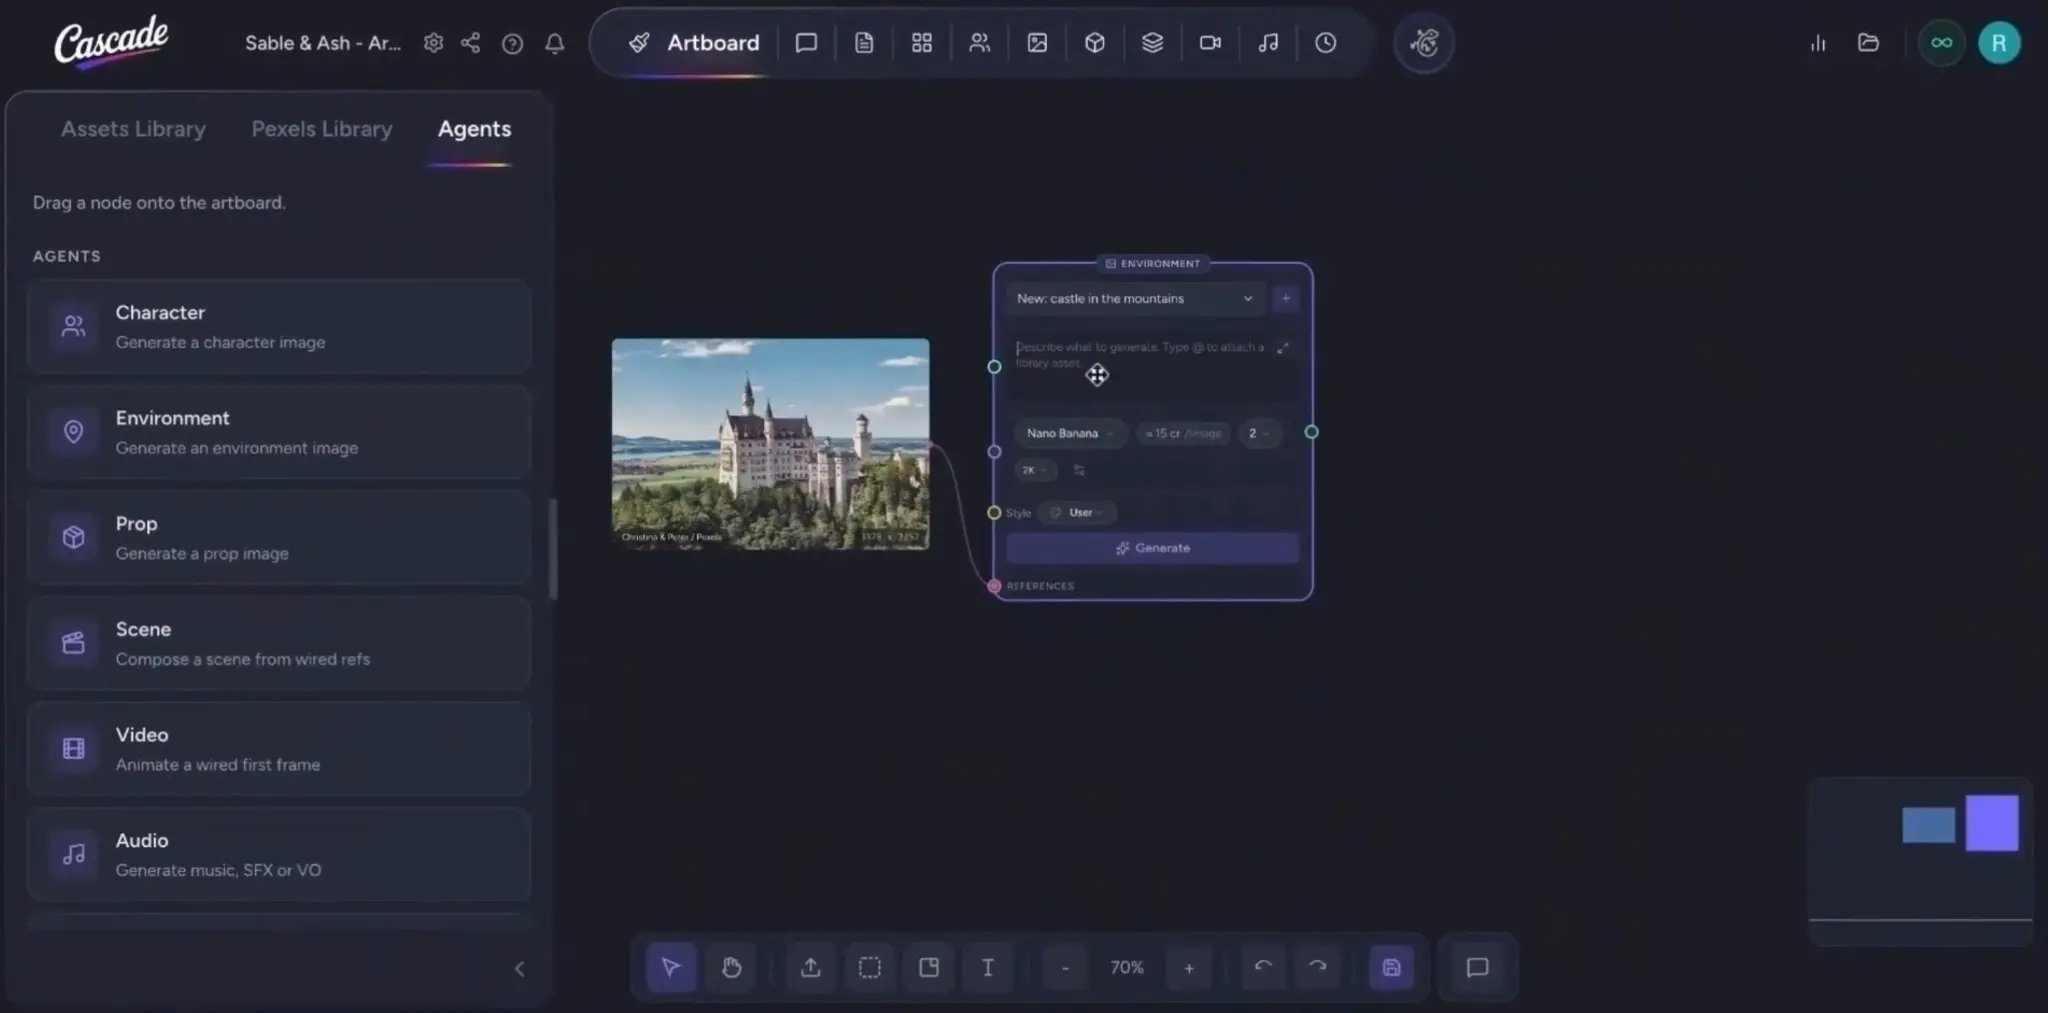
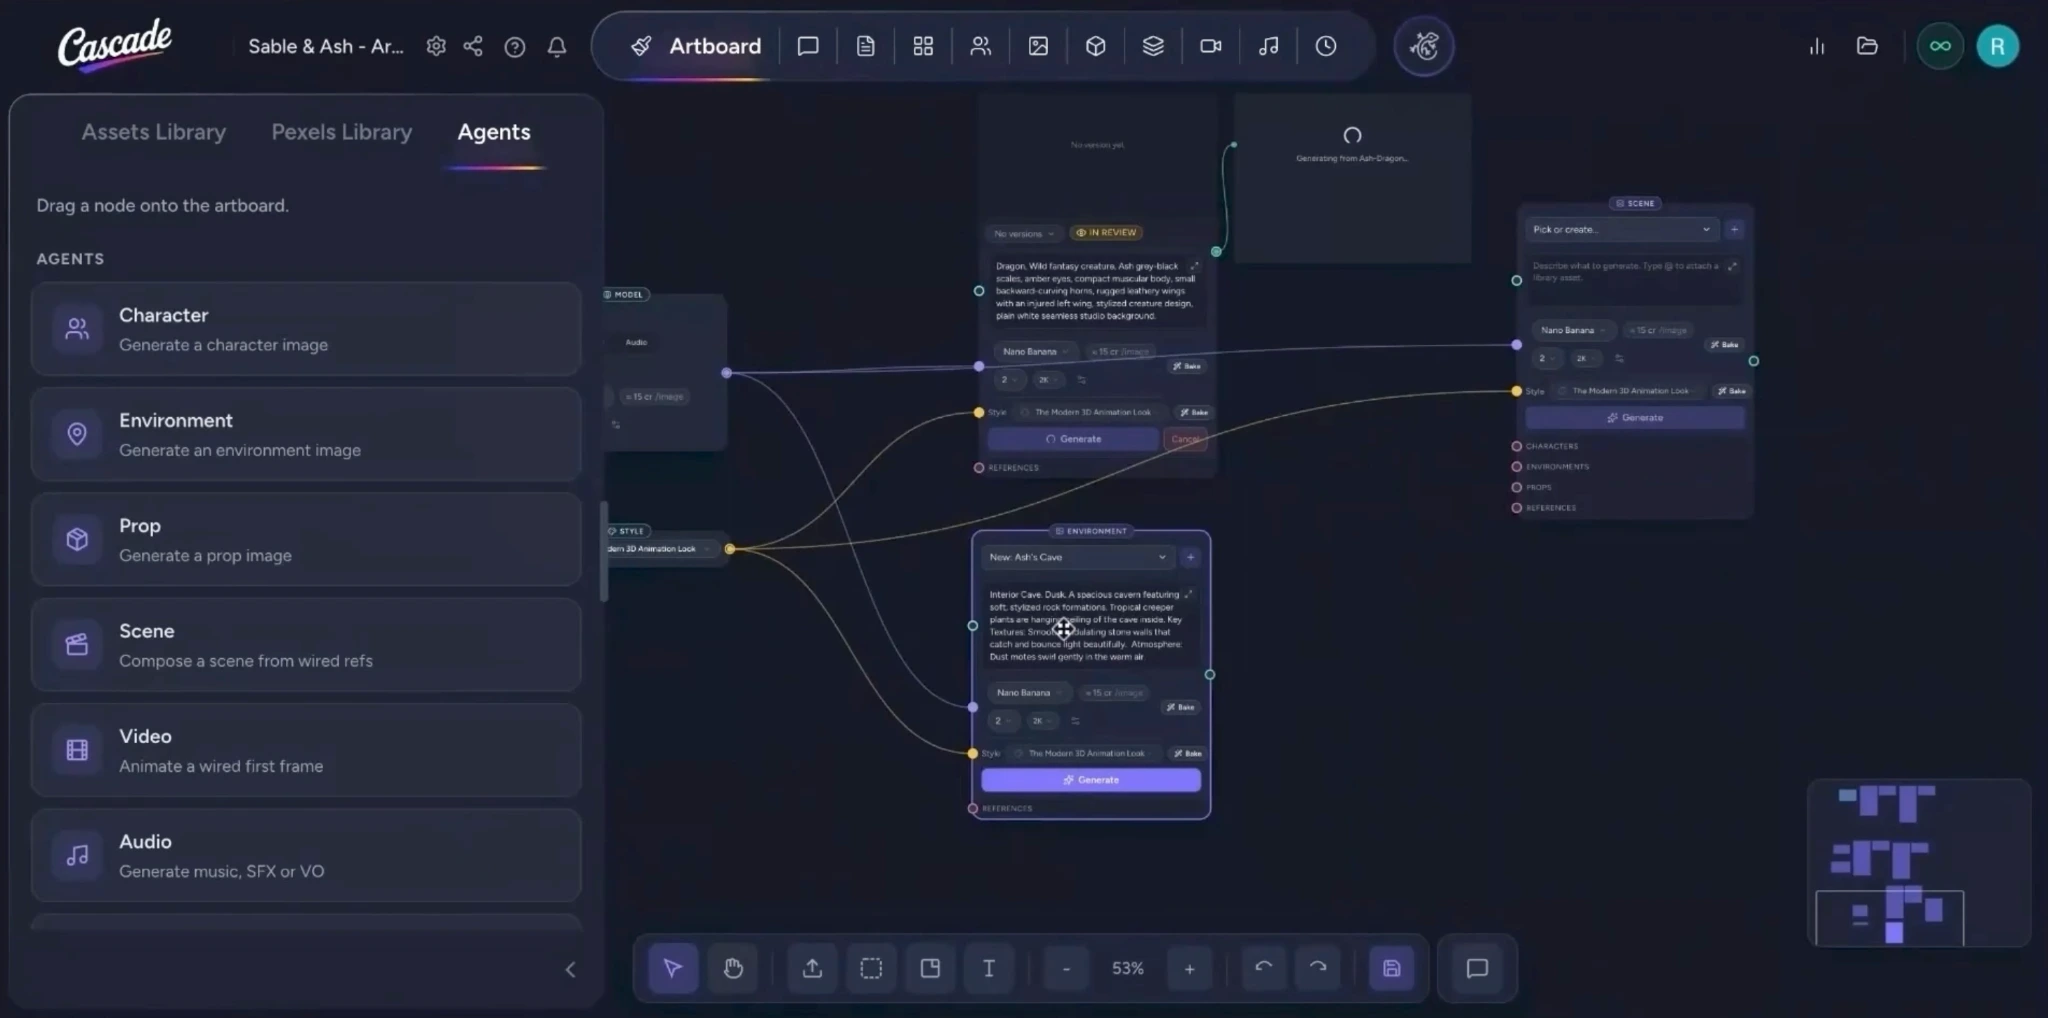
Next, use an environment agent to turn your reference into a new environment asset:
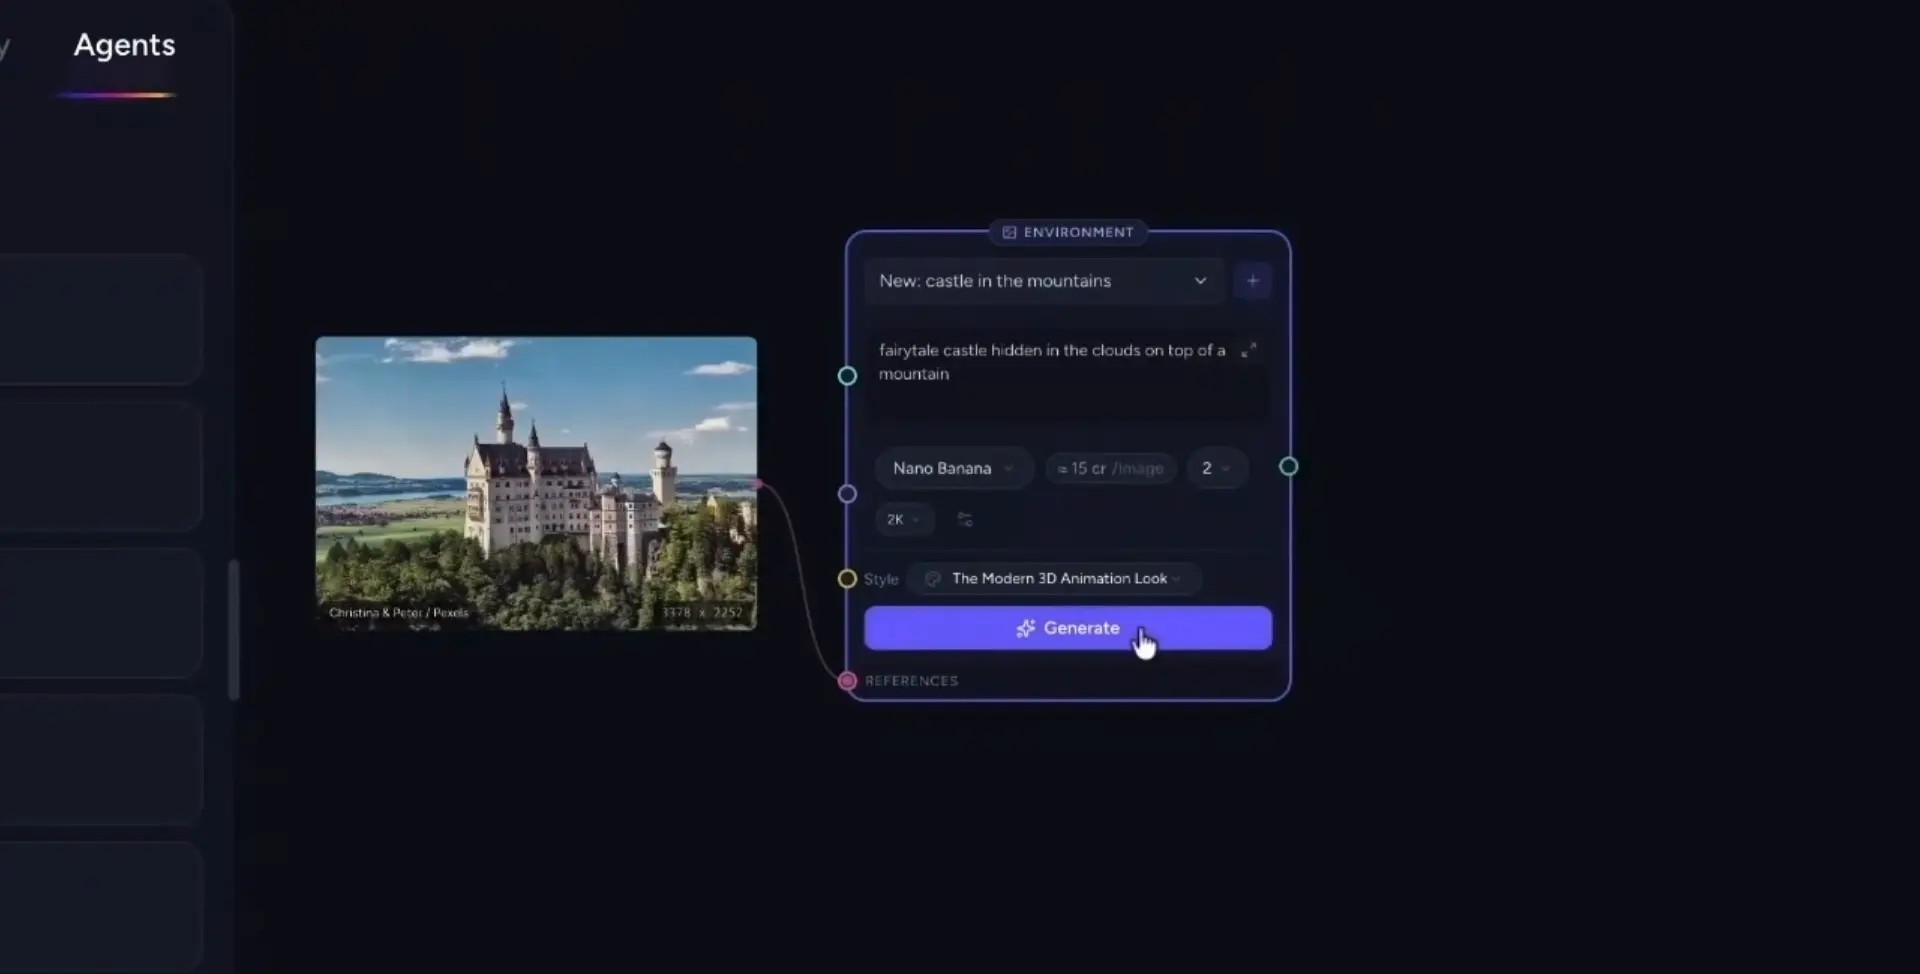
  • Switch to the Agents tab.
  • Drag and drop an Environment agent node onto the Artboard.
  • Click the plus (+) icon on the node to name and save your environment asset, then click Use name.
  • Enter a clear, descriptive prompt in the prompt field.
  • Choose the model, resolution, and style that best match your needs.
  • When your settings are ready, click Generate.
  • Connect your stock image from the canvas to the node’s References input so it can be used as visual guidance.
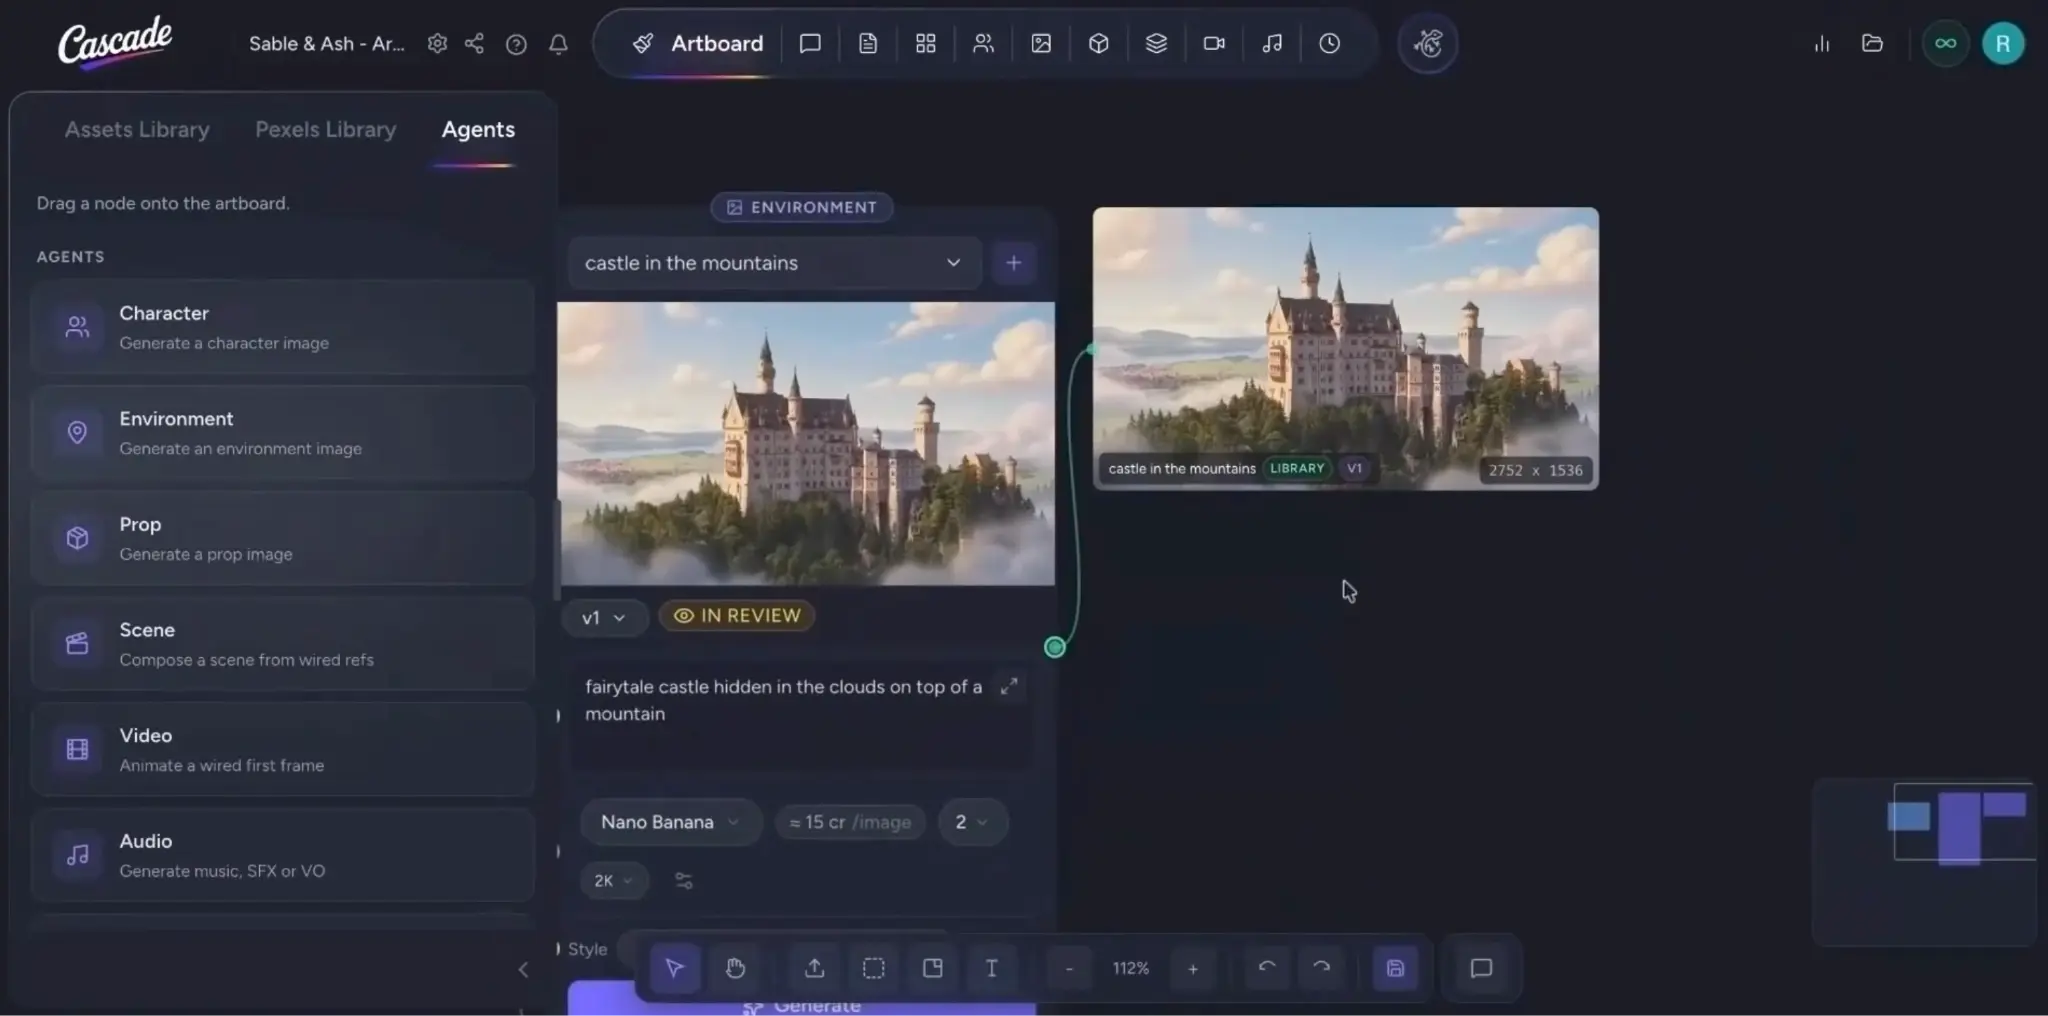
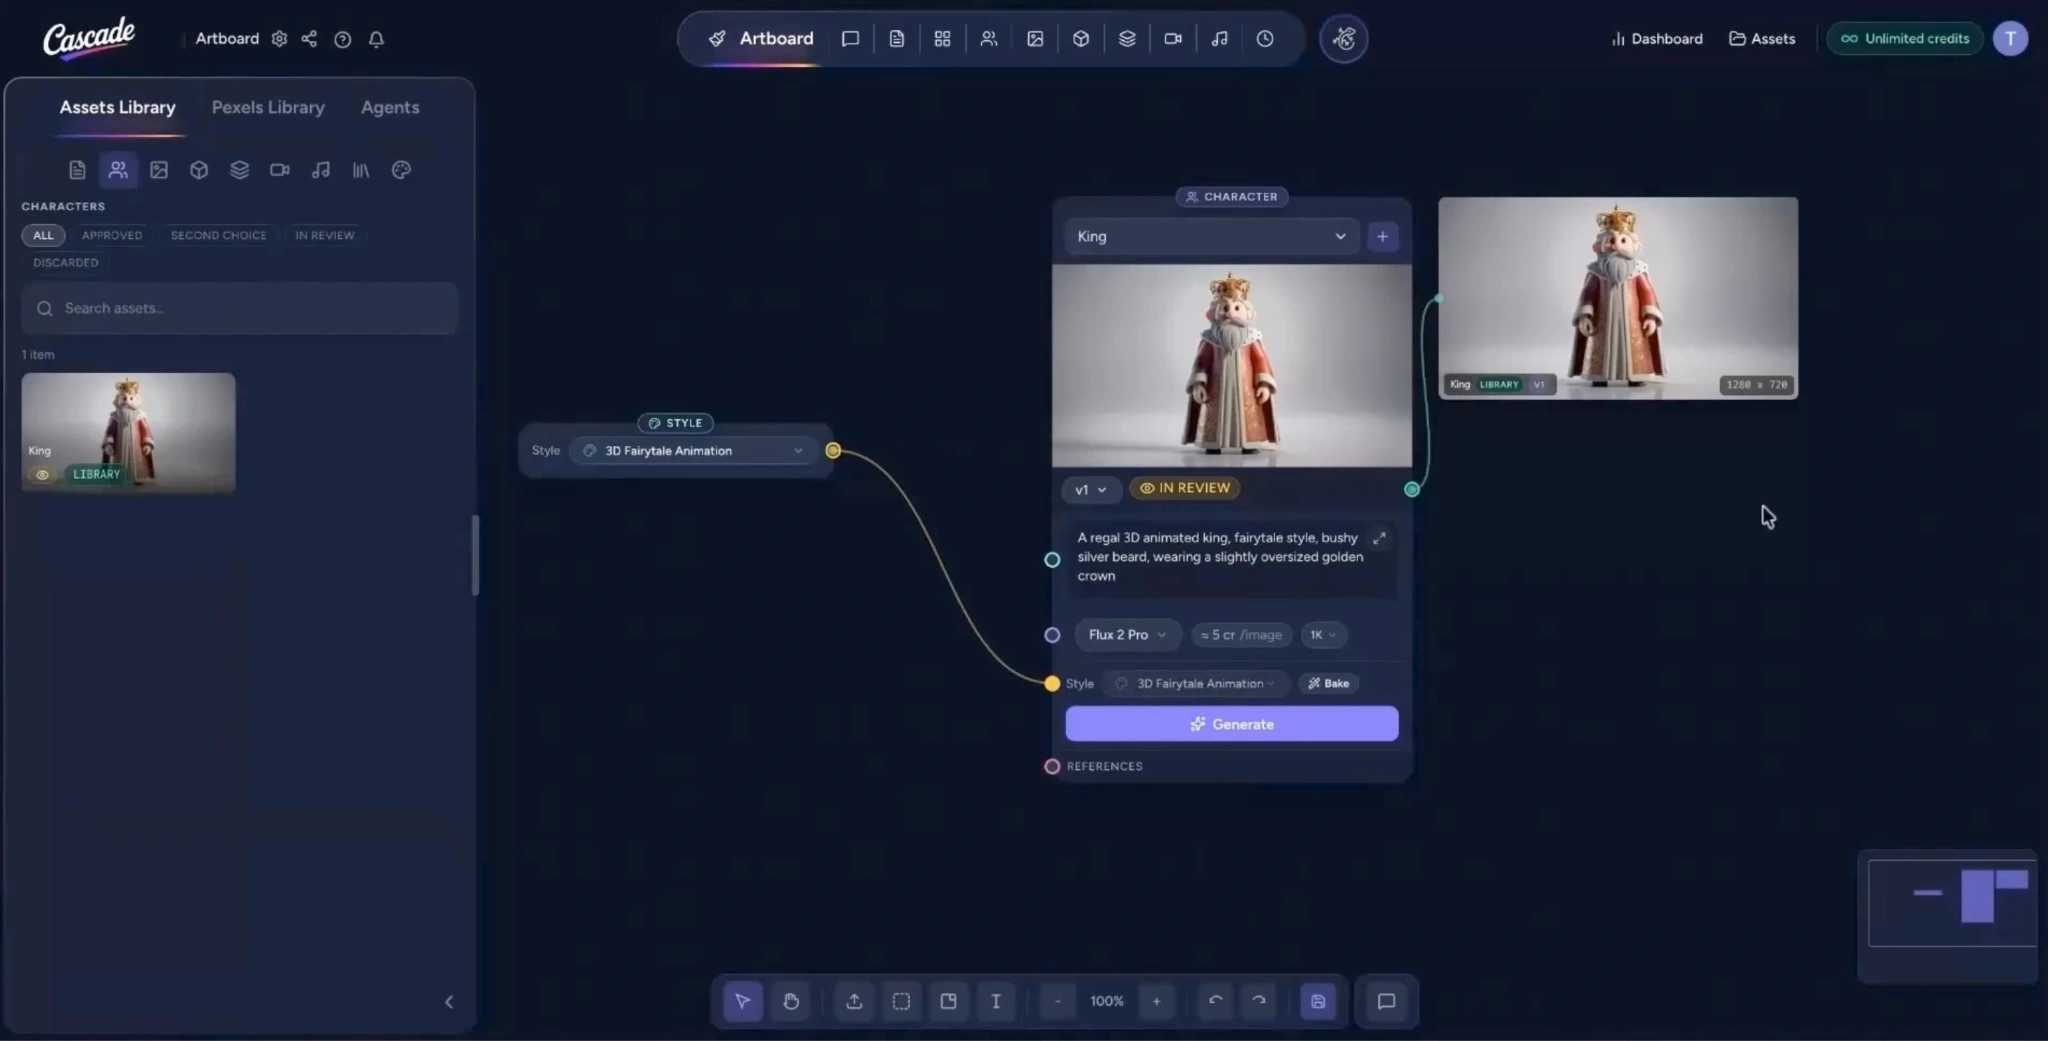
  • After the generation is finished, zoom in to inspect your newly generated environment.

Step 3: Create a Video from a Generated Asset

Now, you can turn your generated asset into a video:
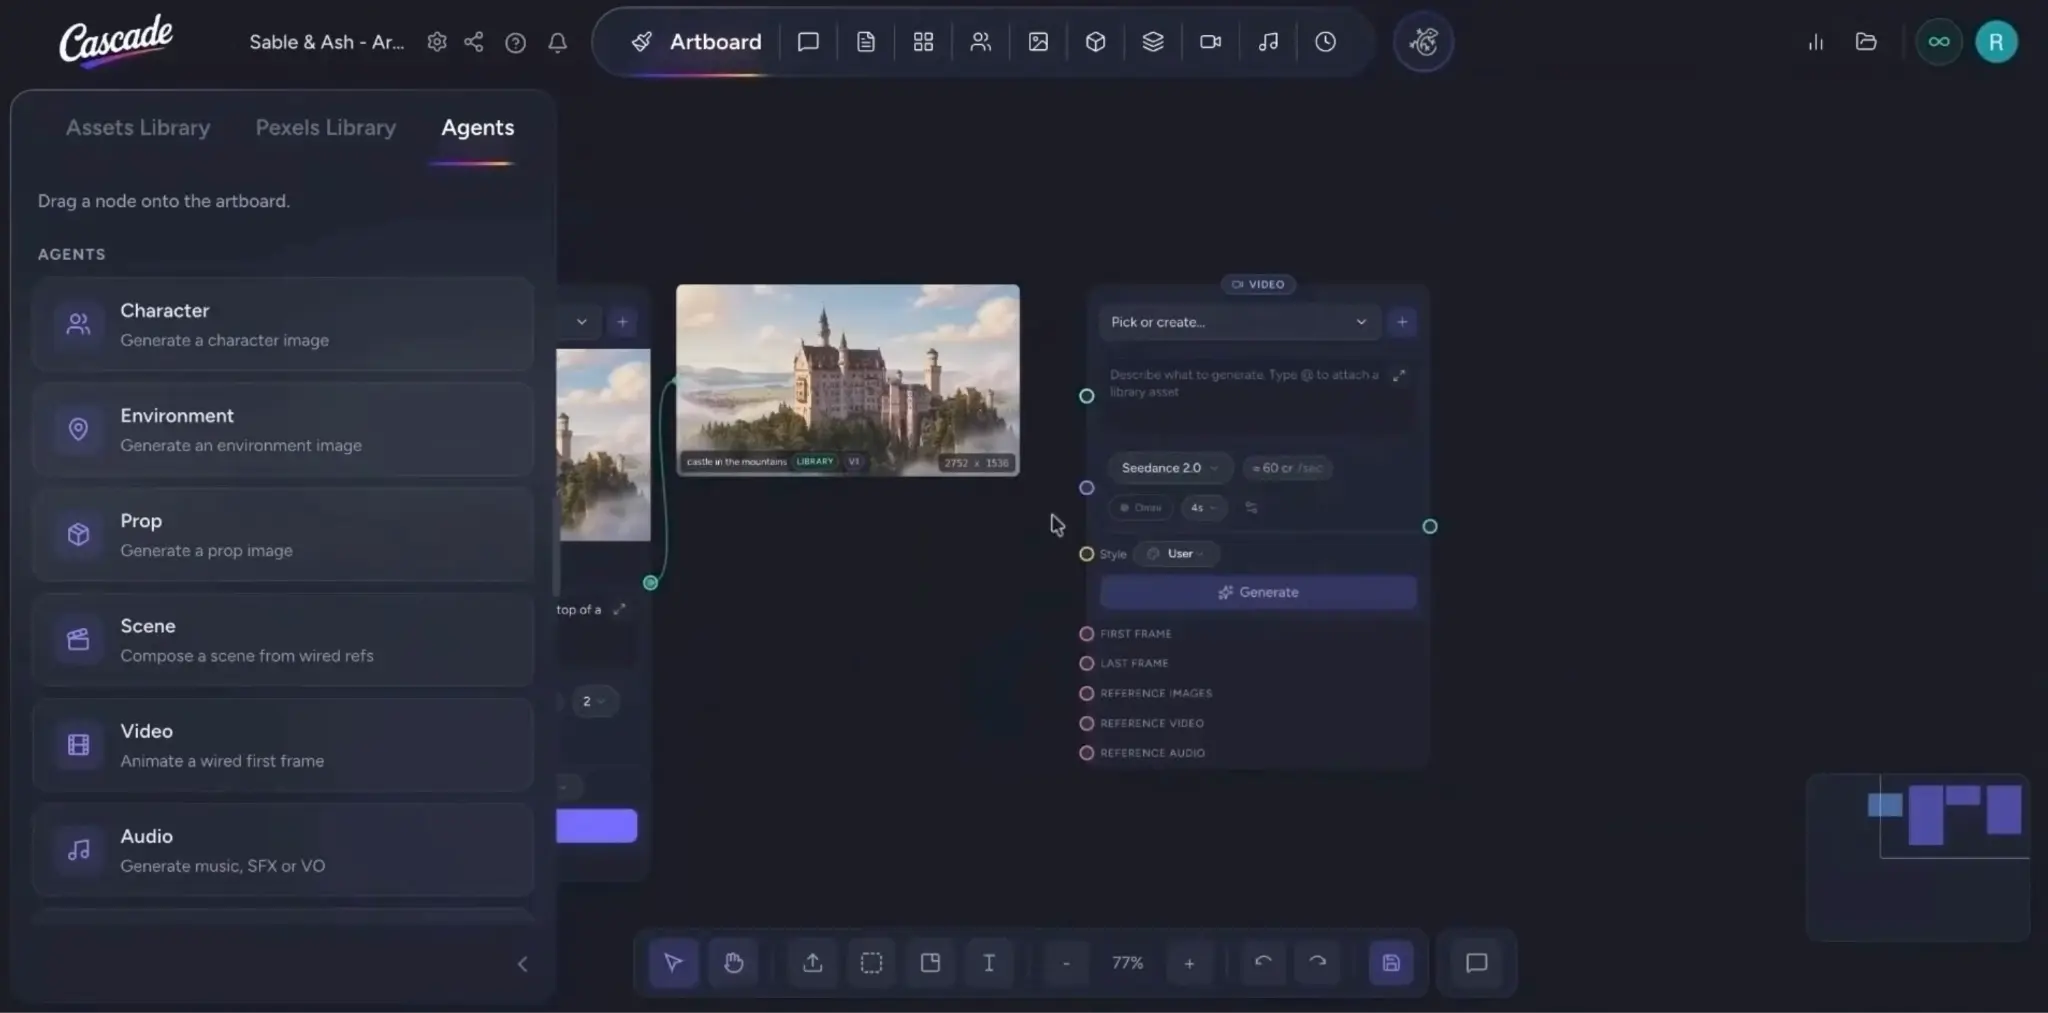
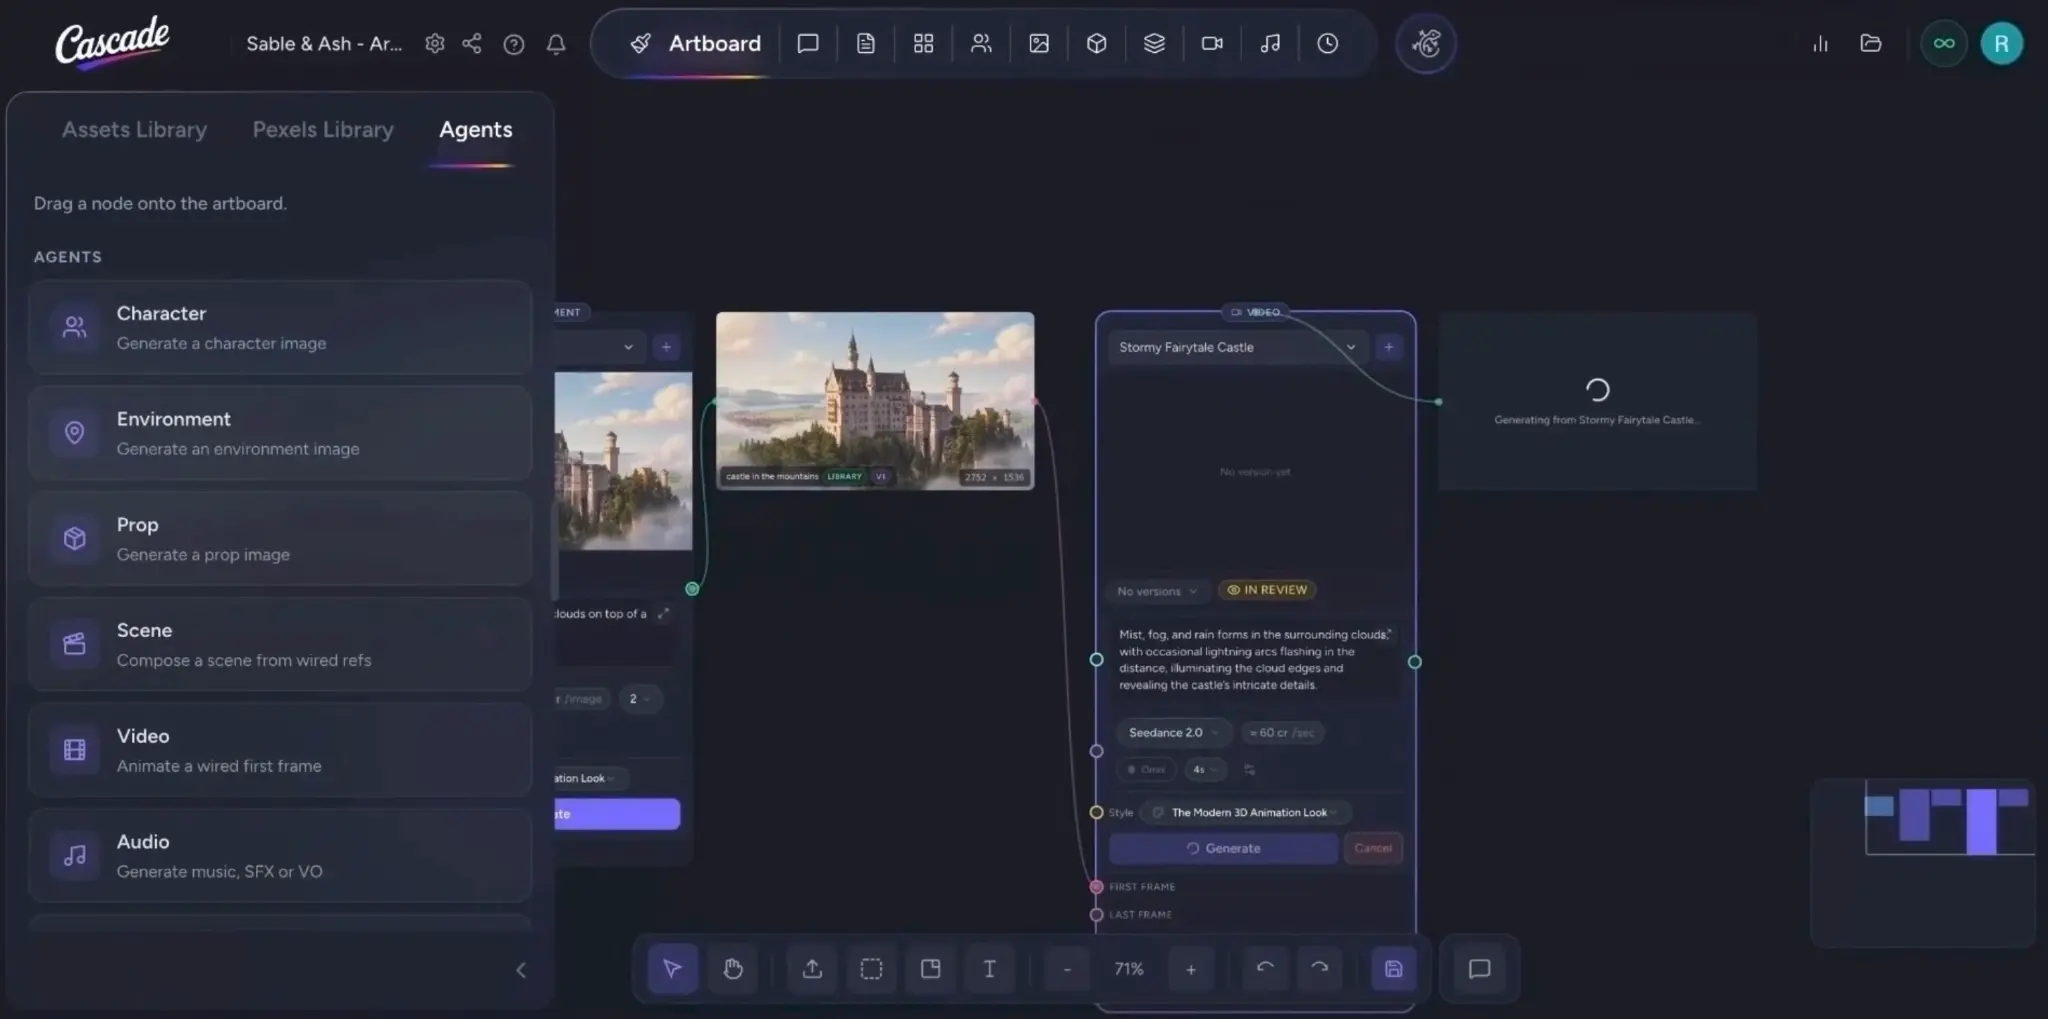
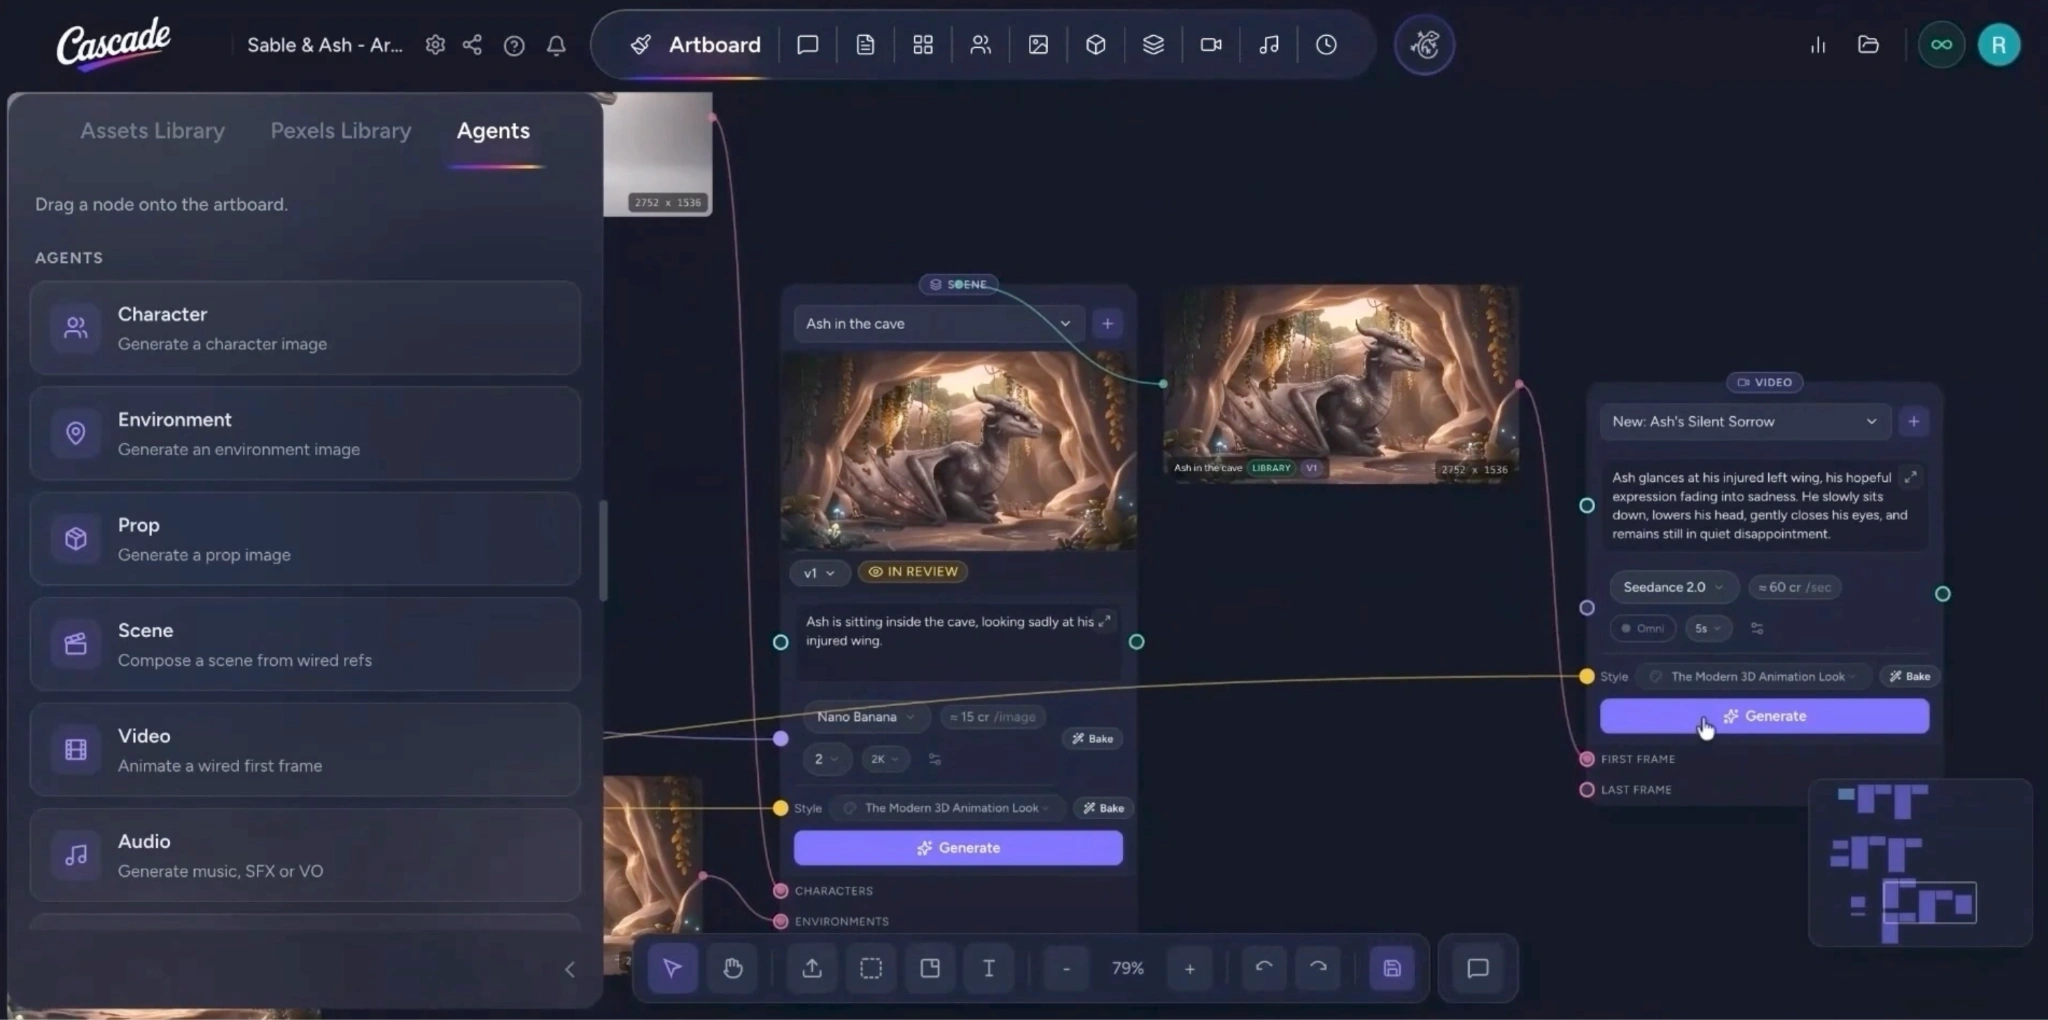
  • In the Agents tab, drag and drop a Video agent node onto the canvas.
  • Click the plus (+) icon, name and save your video asset.
  • Enter a prompt describing the motion, pacing, and style for the video.
  • Select your preferred video generation settings (e.g., duration, resolution, model).
  • Connect your generated environment image to the video node, using it as a reference image or as the first or last frame.
  • When ready, click Generate.

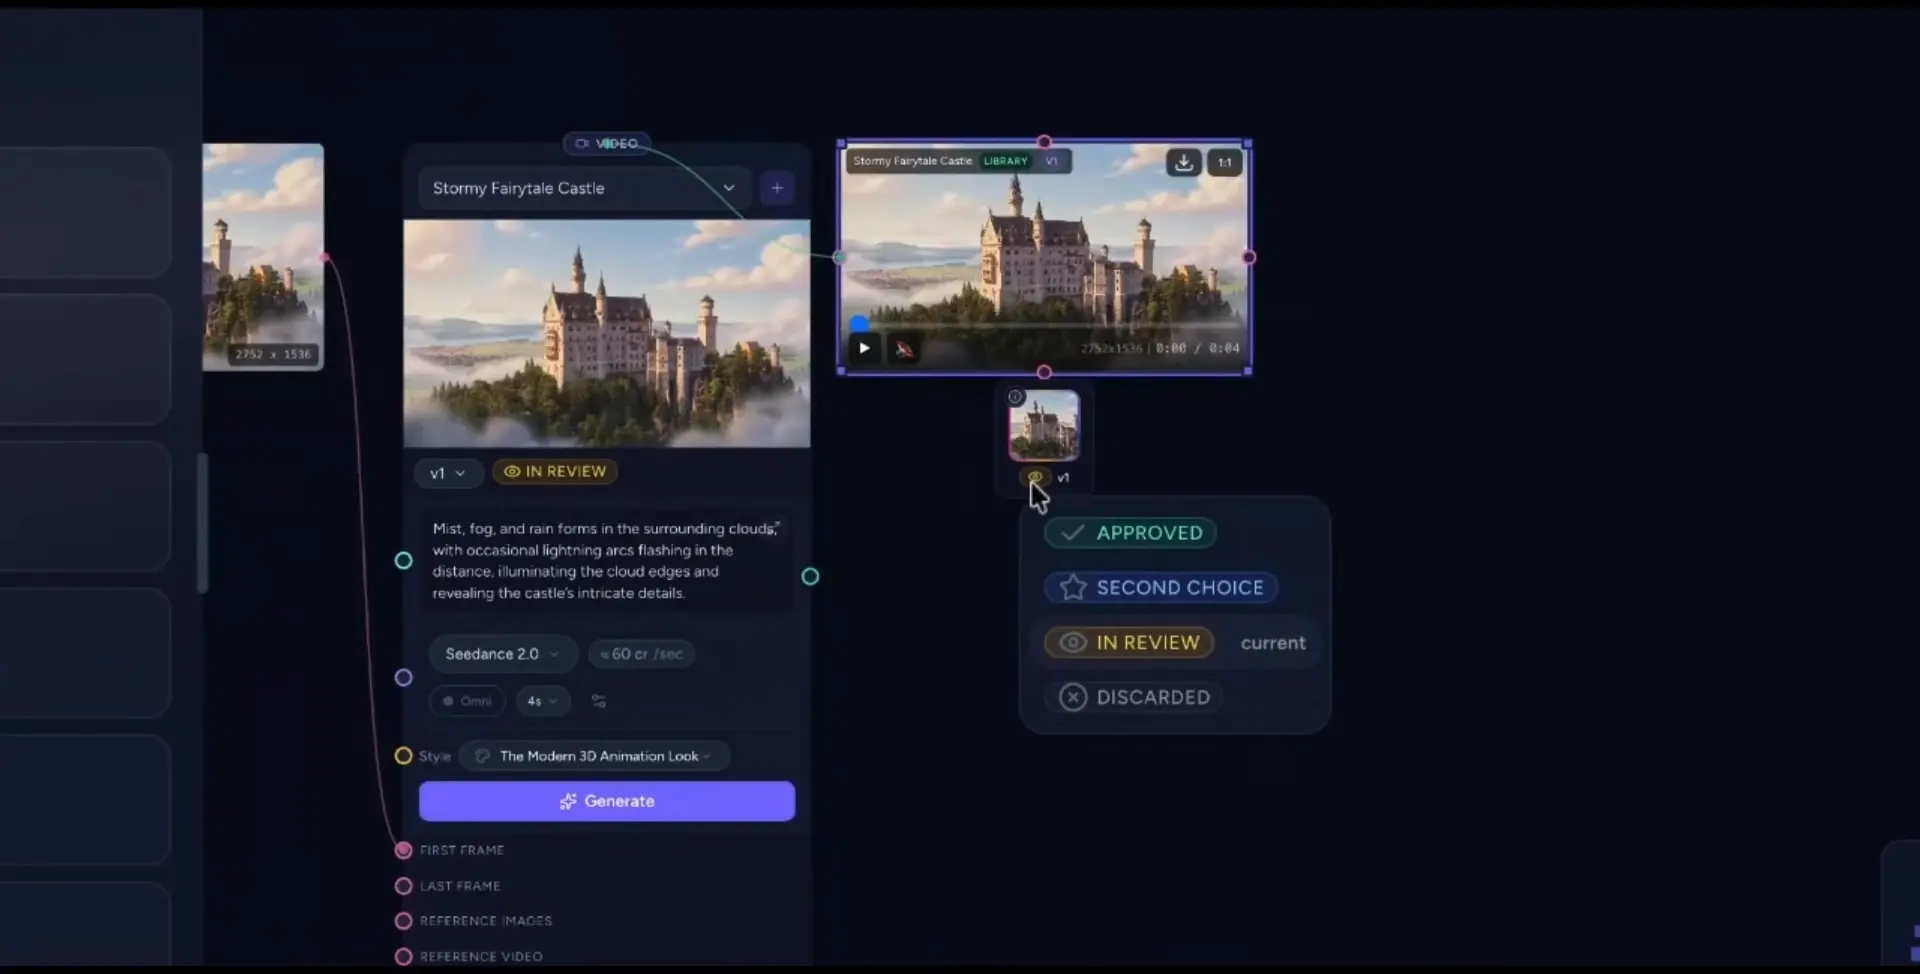
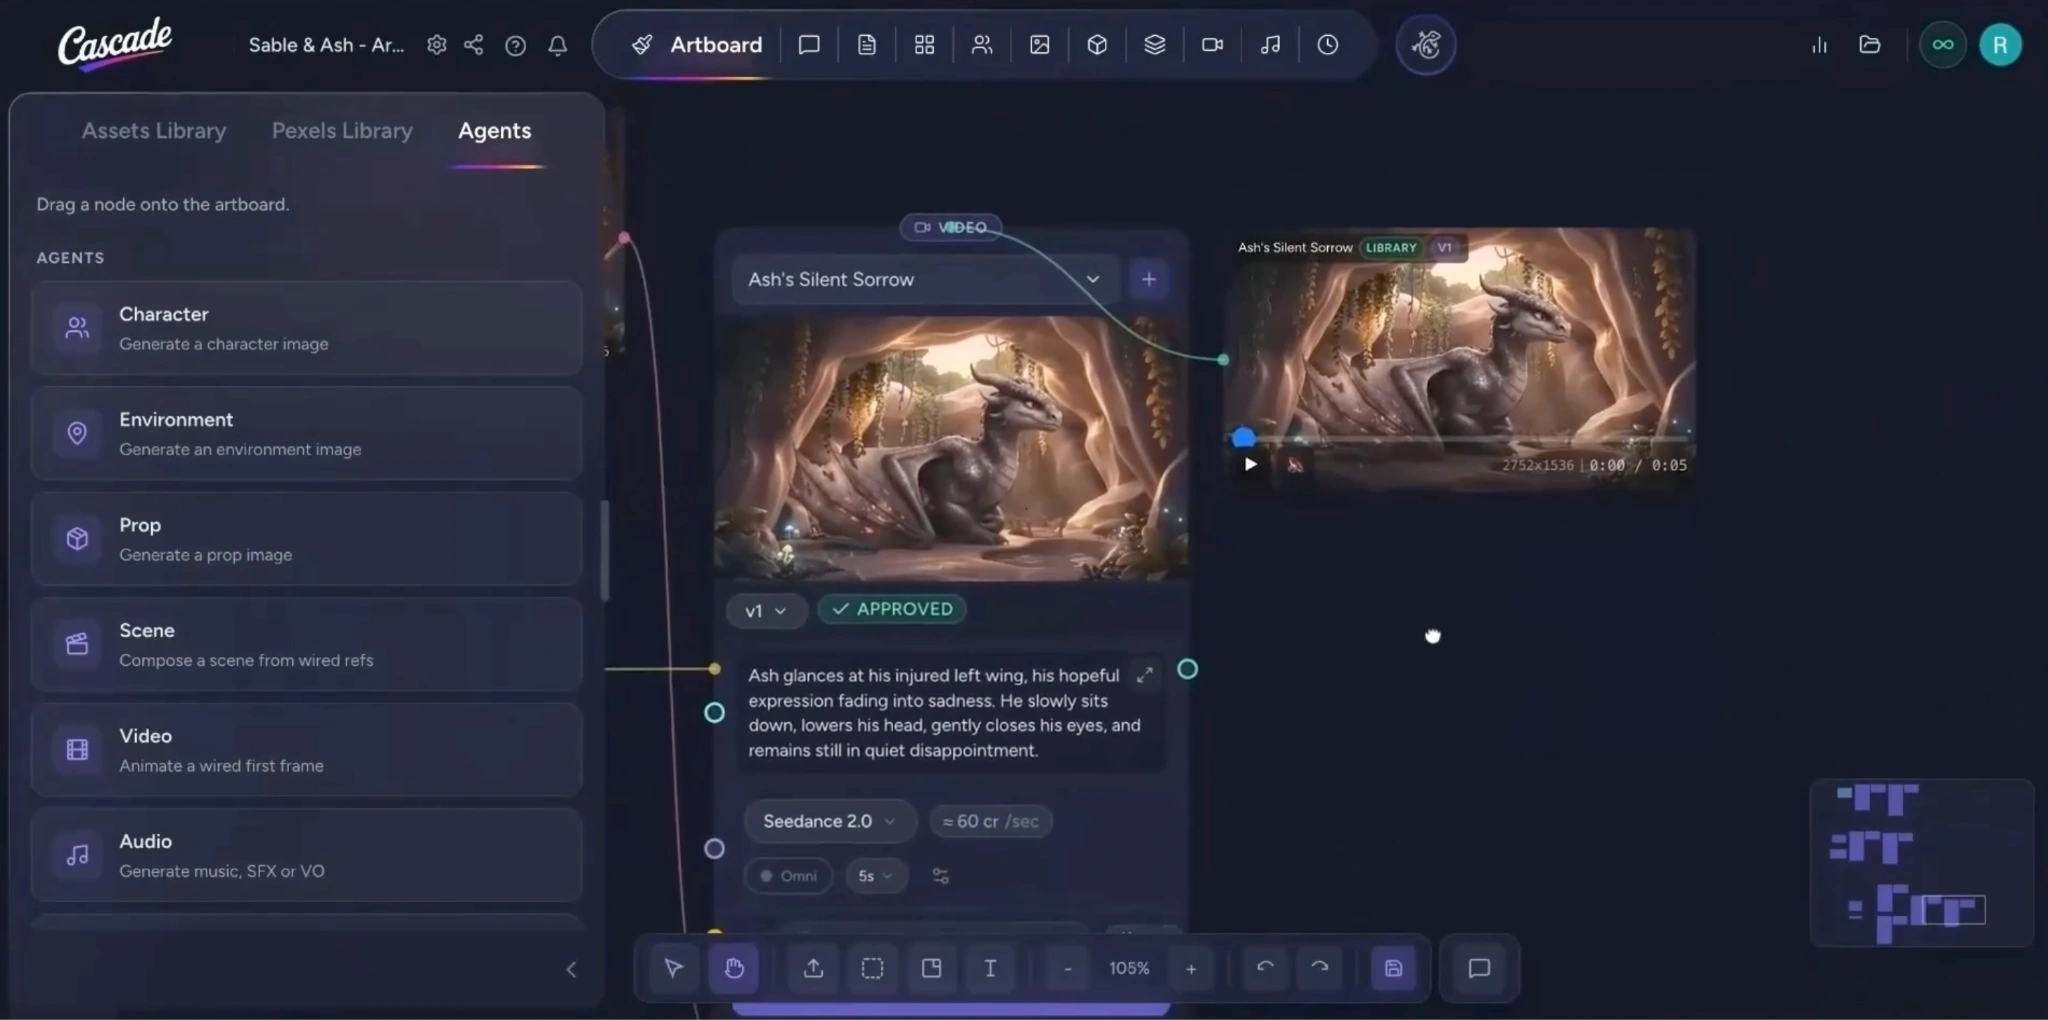
  • Review the resulting video. If you are satisfied, you can:
    • Mark it as approved
    • Save it as your second choice
    • Leave it in review
    • Or discard it

Step 4: Import Your Own Assets on Artboard

You can also work directly with your own uploaded assets:
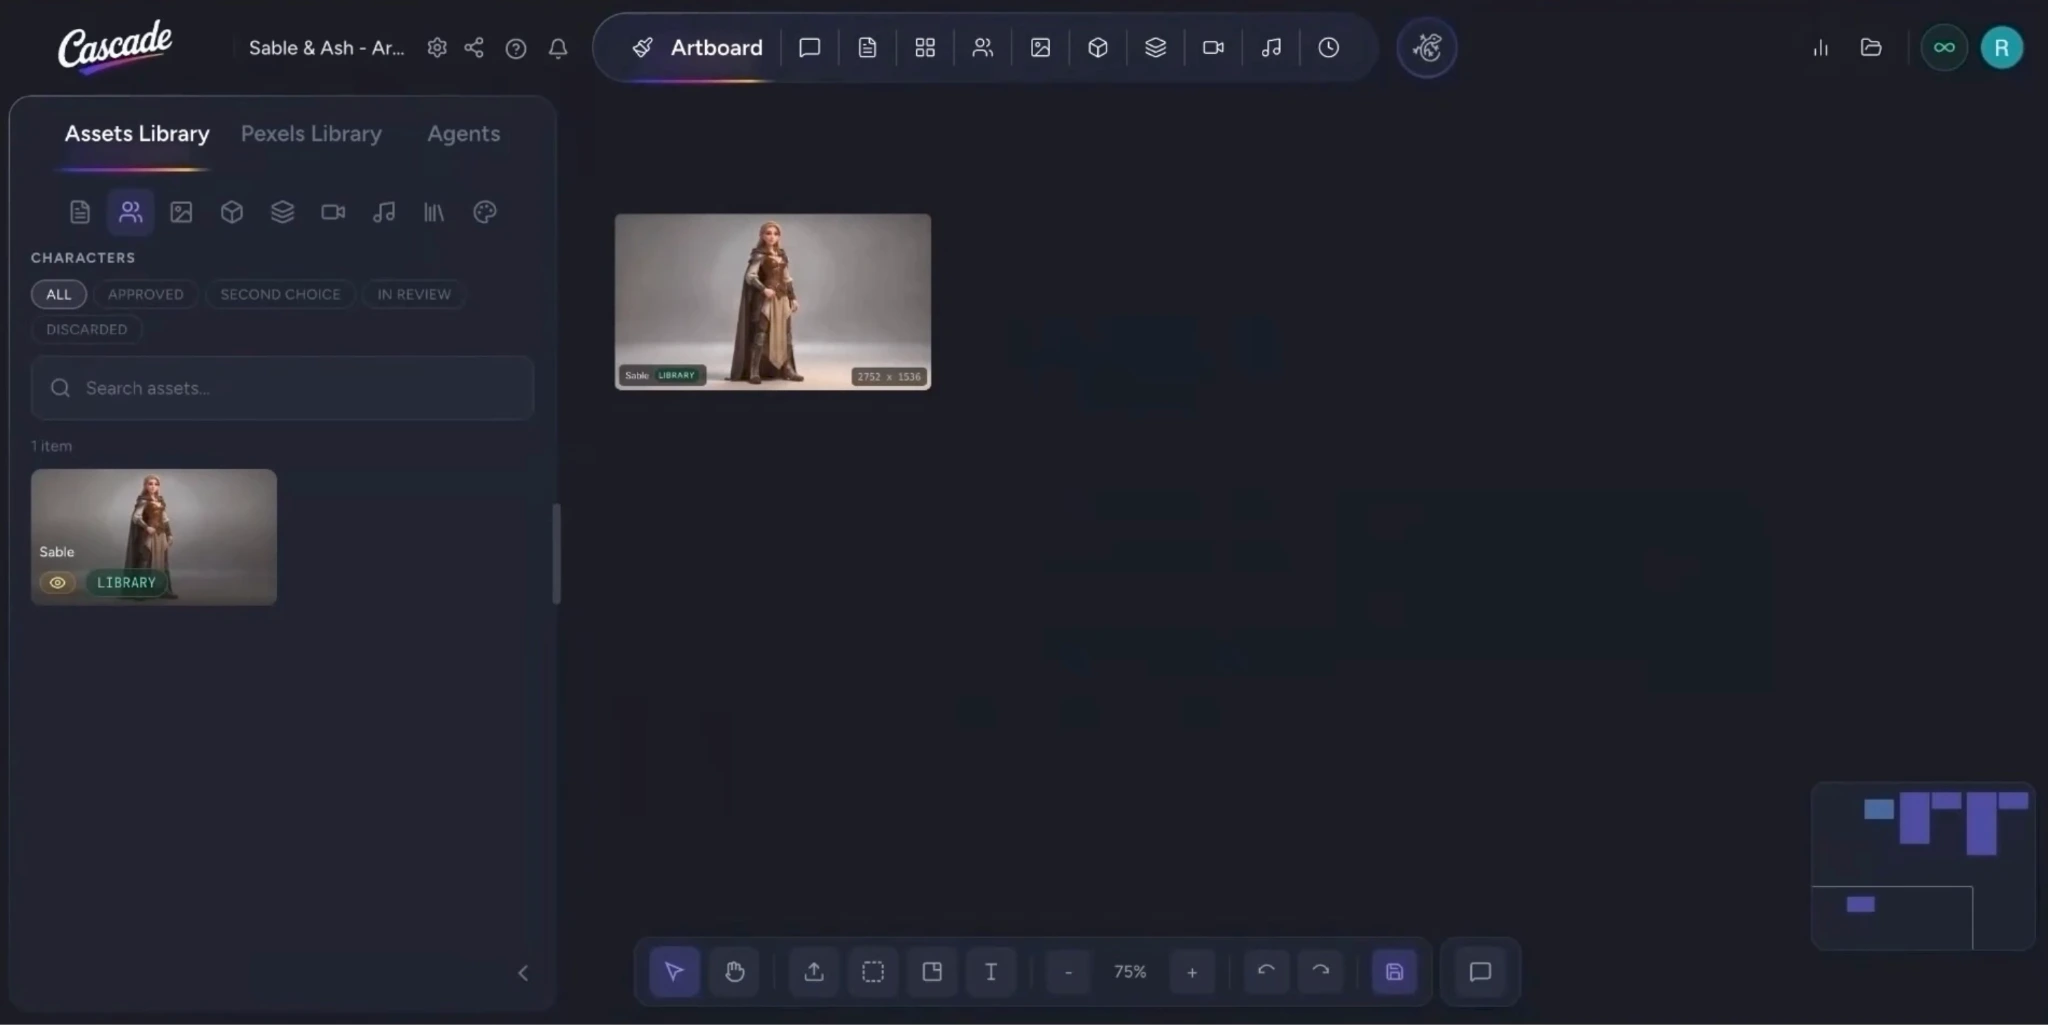
  • Drag and drop existing assets from your library onto the canvas.
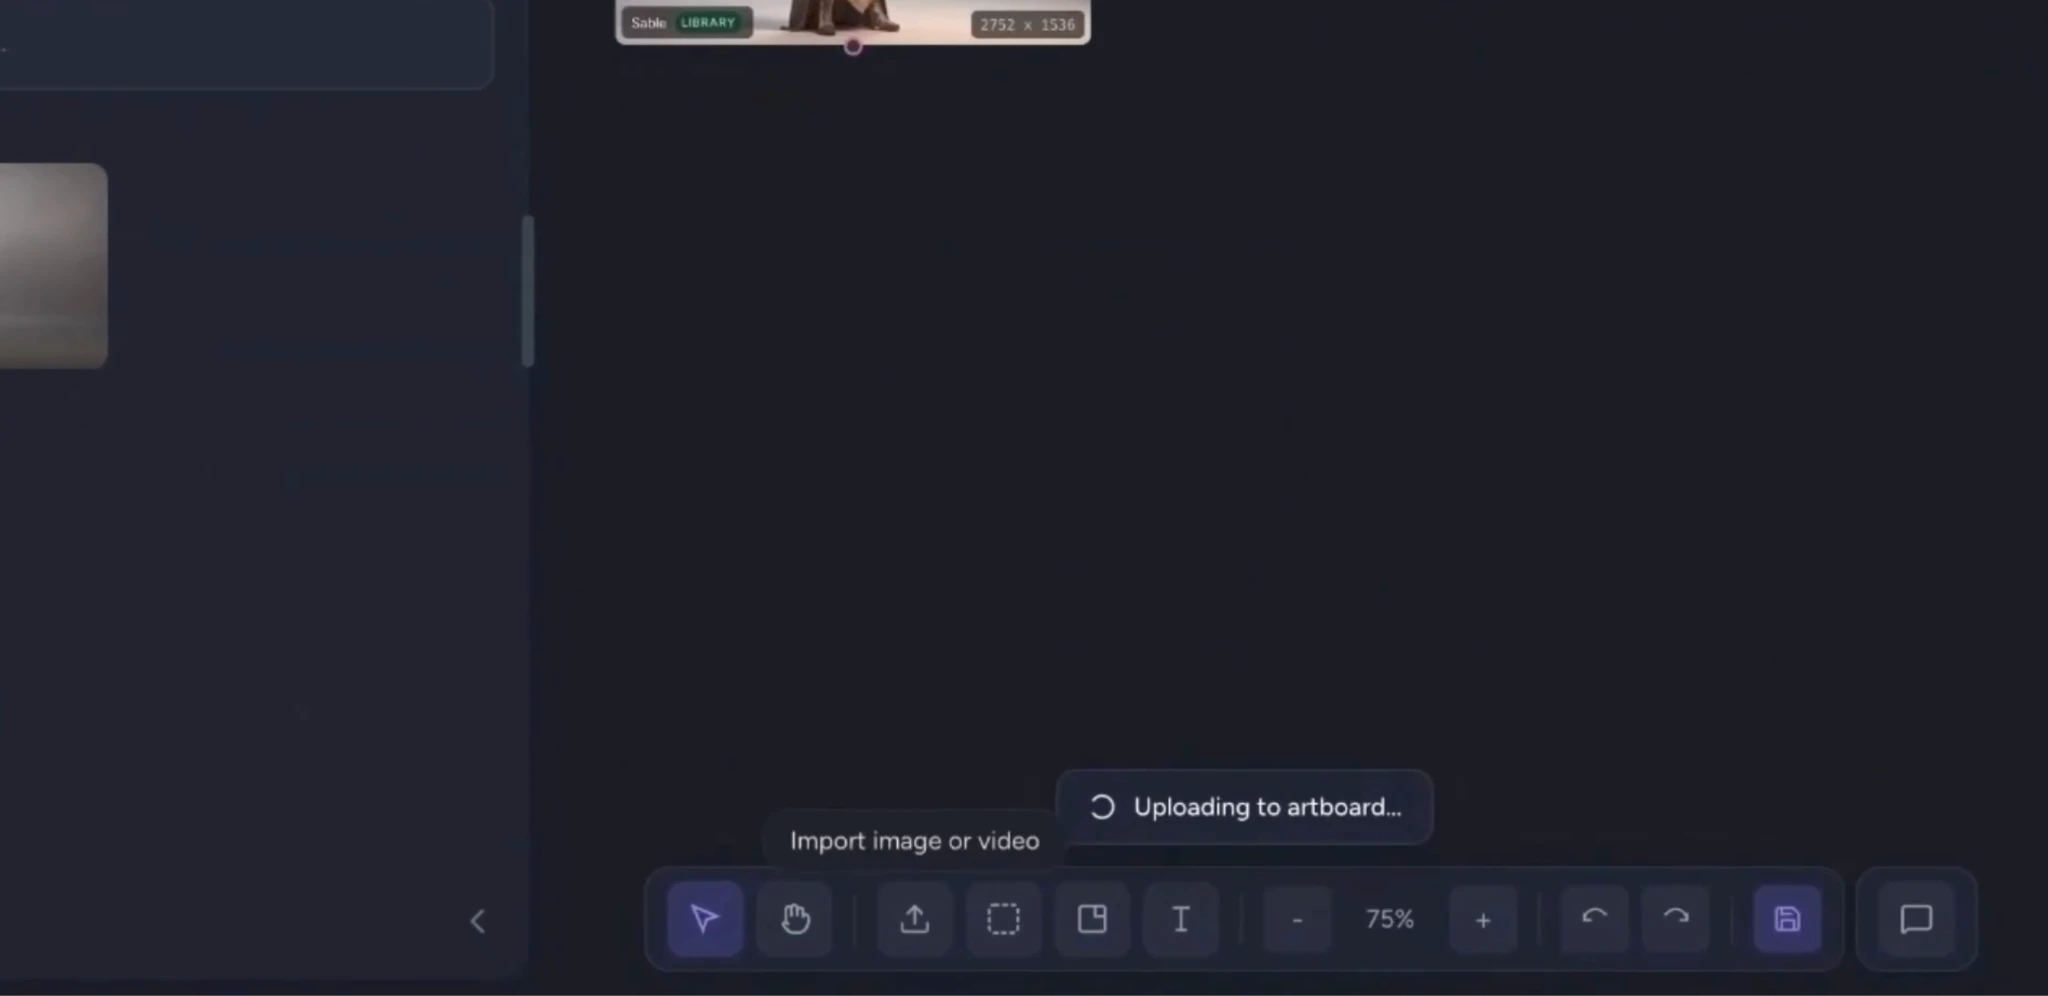
  • Or click the upload icon to import assets directly from your device.

Step 5: Generate a Scene Using Your Assets

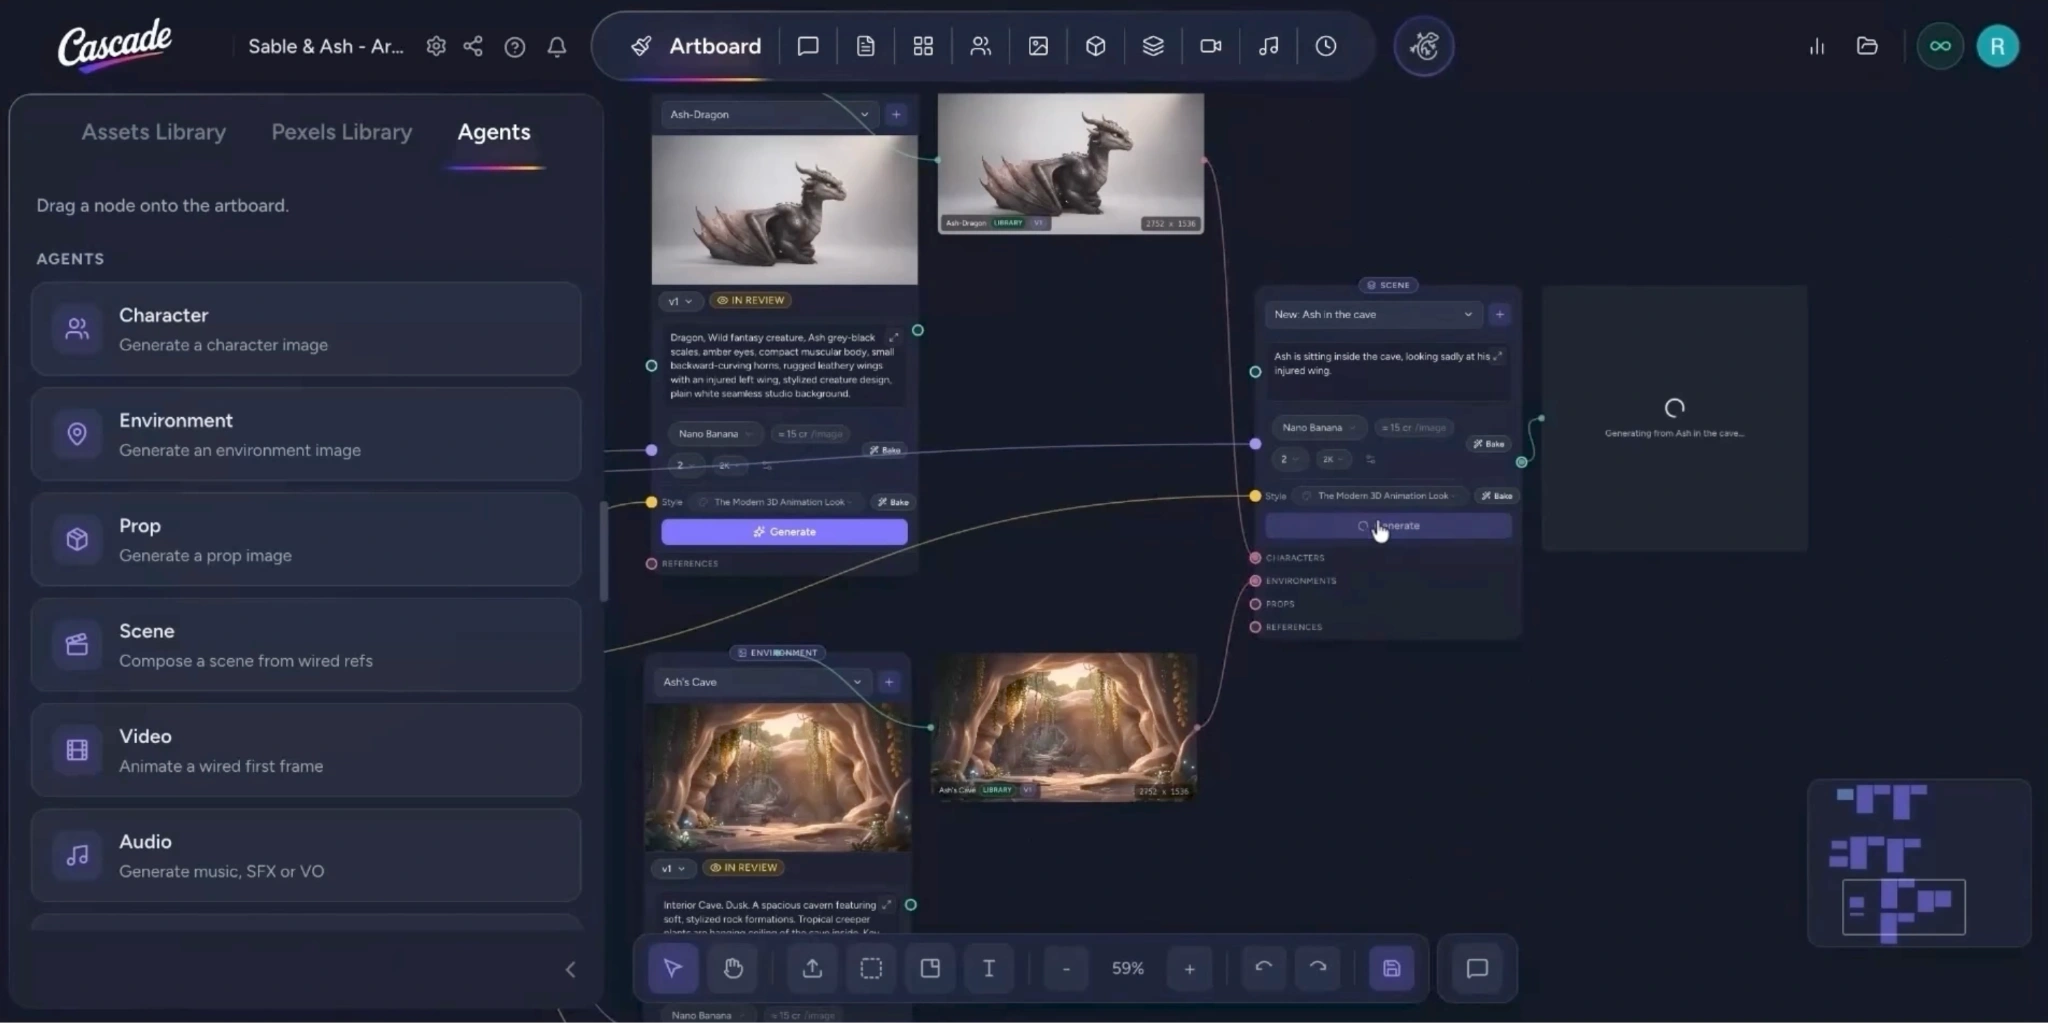
Use a scene agent to combine your references into a new scene asset:
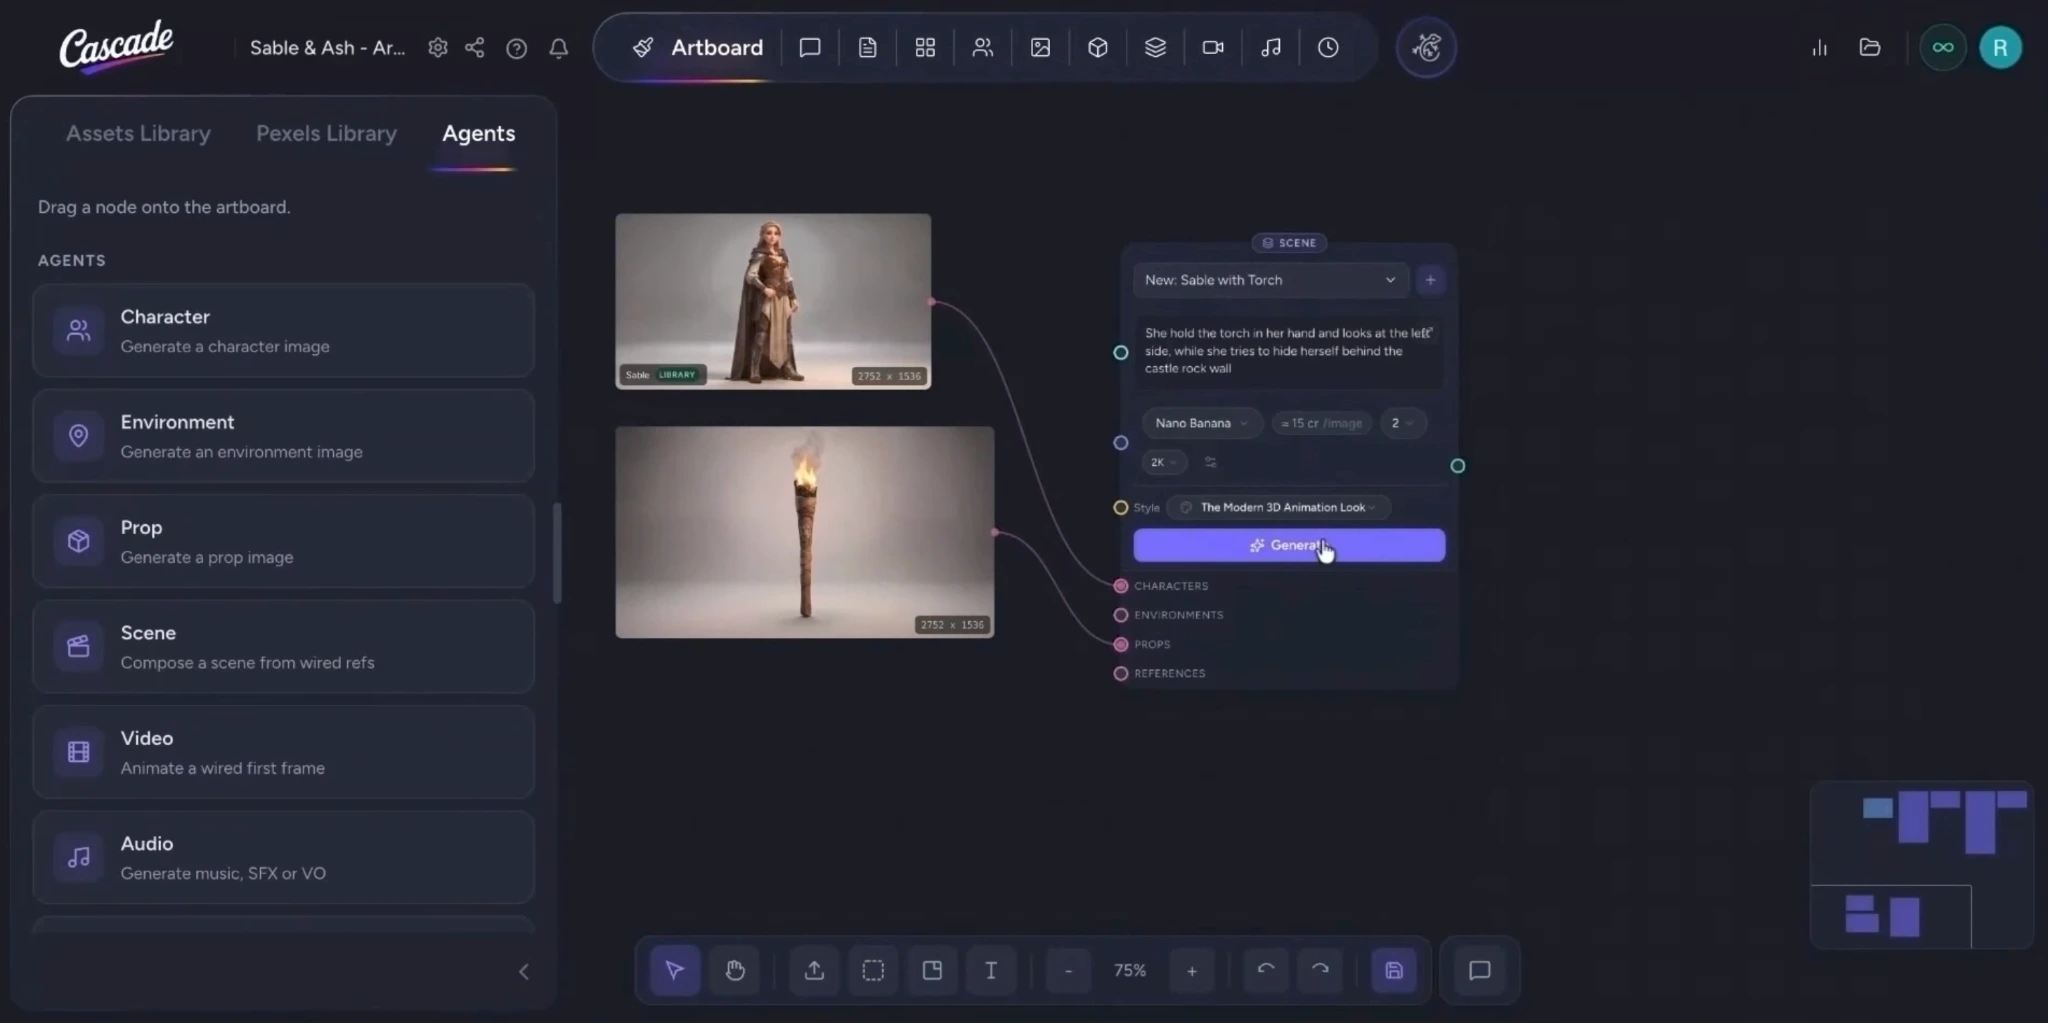
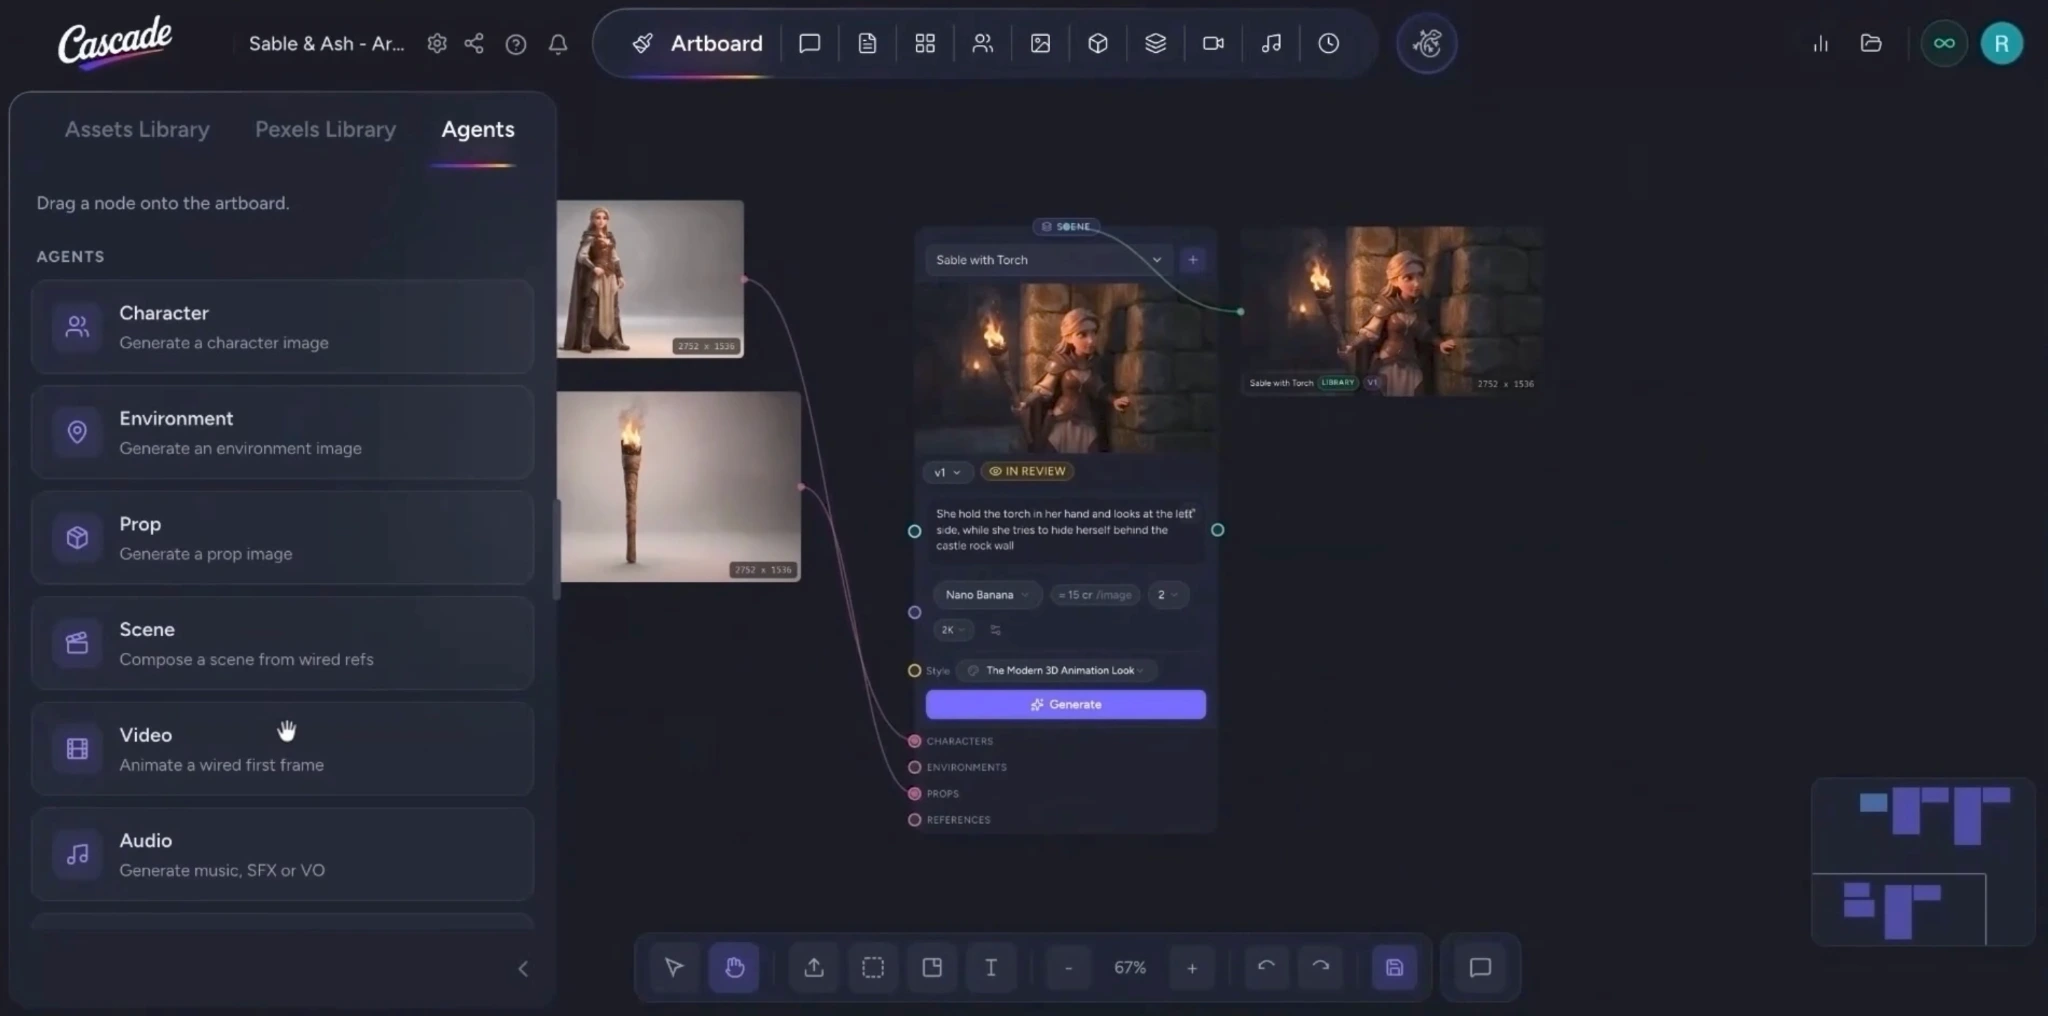
  • Drag and drop a Scene node onto the canvas.
  • Name and save the scene.
  • Connect your reference images to the appropriate inputs on the scene node:
  • Enter a prompt describing the scene, including context, mood, and composition.
  • Set your generation settings (model, resolution, style, etc.).
  • Click Generate.
  • Once generated, view your new scene asset on the canvas.

Step 6: Turn the Generated Scene into a Video

Use your new scene as a reference for another video:
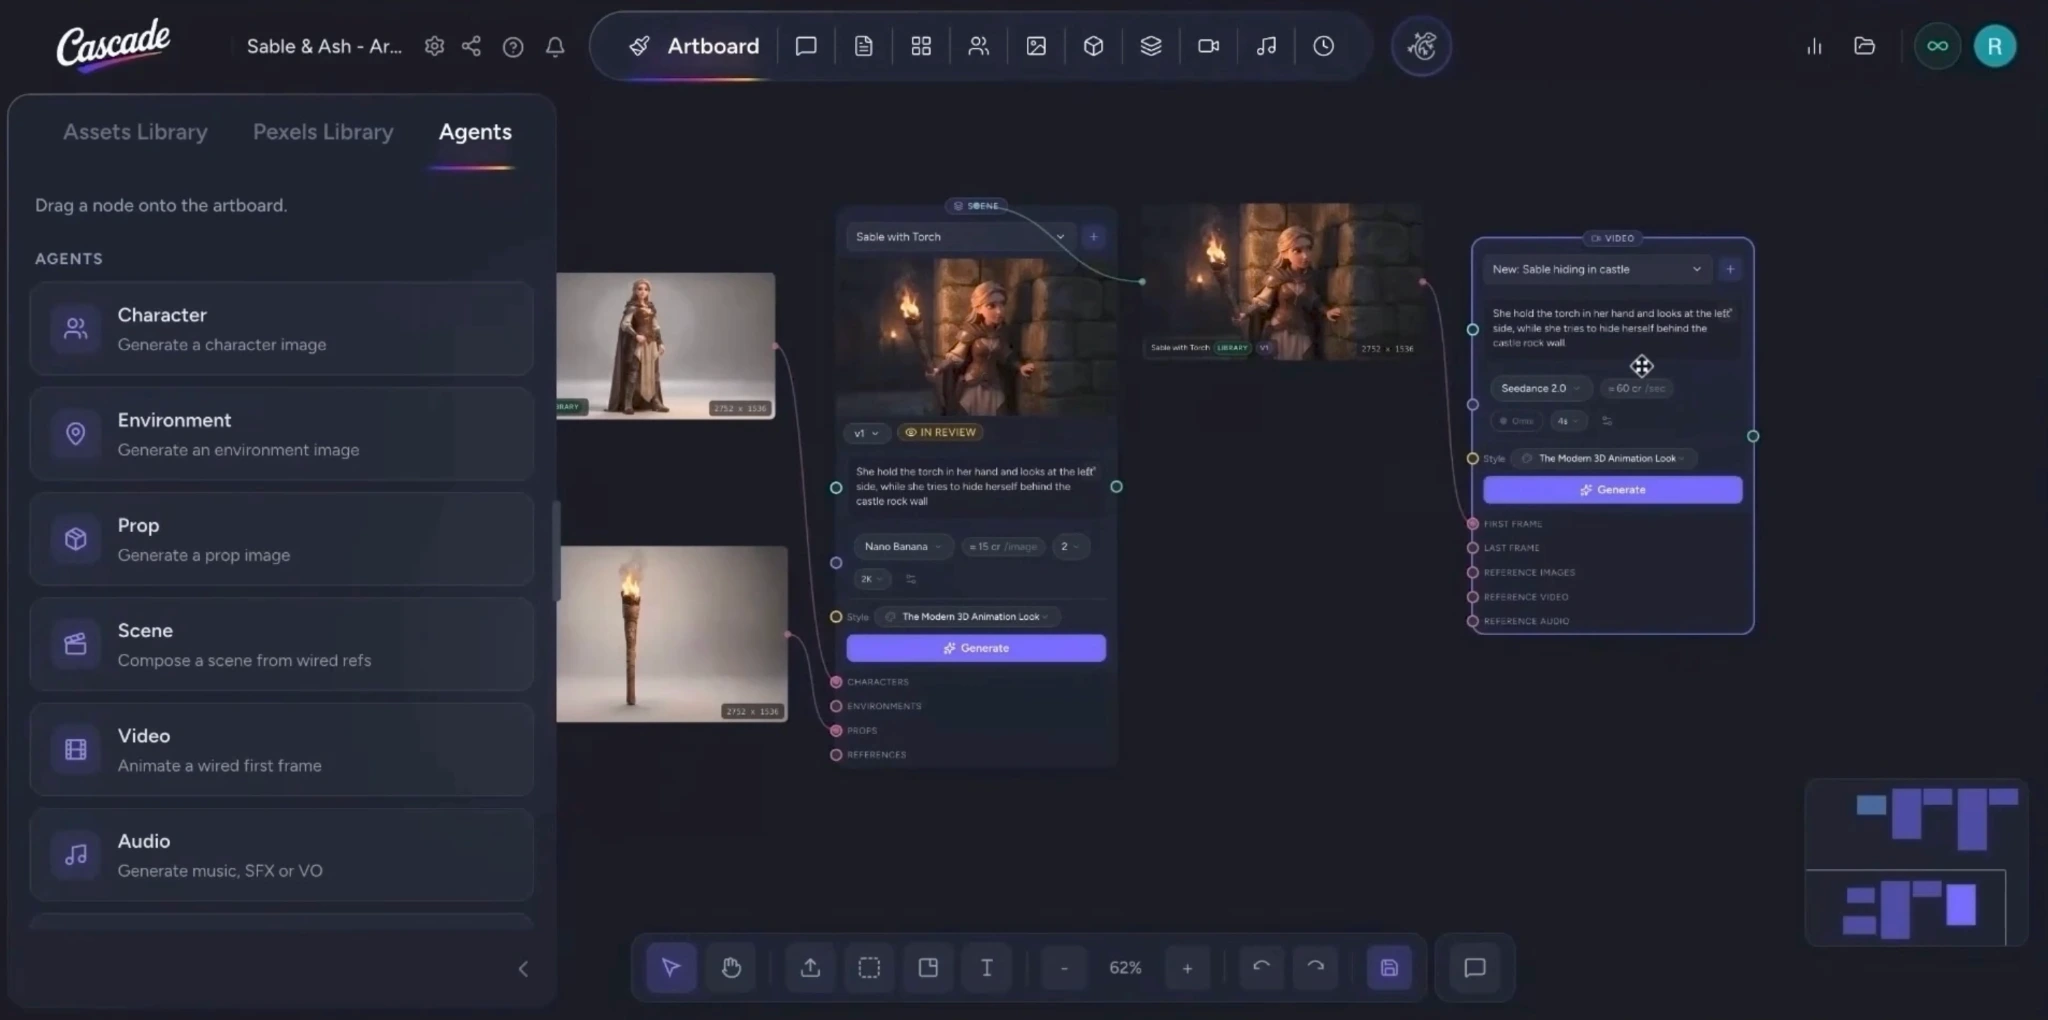
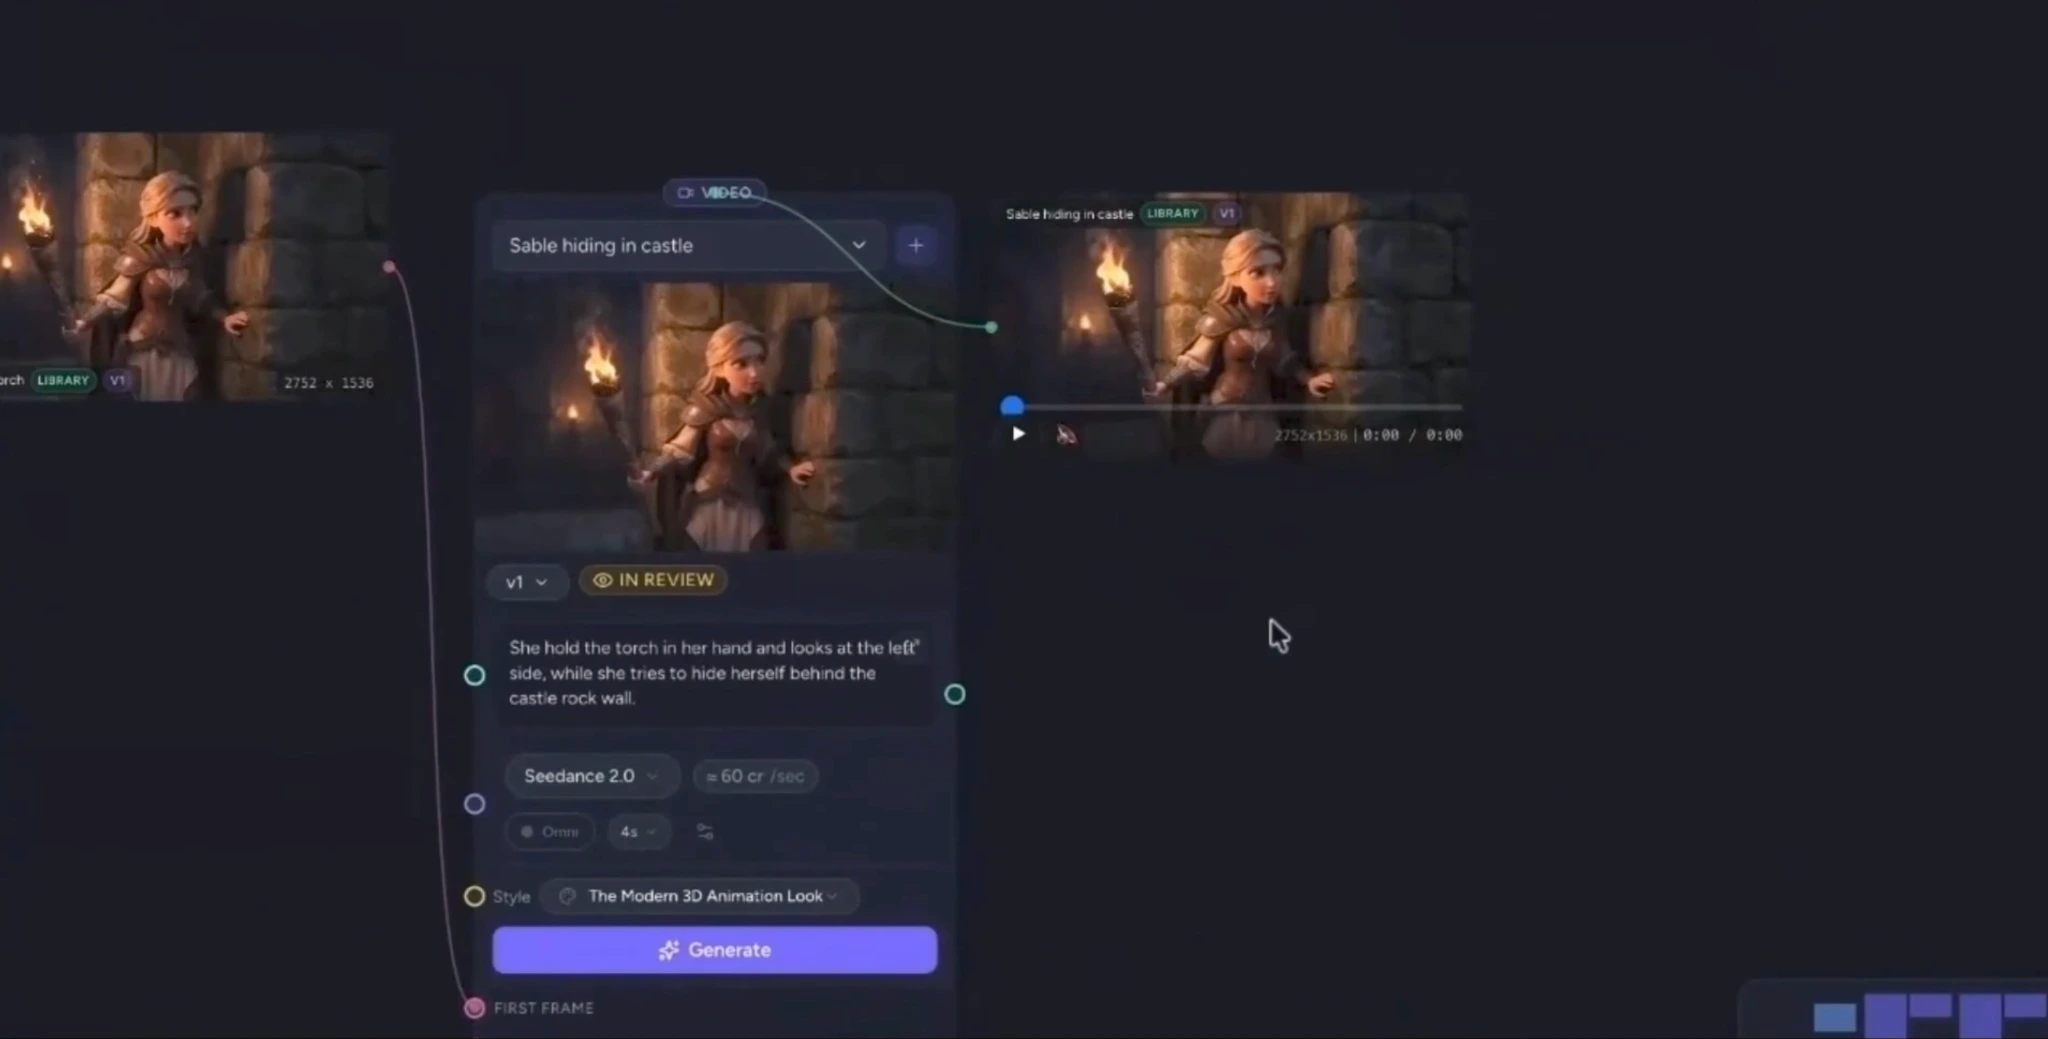
  • Drag and drop a Video agent onto the canvas.
  • Click the plus (+) icon, name your video, and press Use name.
  • Set your preferred video generation settings (e.g., duration, resolution).
  • Connect your scene image to the video node, either as a reference image or as the first/last frame.
  • Enter your prompt for the video’s motion and storytelling.
  • When you are ready, click Generate.
  • You have now created a video using your own assets as reference images.

Step 7: Set a Default Model and Style

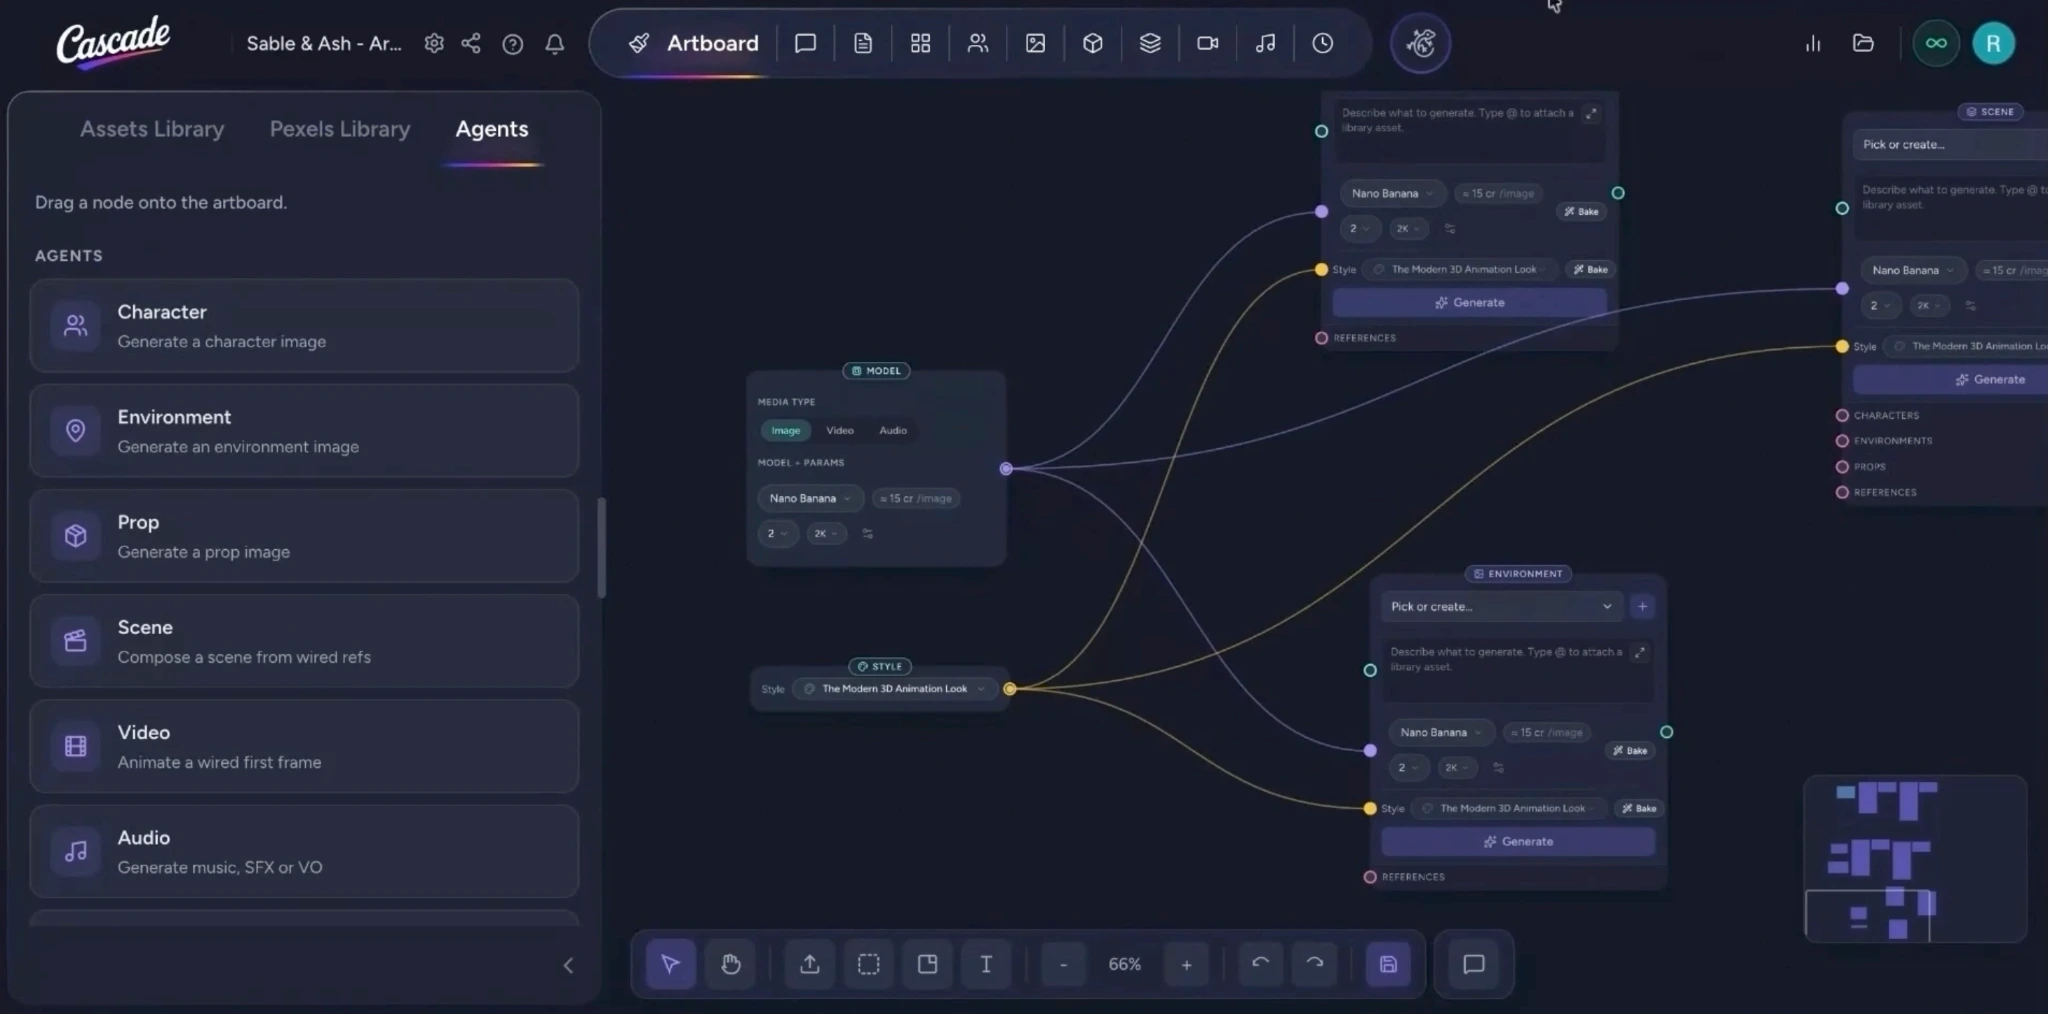
Another efficient way to build scenes and videos is by using utility nodes, such as the Style and Model nodes in the Agents tab:
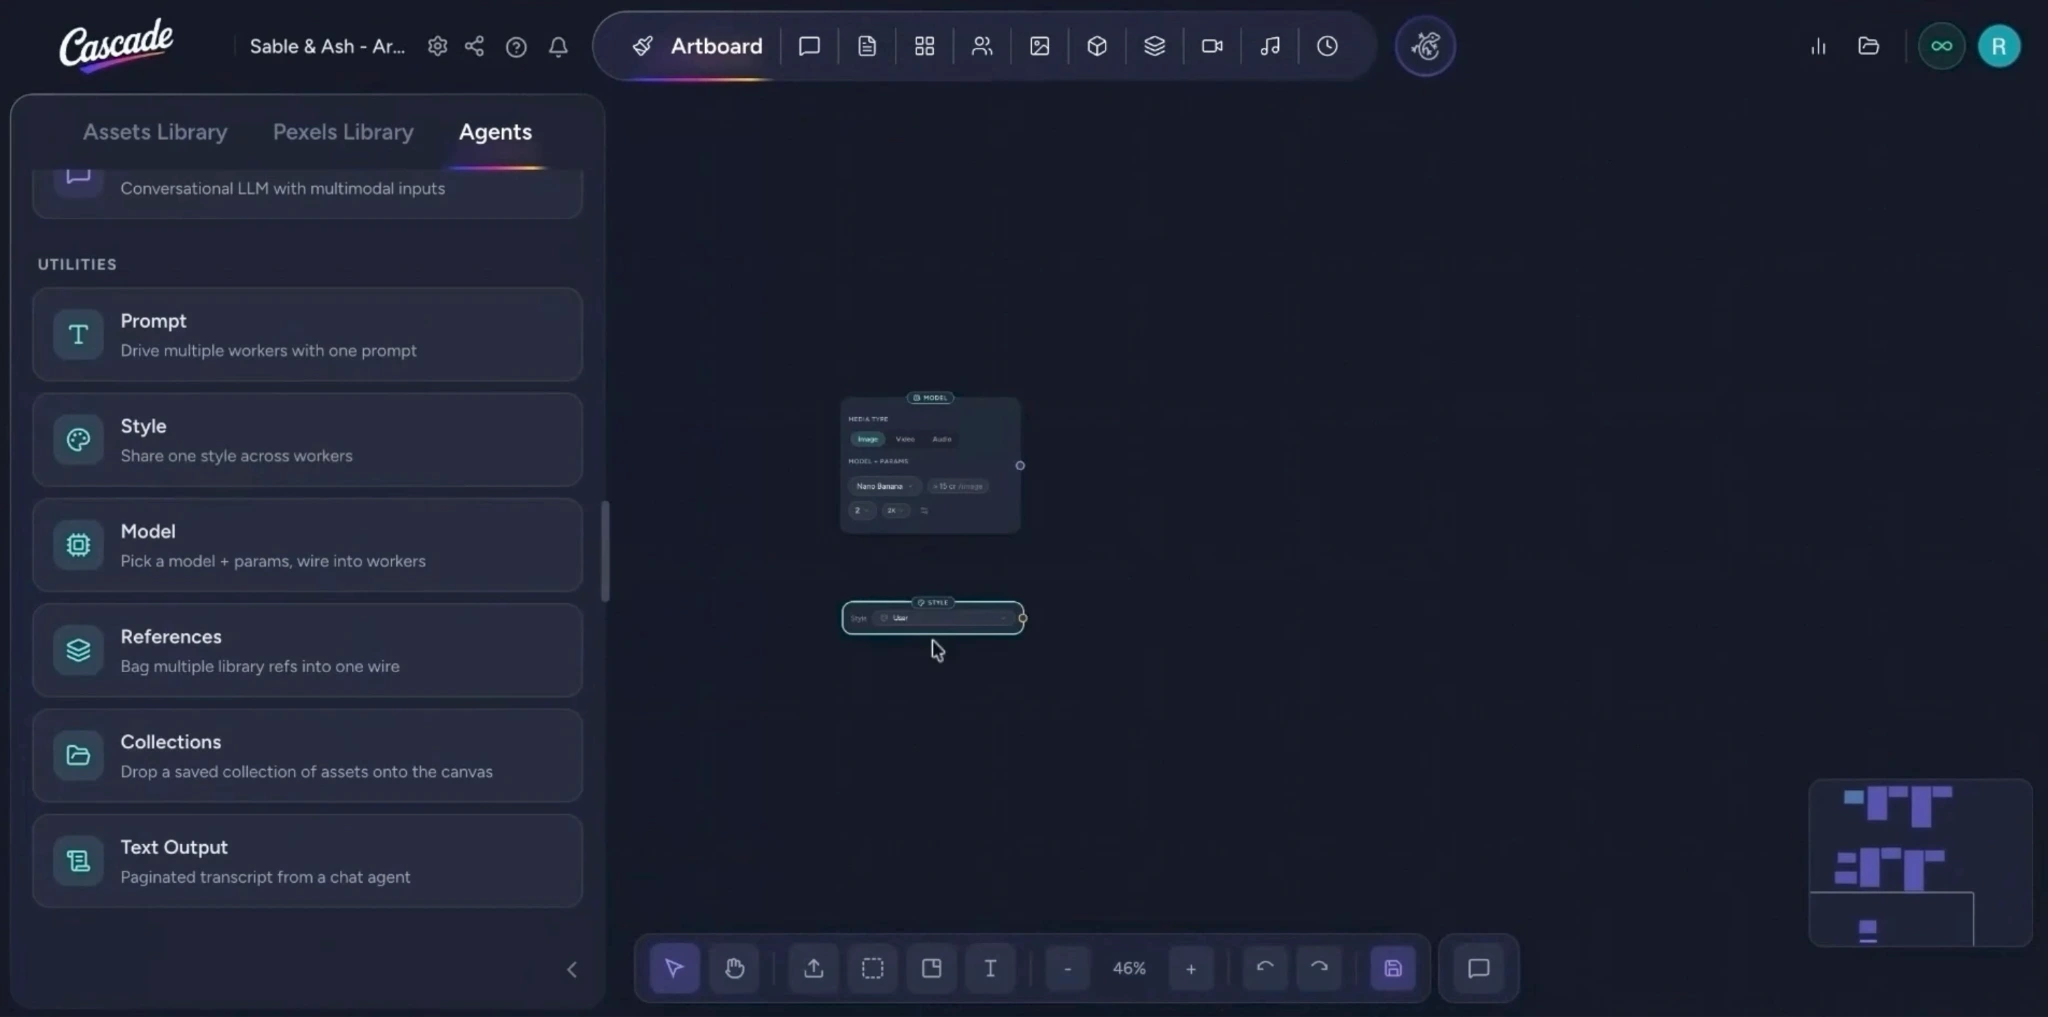
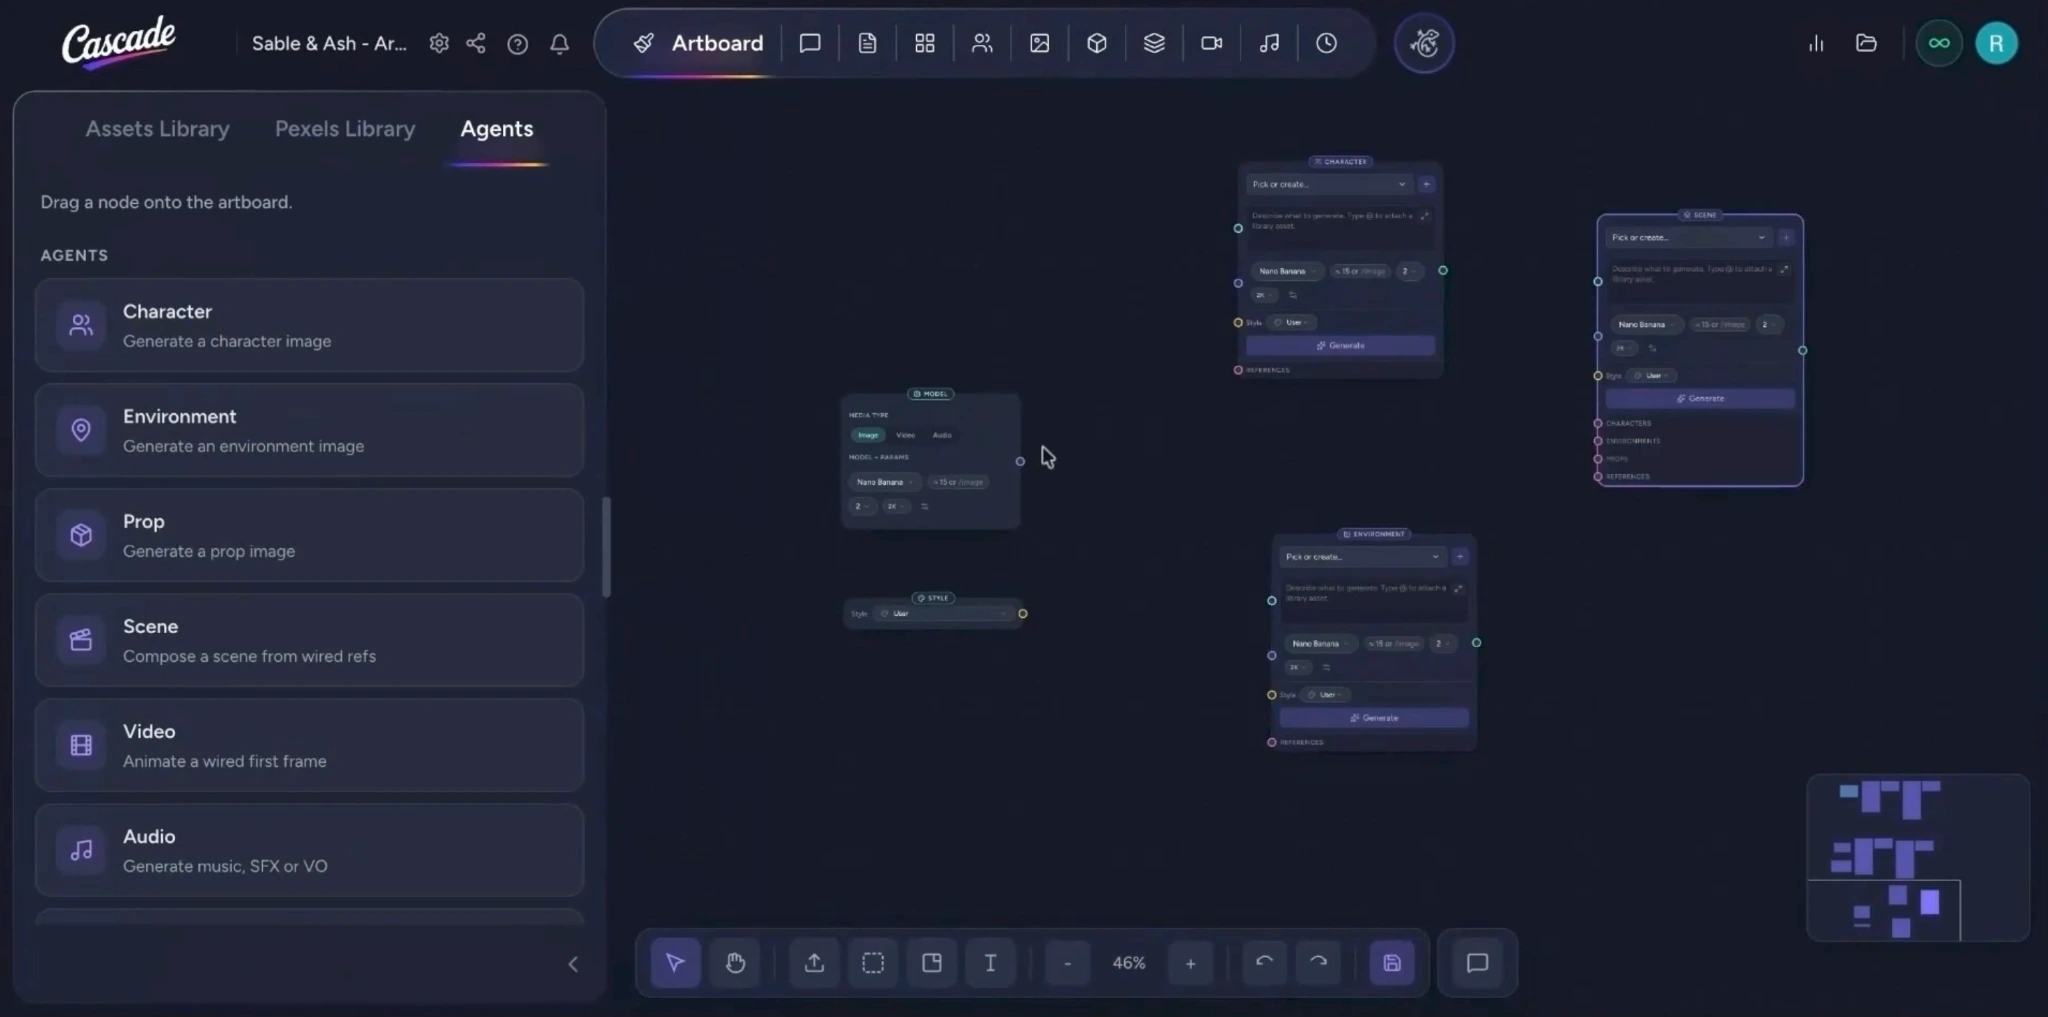
  • In the Agents tab, under Utilities, drag and drop:
    • A Model node to define model parameters shared across multiple agents.
    • A Style node to share a single style across multiple agents.
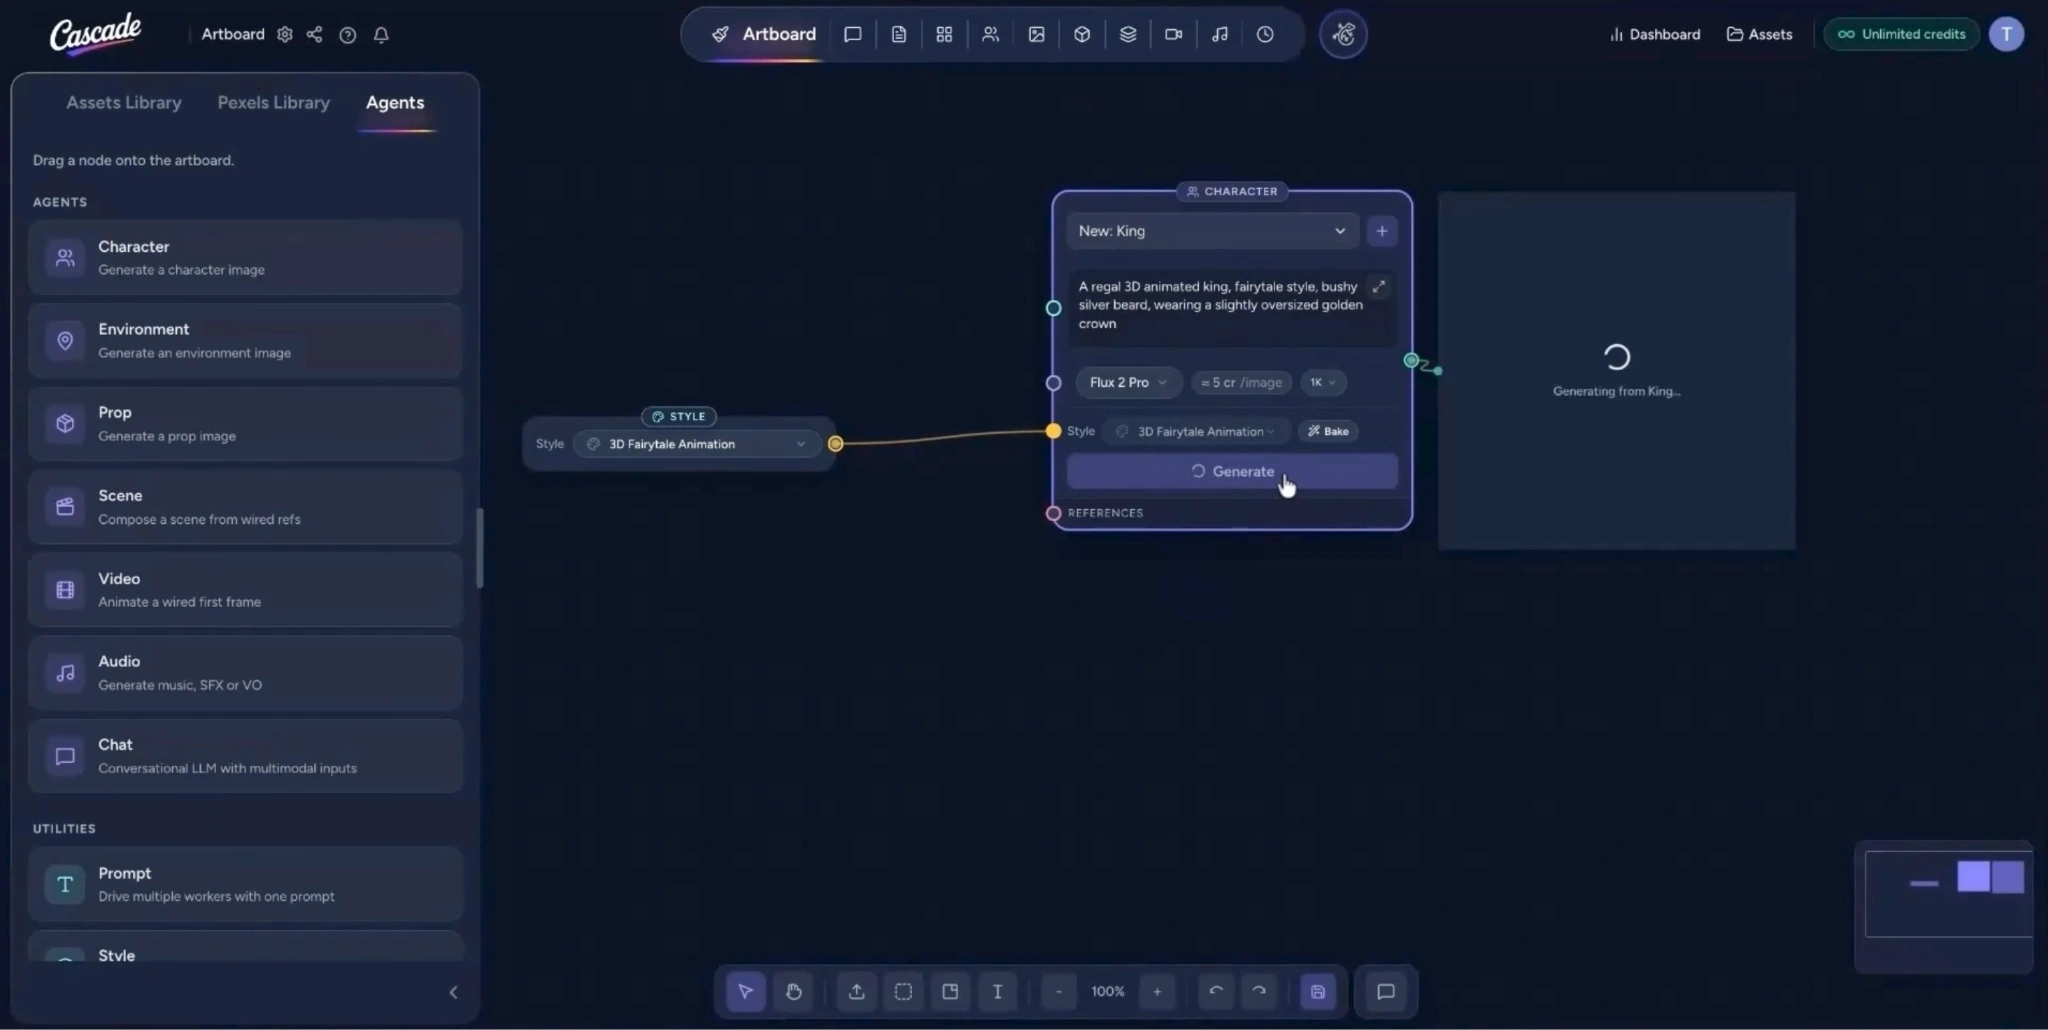
  • Then drag and drop the agents you want to apply a default style and model to (e.g., Character, Environment, Scene).
  • In the Model node, choose the media type (Image, Video, or Audio). For this example, select Image as the media type.
  • In the Style node, select your preferred style to apply across nodes.
  • Connect the Model node output to the input ports of your Character, Environment, and Scene agents.
  • Connect the Style node output to the corresponding inputs on your agents.
  • For your Character, Environment, Prop, or Scene agent(s), add a name and enter a prompt, then click Generate.
  • After generating assets, you can now connect your assets as references to compose a scene.
  • Create a name for your Scene agent and enter a scene prompt.
  • Ensure the scene node remains connected to your Model and Style nodes.
  • Connect your generated Character and Environment assets as references to the scene’s inputs.
  • Click Generate when ready.

Step 8: Set Up and Generate a Video from the Scene

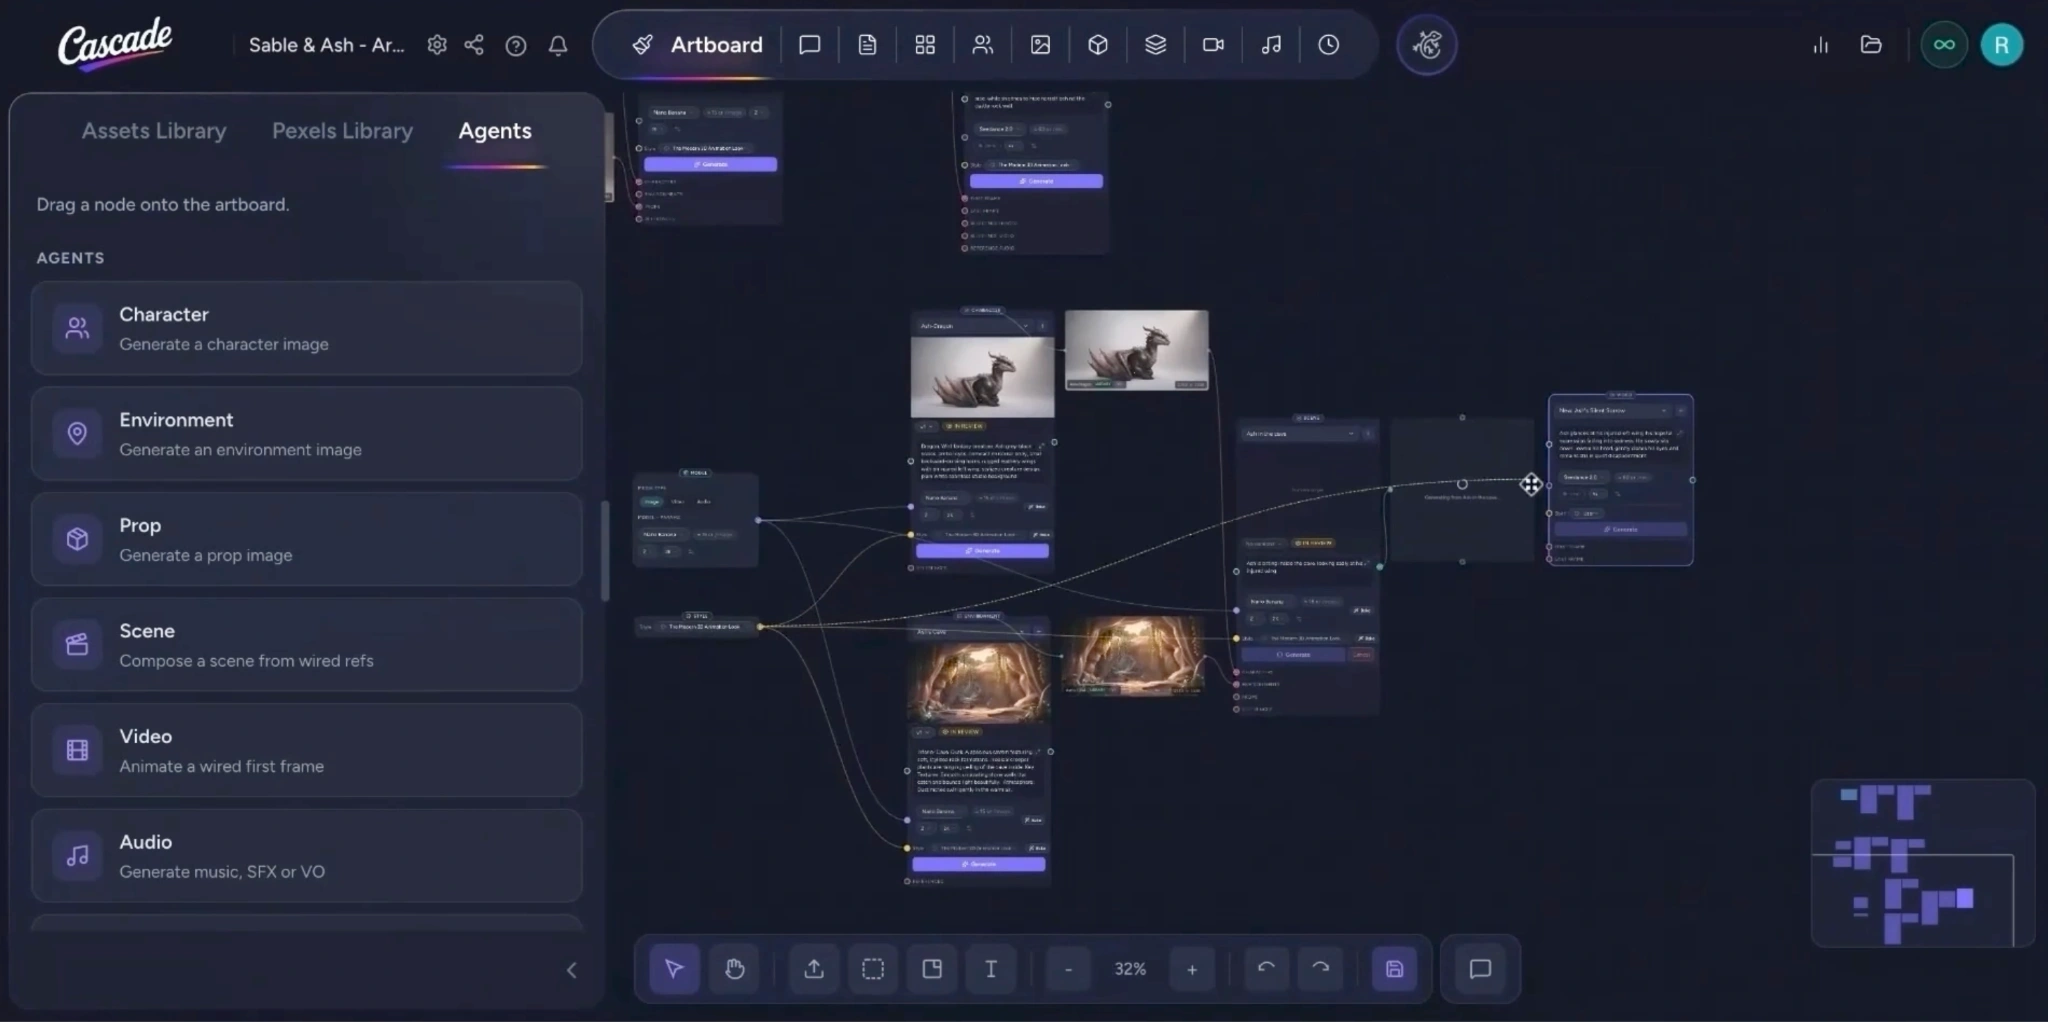
While your scene is generating, prepare your video node:
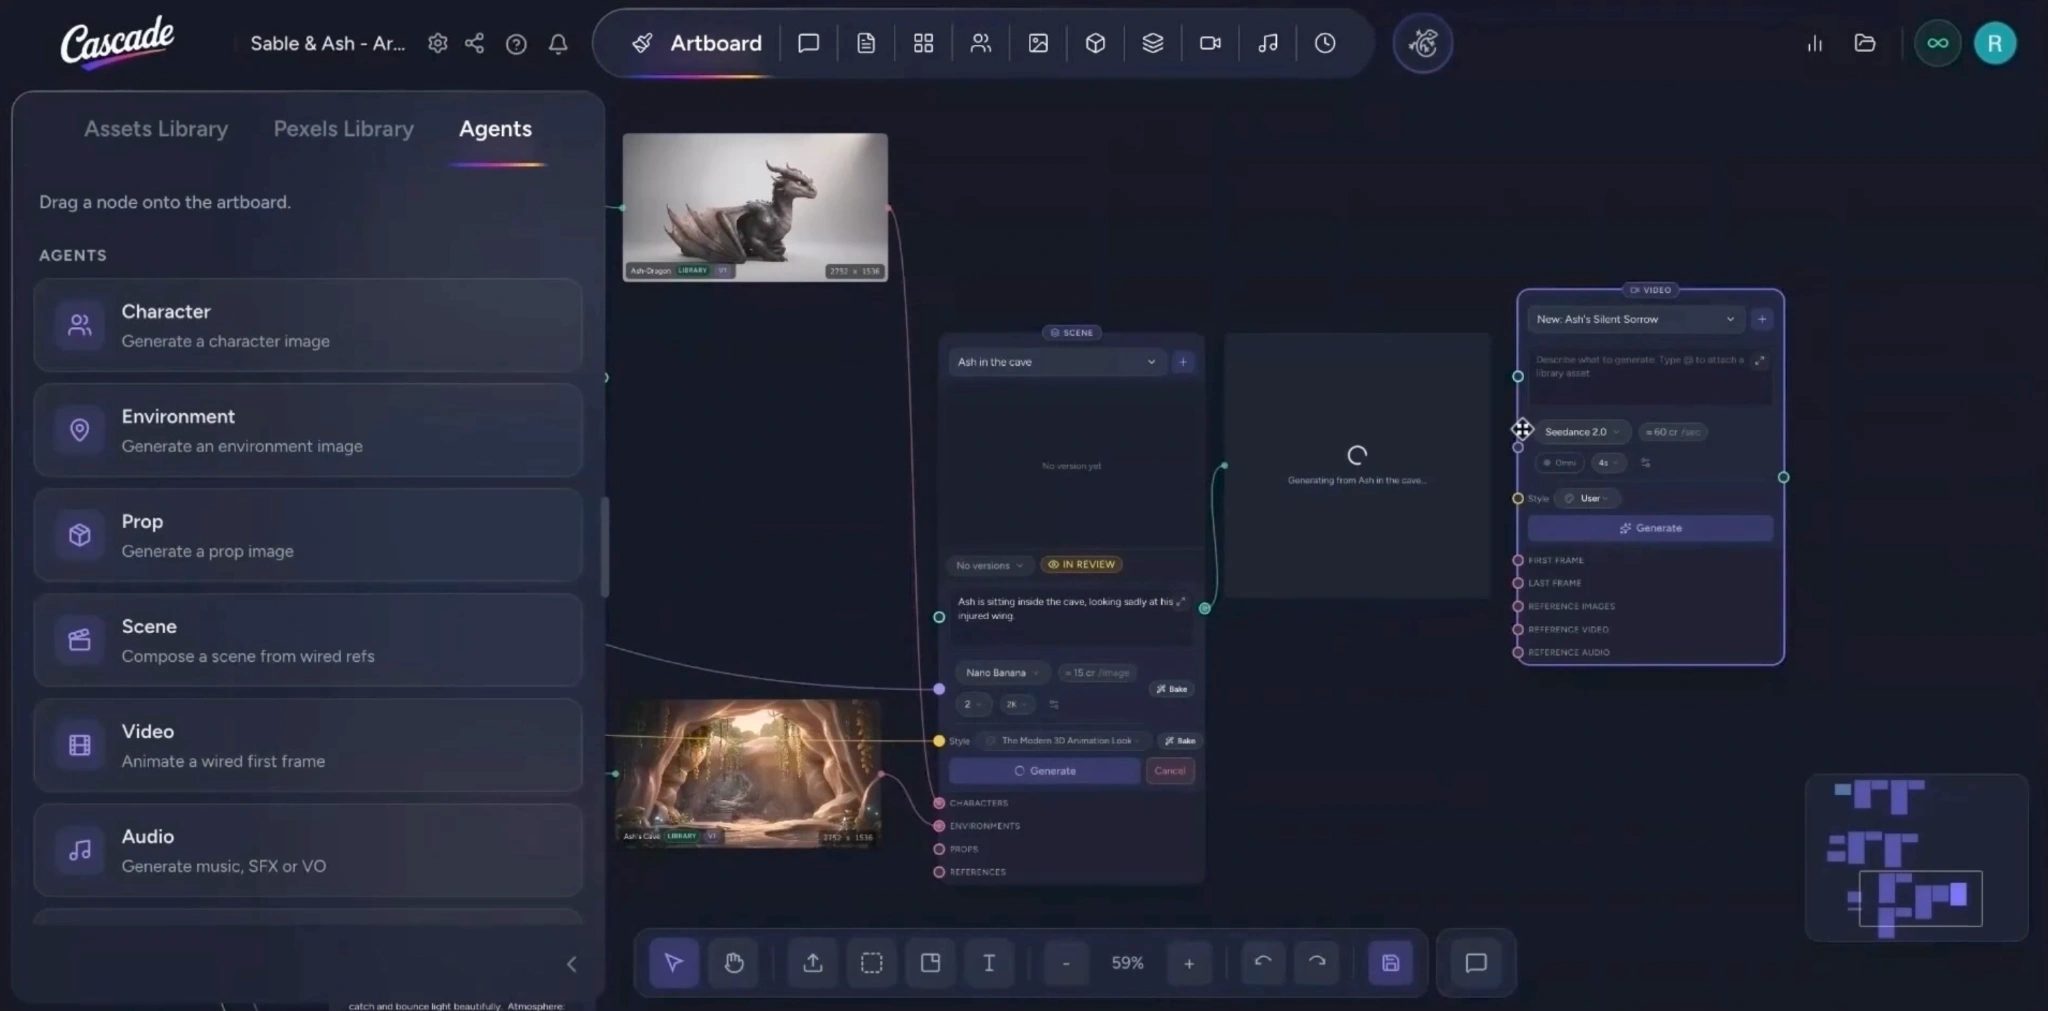
  • Drag and drop a Video node onto the canvas.
  • Name the video and enter a prompt describing the video’s motion and pacing.
  • Connect your Style node you made in Step 7 to the video node to apply the same style across all nodes.
  • Set a duration for the video.
  • As soon as your scene has finished generating, connect the latest scene image to the video node (as reference or first/last frame) and click Generate.
  • Zoom in to review your video generation.

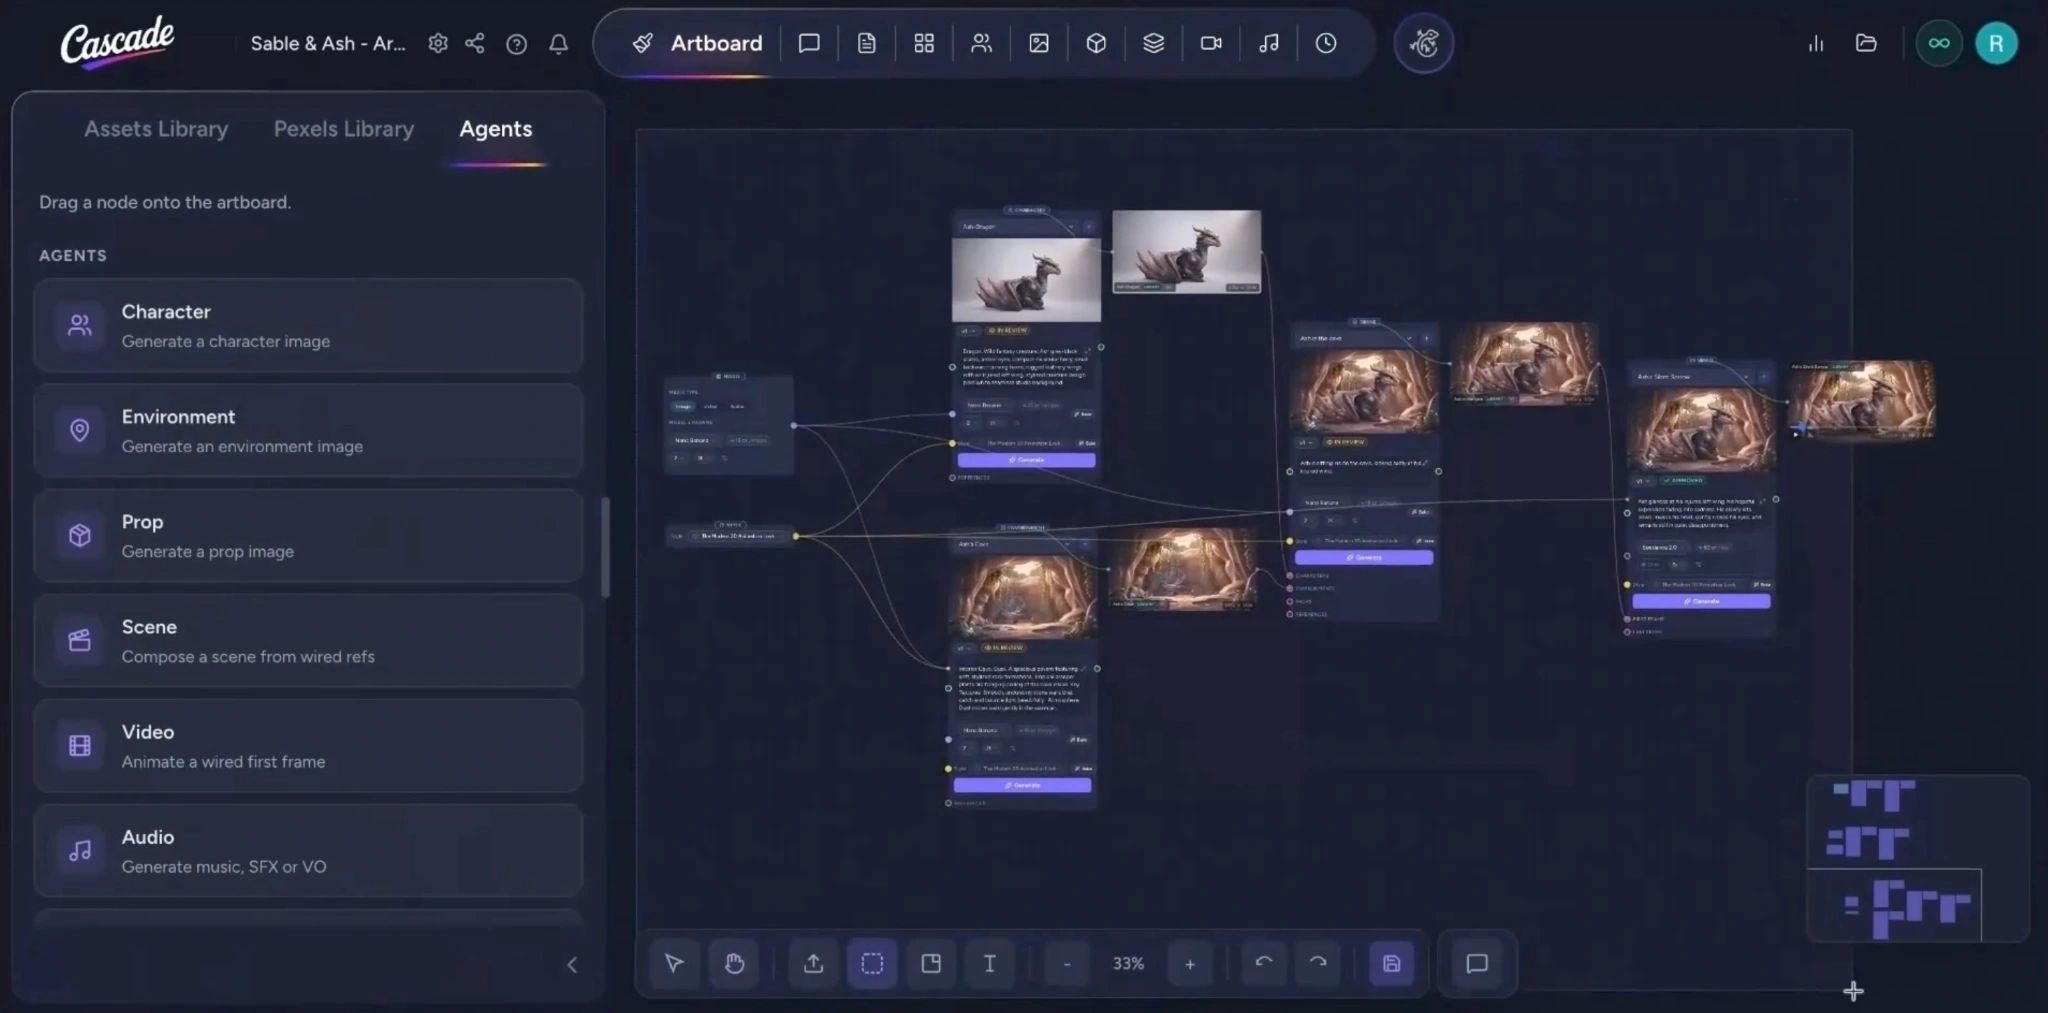
Step 9: Organise your assets with the Frame tool

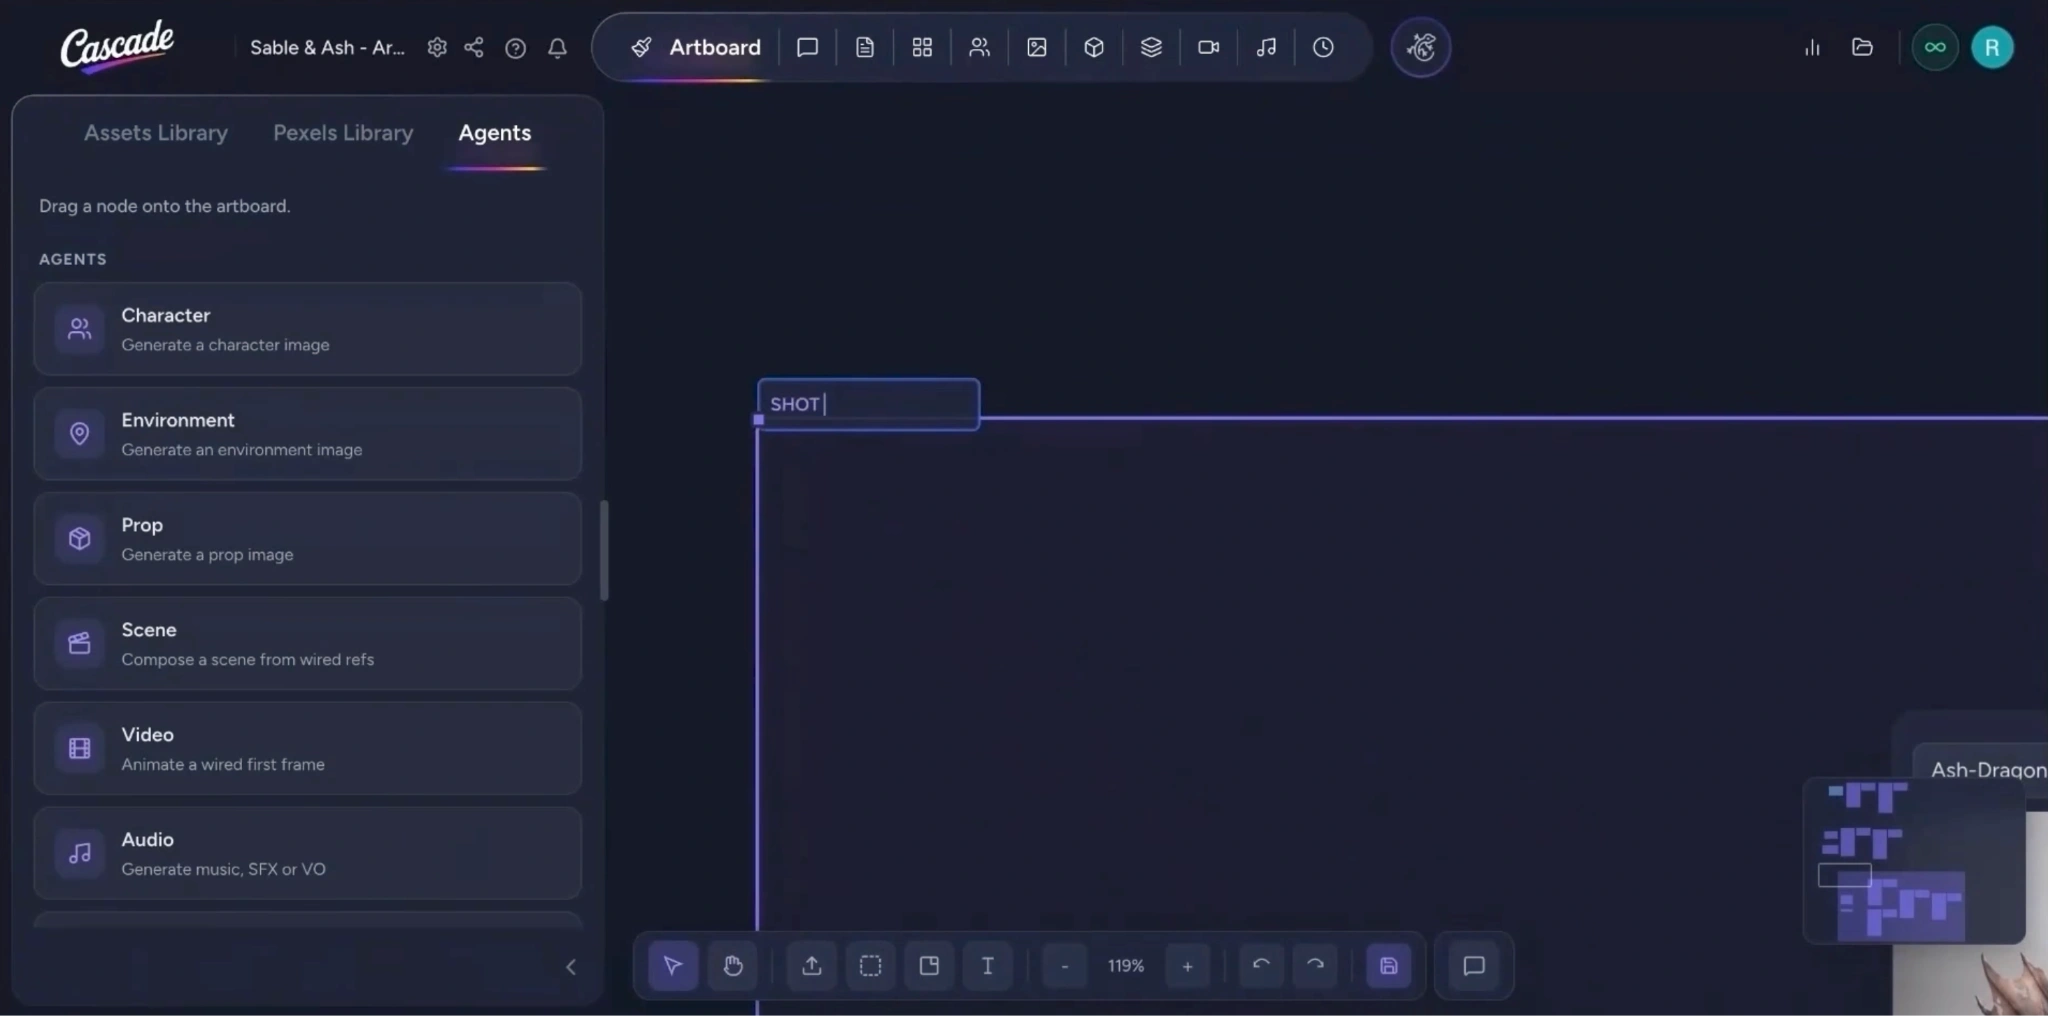
  • To organise complex boards, select the Frame tool, drag over the nodes you want to group, and then name the frame to keep your canvas tidy.

Step 10: Create Your Own Custom User Style

You can bring in images to act as references to create your own style to use across your story, instead of relying only on preset styles:
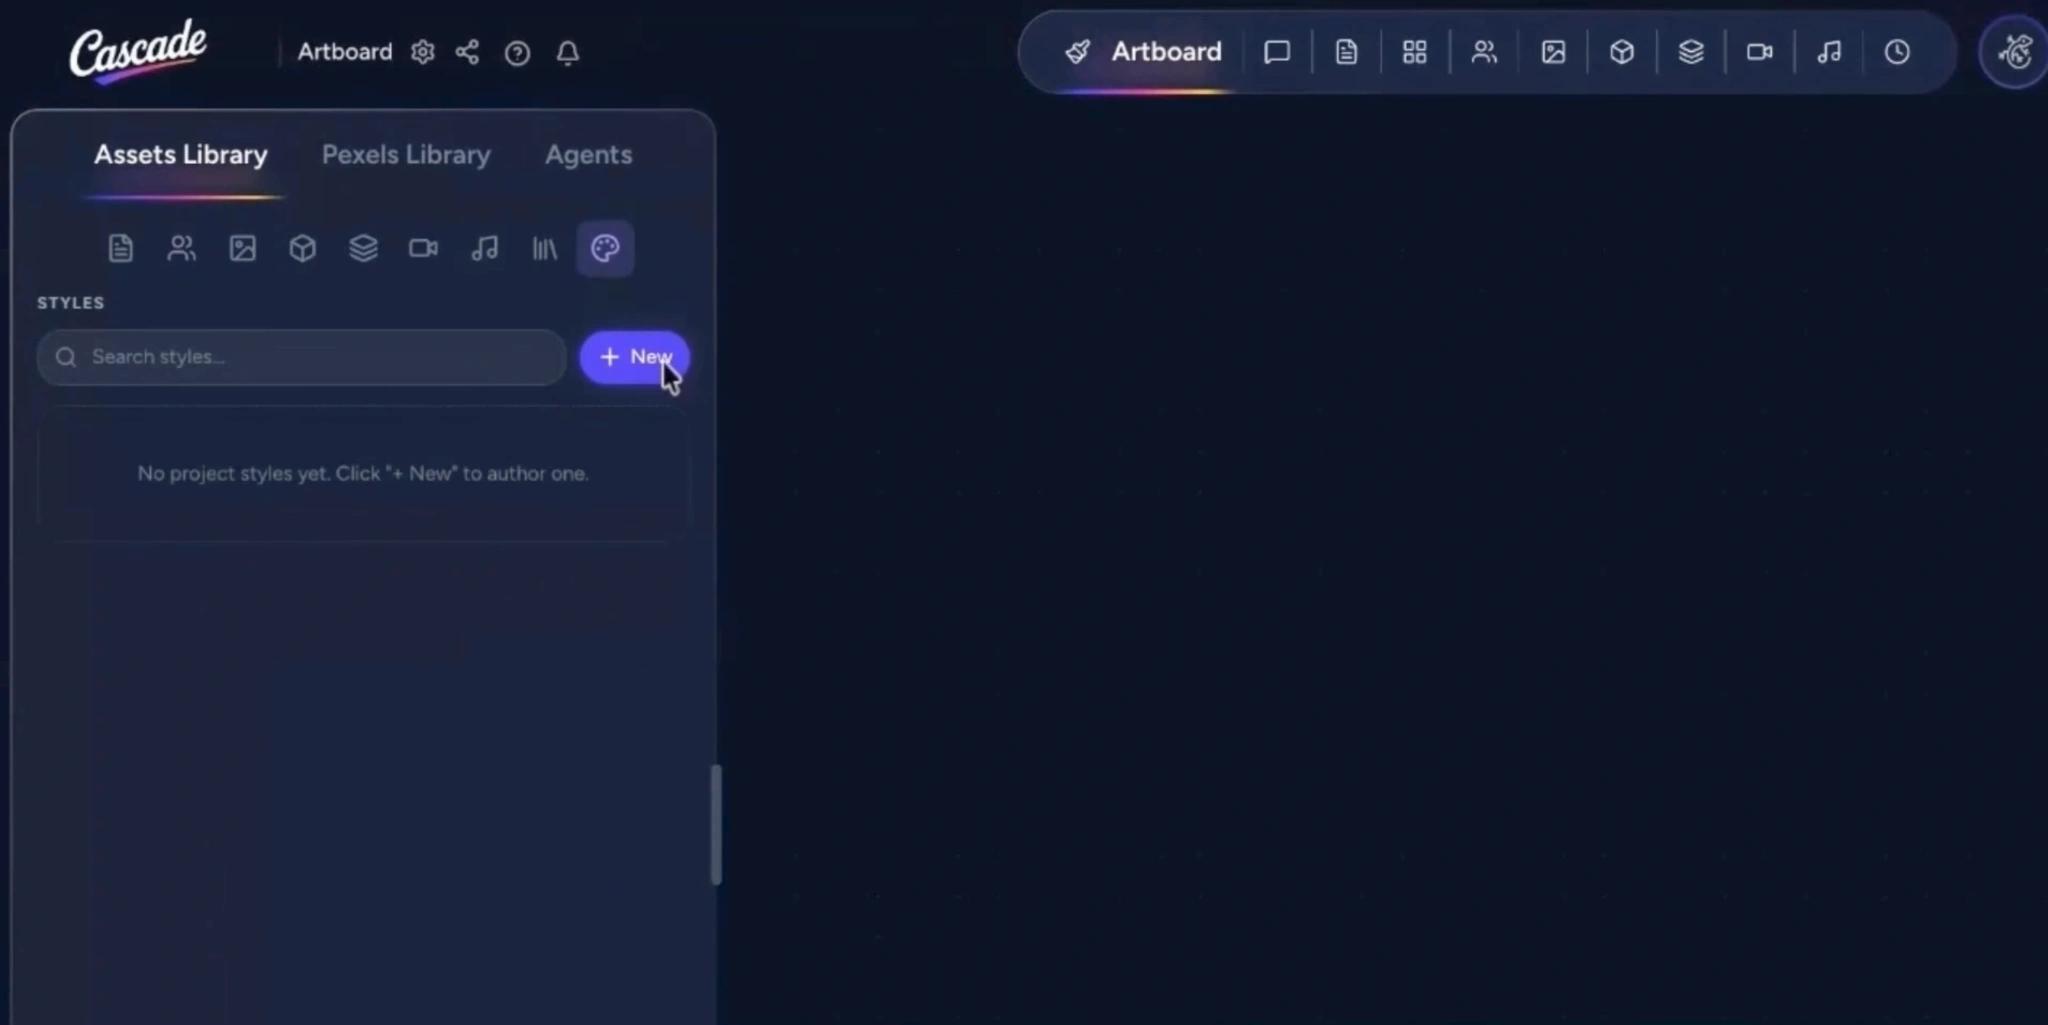
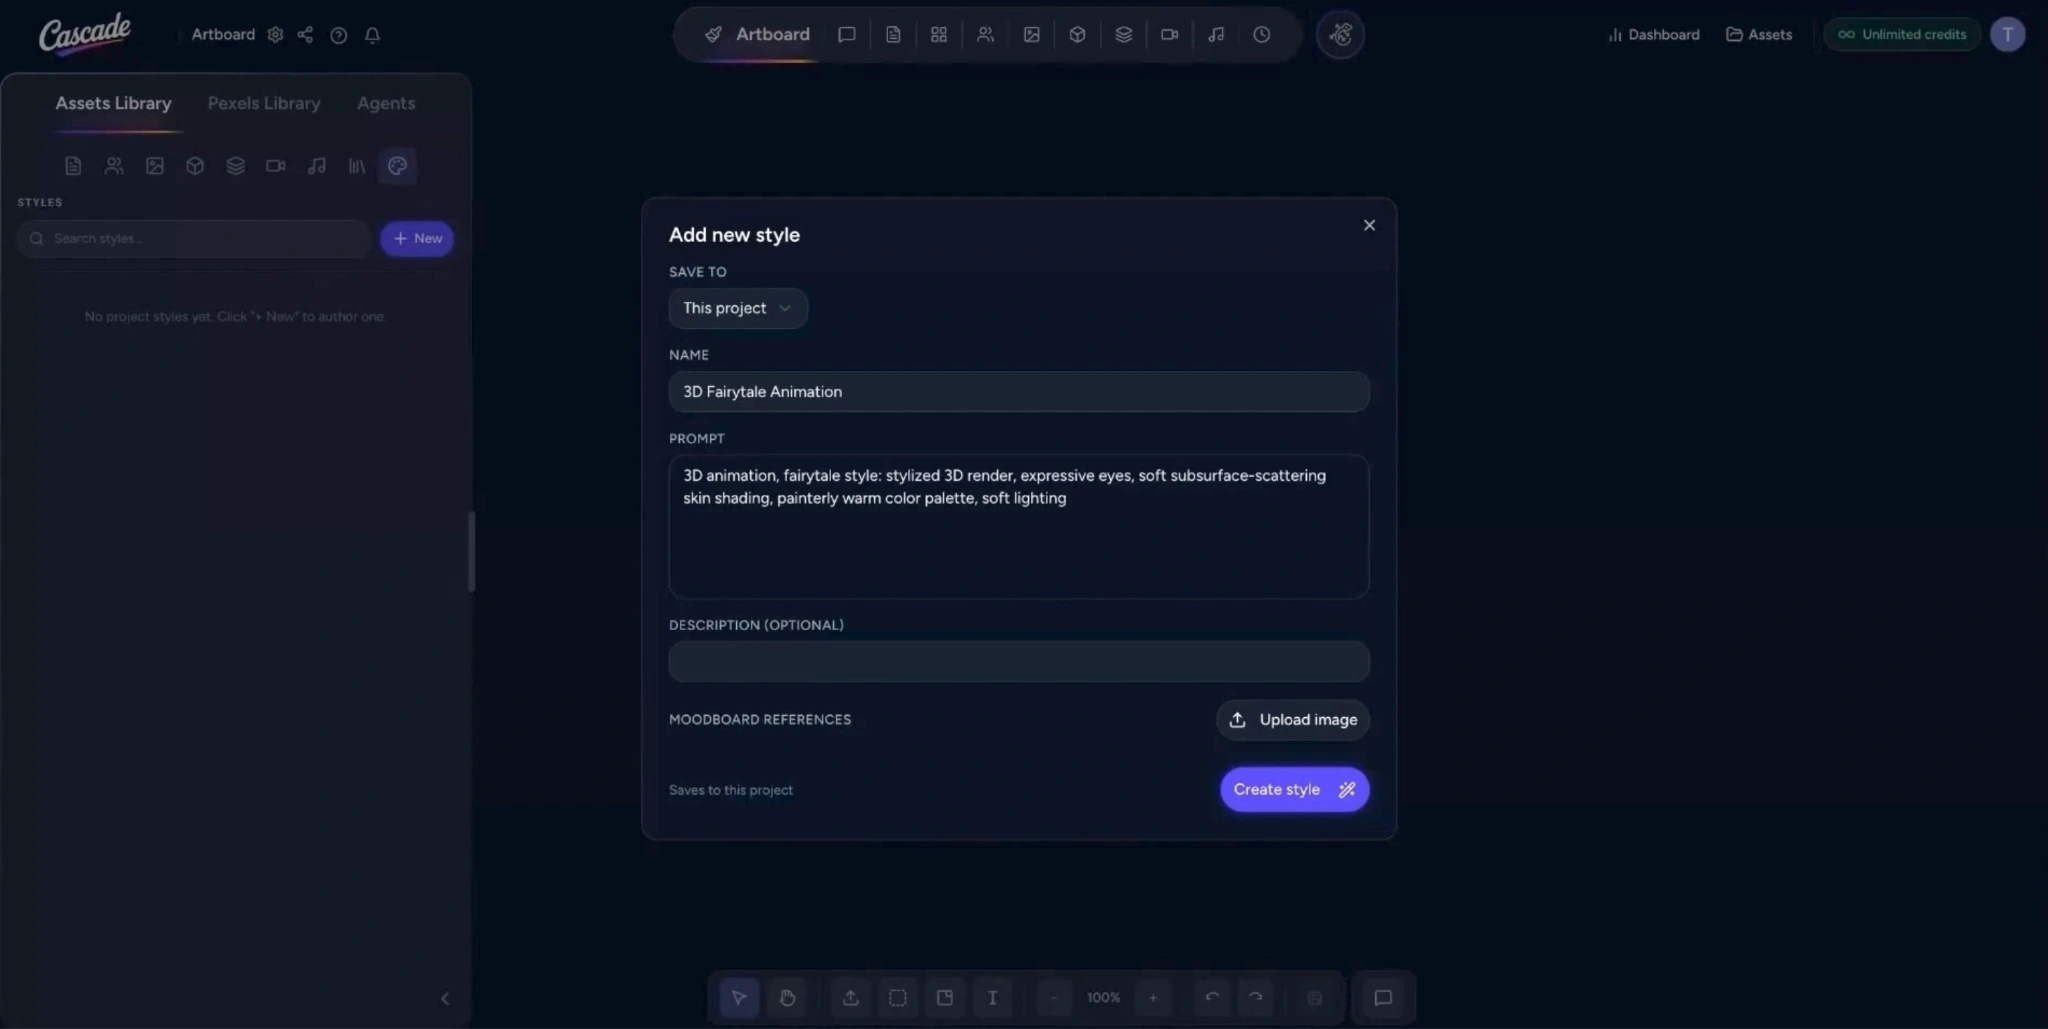
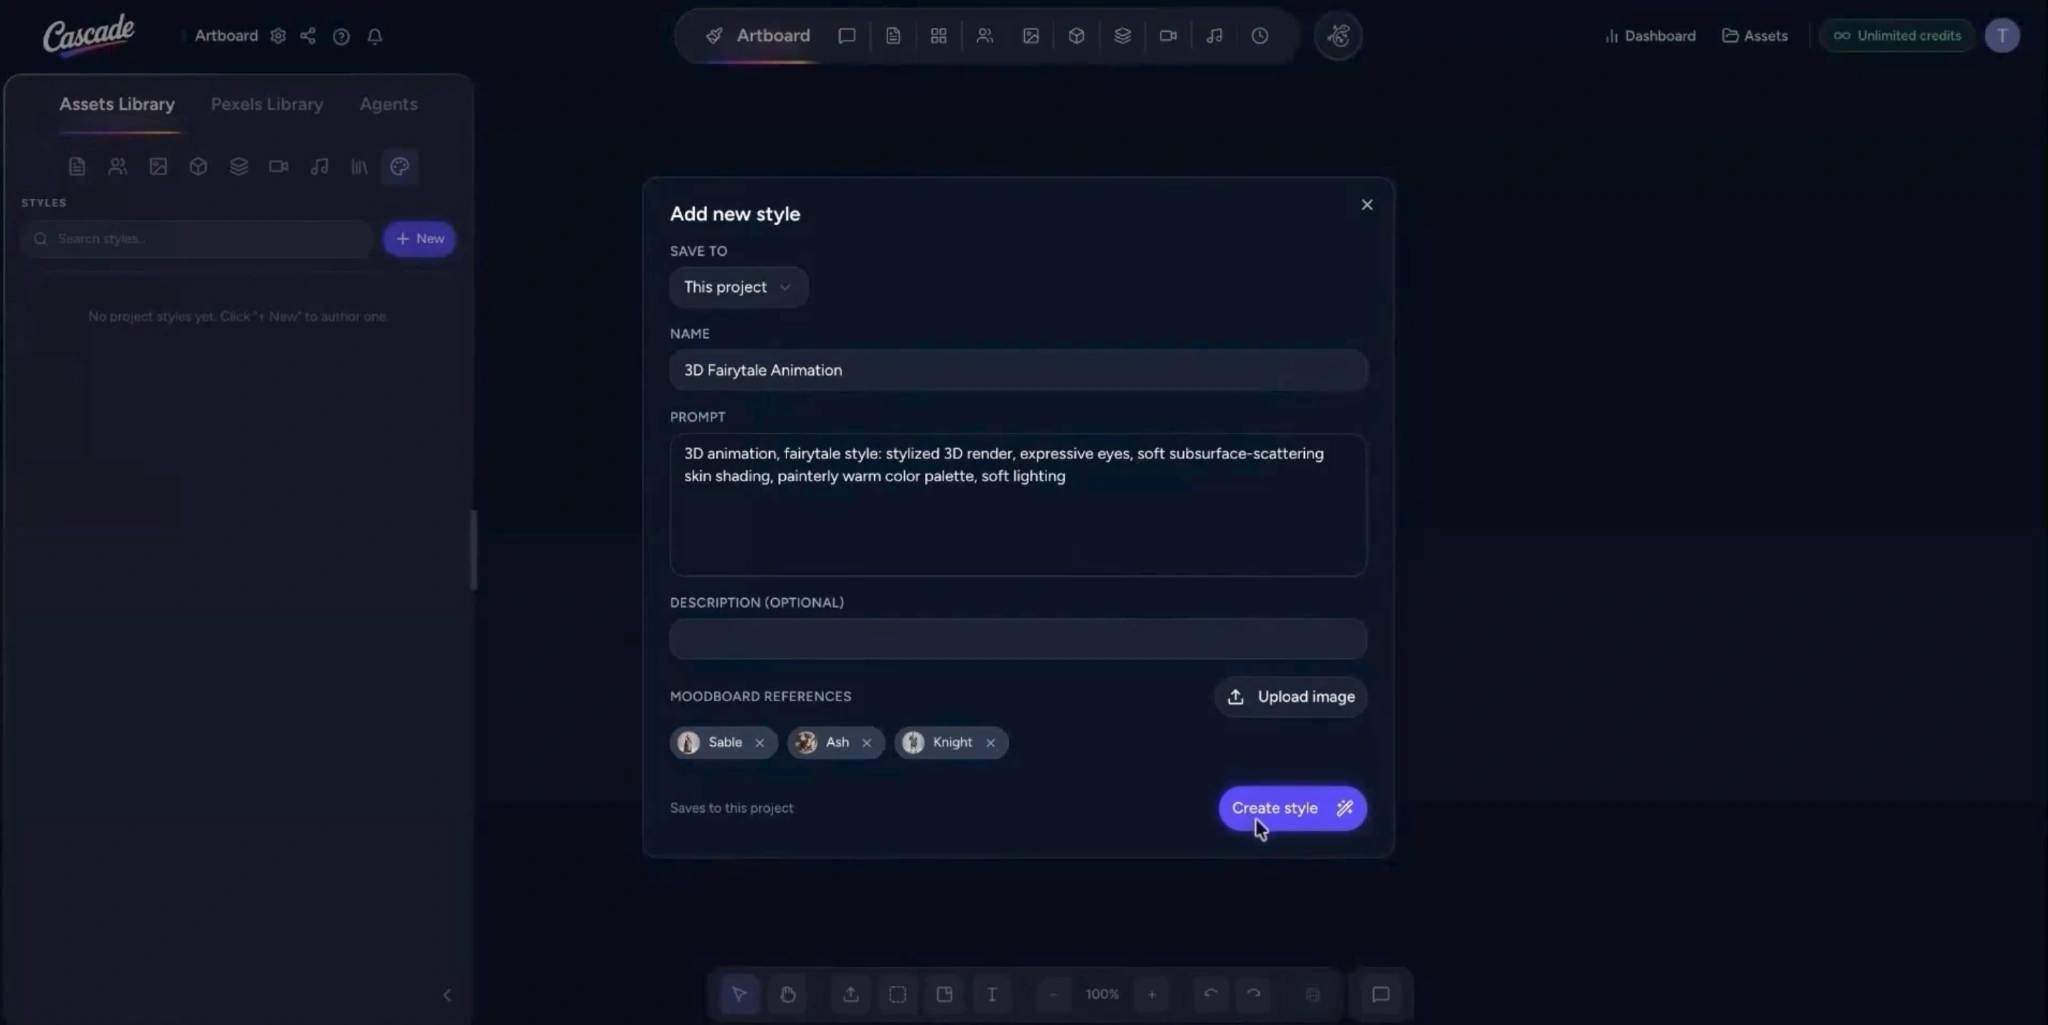
  • Go to the Assets library tab and select Style.
  • Click to + new.
  • In the pop-up, choose where to save the style:
    • Current project
    • Personal library for future projects
    • Organisation’s library to share with your team
  • Give your style a clear, descriptive name.
  • In the prompt field, describe your style. You can use the @ symbol to reference existing project assets (characters, environments, props) from your assets library.
  • Enter your style prompt, then optionally upload images as mood board references. This is useful for bringing in your own visual language.
  • Click Create style to save your new custom style. 
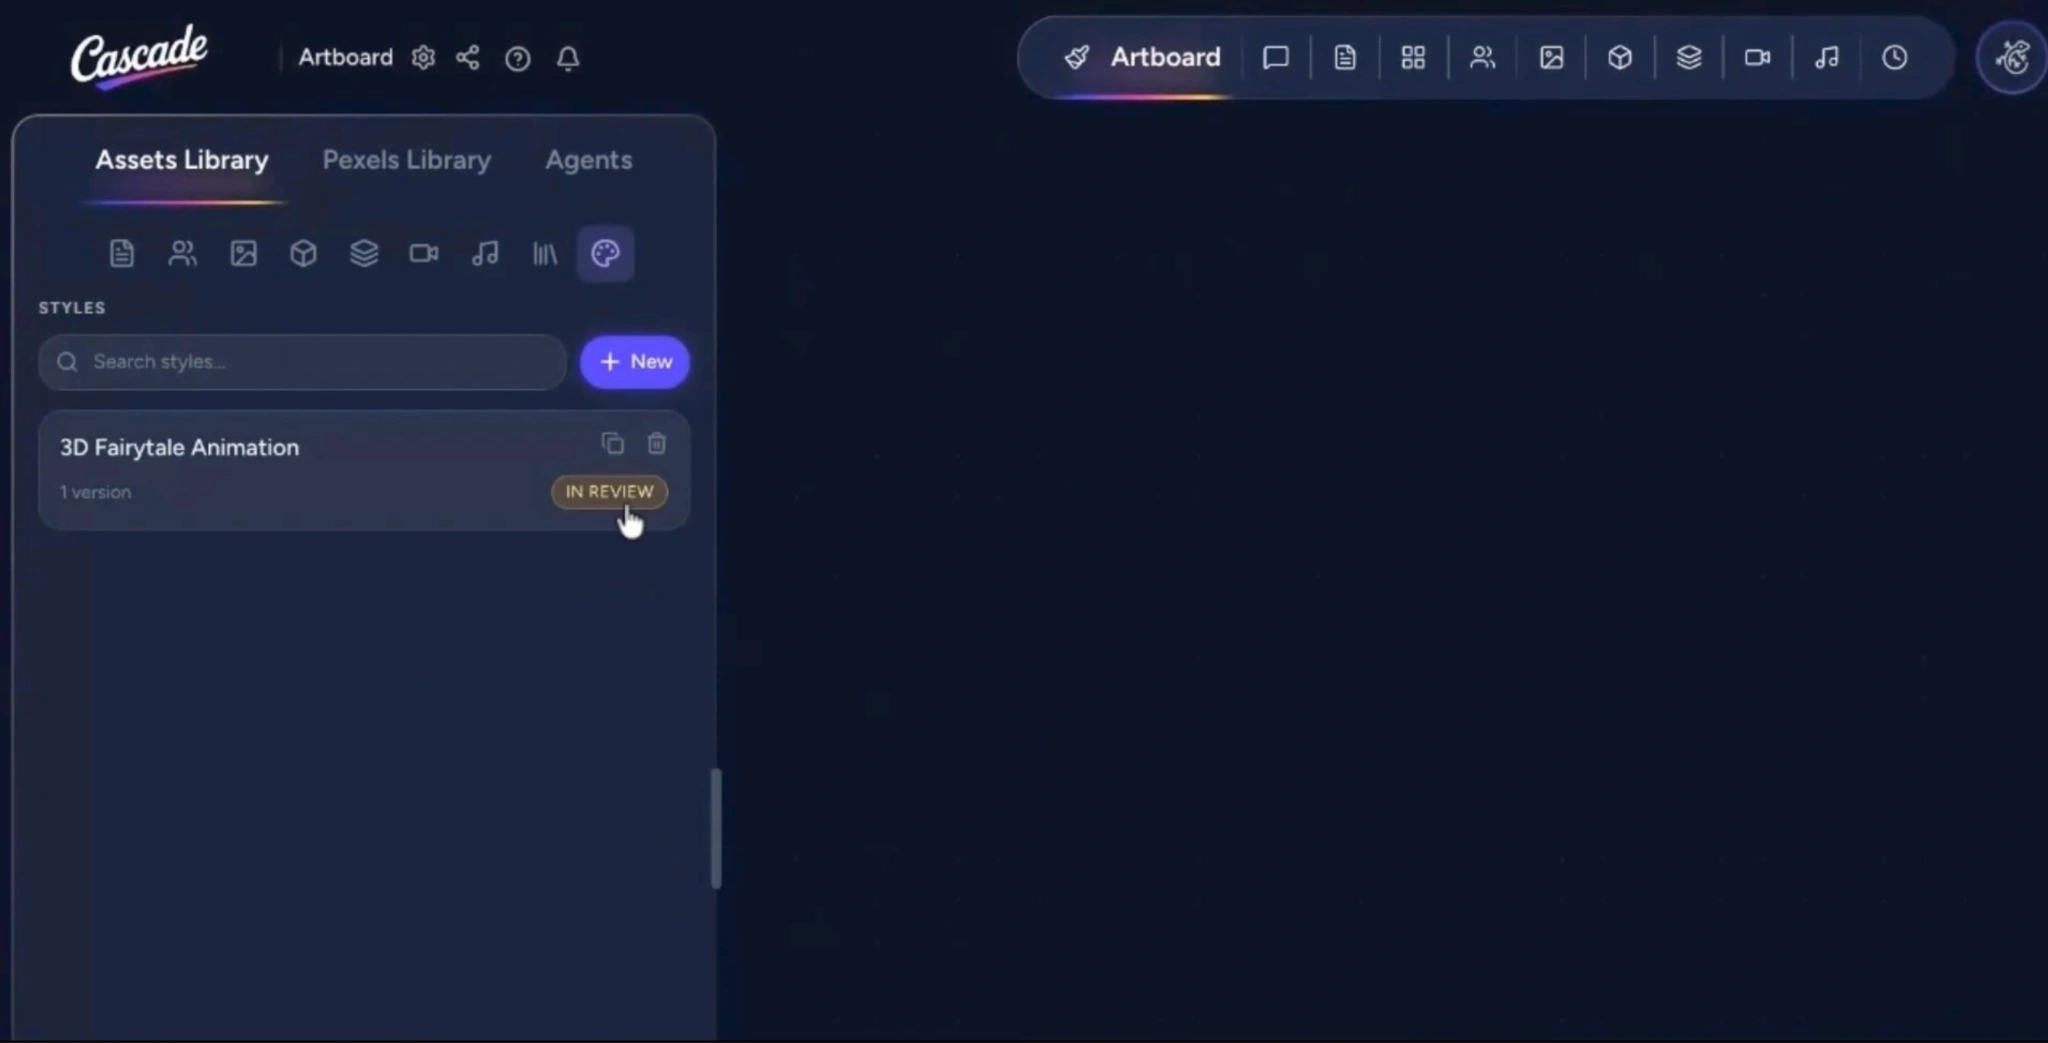
  • Your new style will now appear in the Styles library.
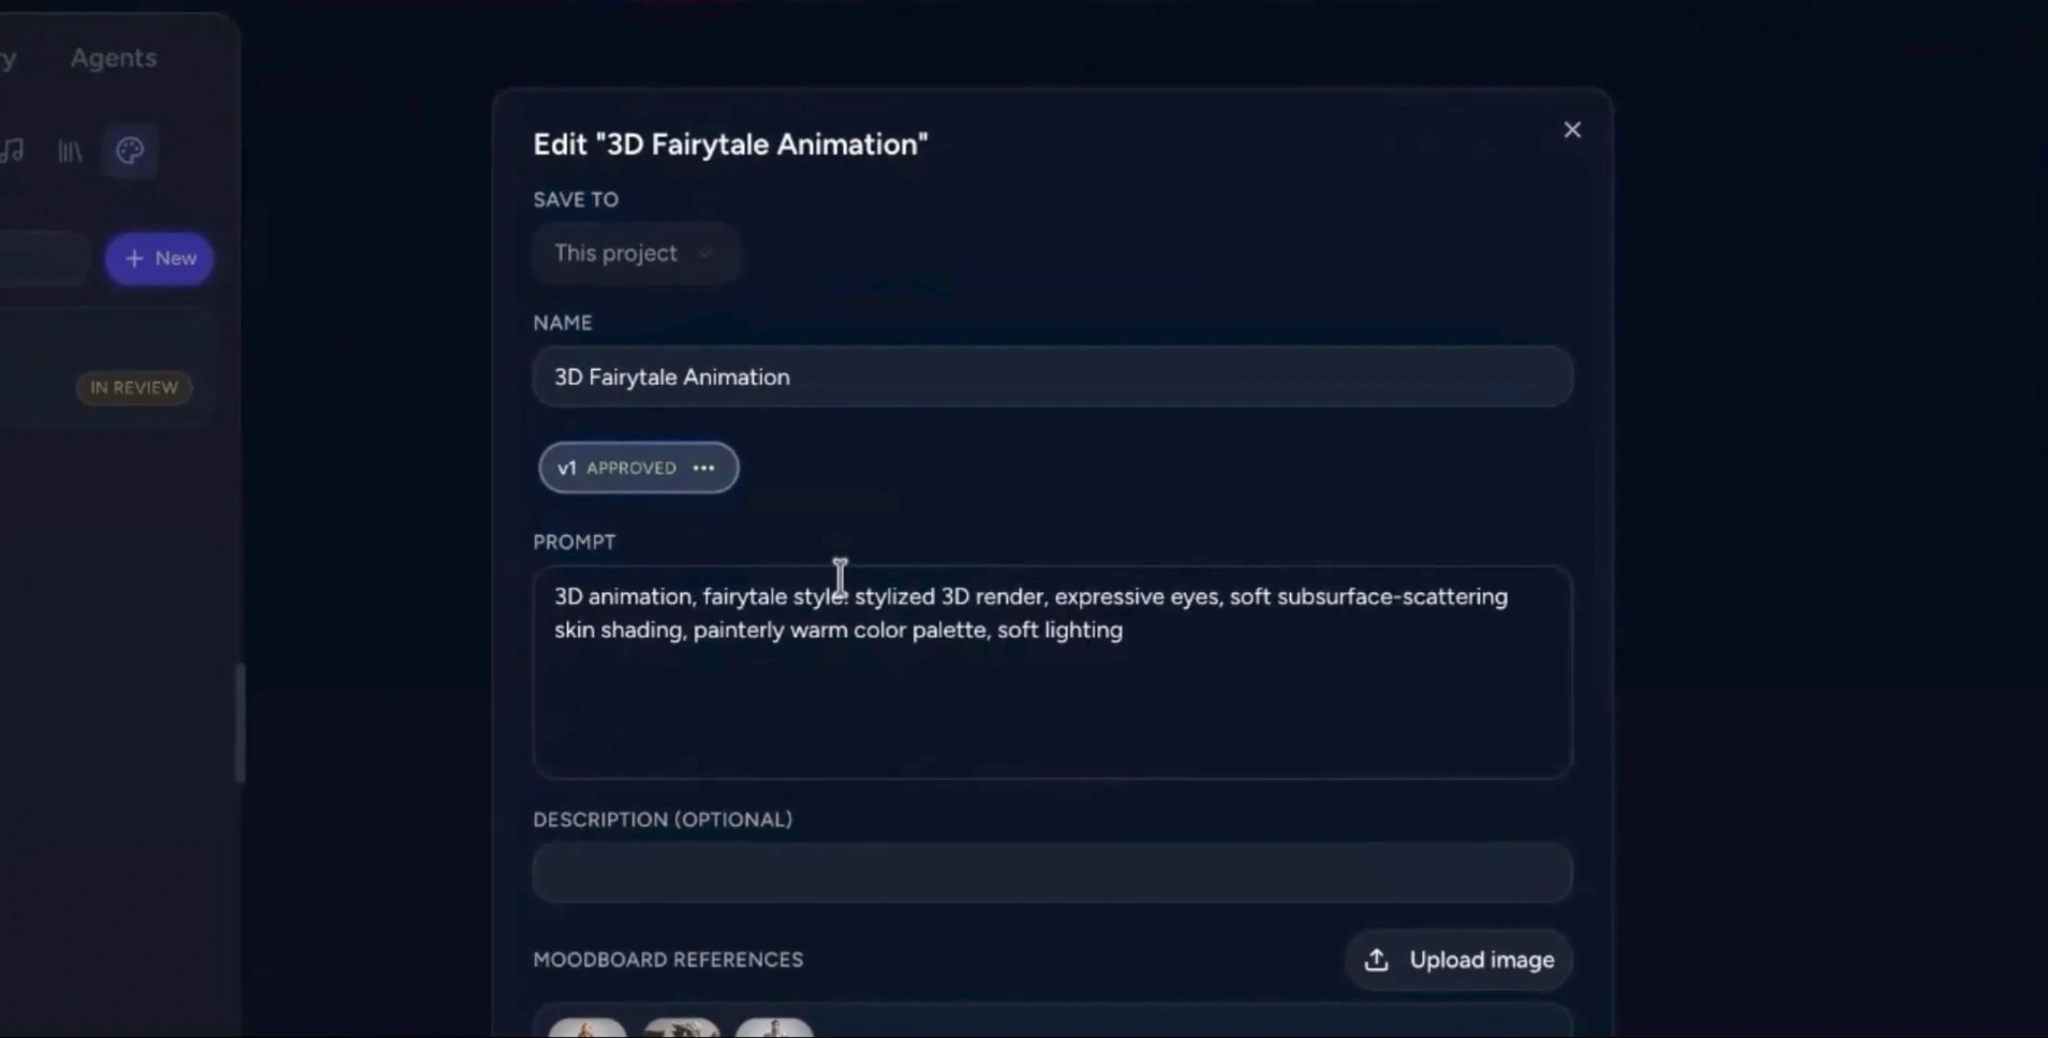
  • Approve your style so you can use it across agents, by clicking IN REVIEW, in the menu that appears, mark it as Approved.

Step 11: Apply Your User Style to Asset Generation

Use your saved style across agents on the Artboard:
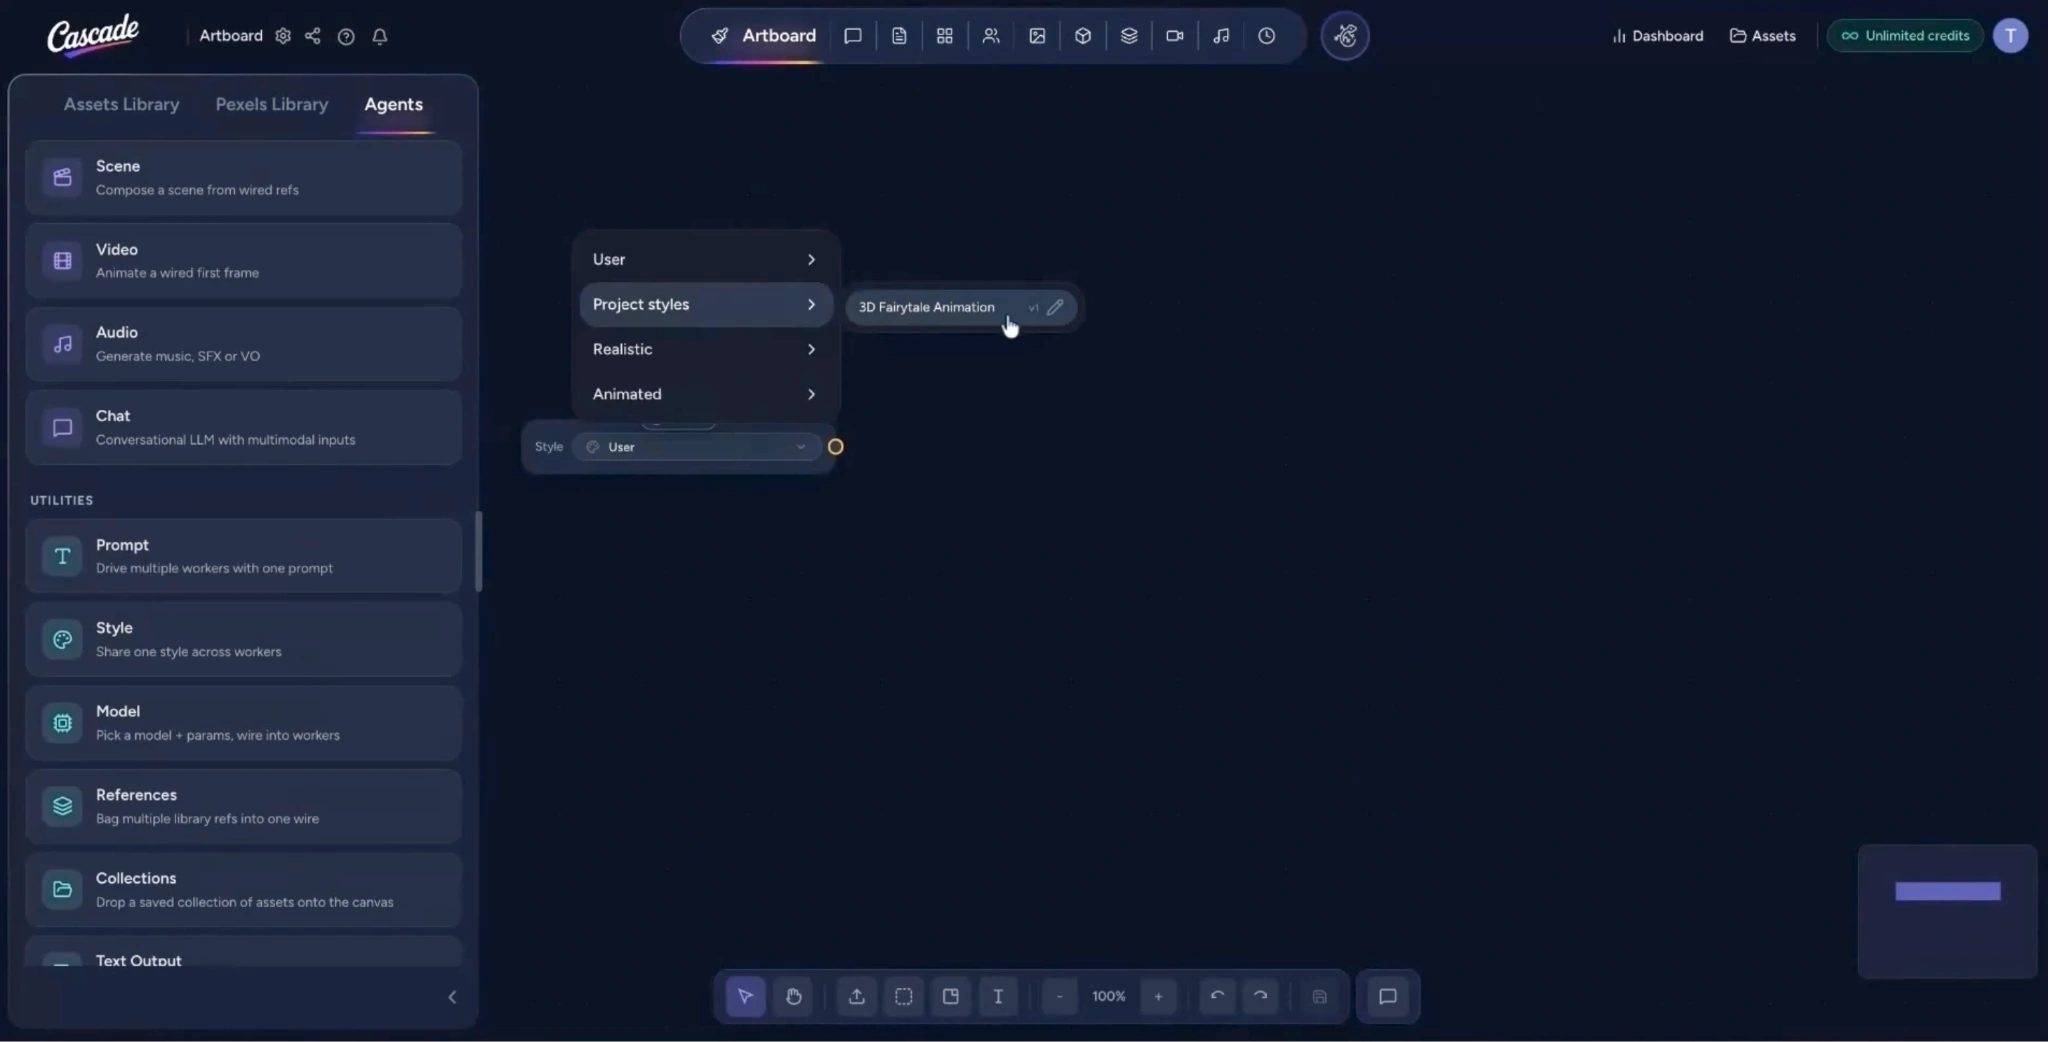
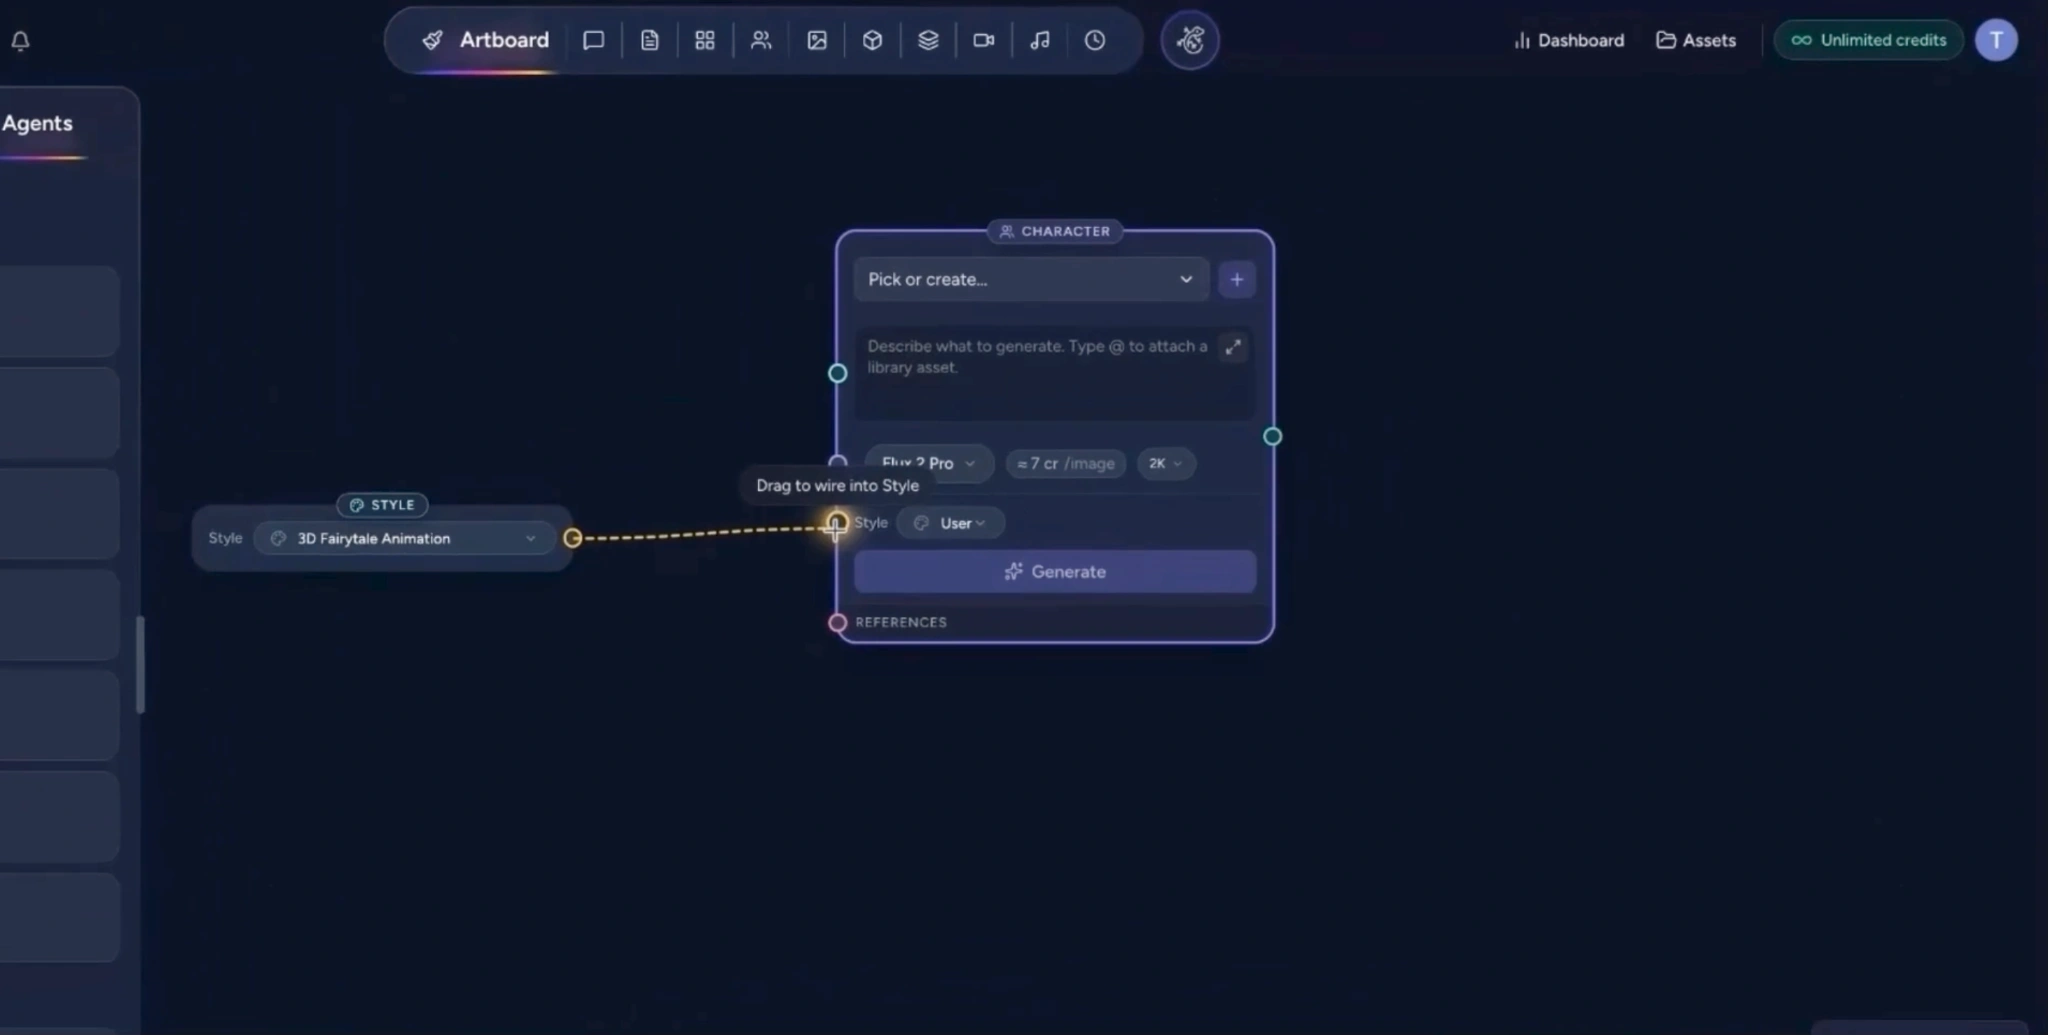
  • Go to the Agents tab and drag a Style utility node onto the Artboard.
  • In the dropdown on the style node, select Project styles and choose your newly saved style.
  • Drag an agent (e.g., Character, Environment, or Scene) onto the Artboard to create a new asset.
  • Connect the output of the Style node to the style input of your agent to apply the user style.
  • Create a new name for your asset and enter a prompt.
  • When ready, click Generate.
  • Your new character (or other asset) is now generated using your custom user style.

Step 12: Use a Chat Agent to Develop Prompts and Generate Assets

Leverage a chat agent to craft better prompts and assets:
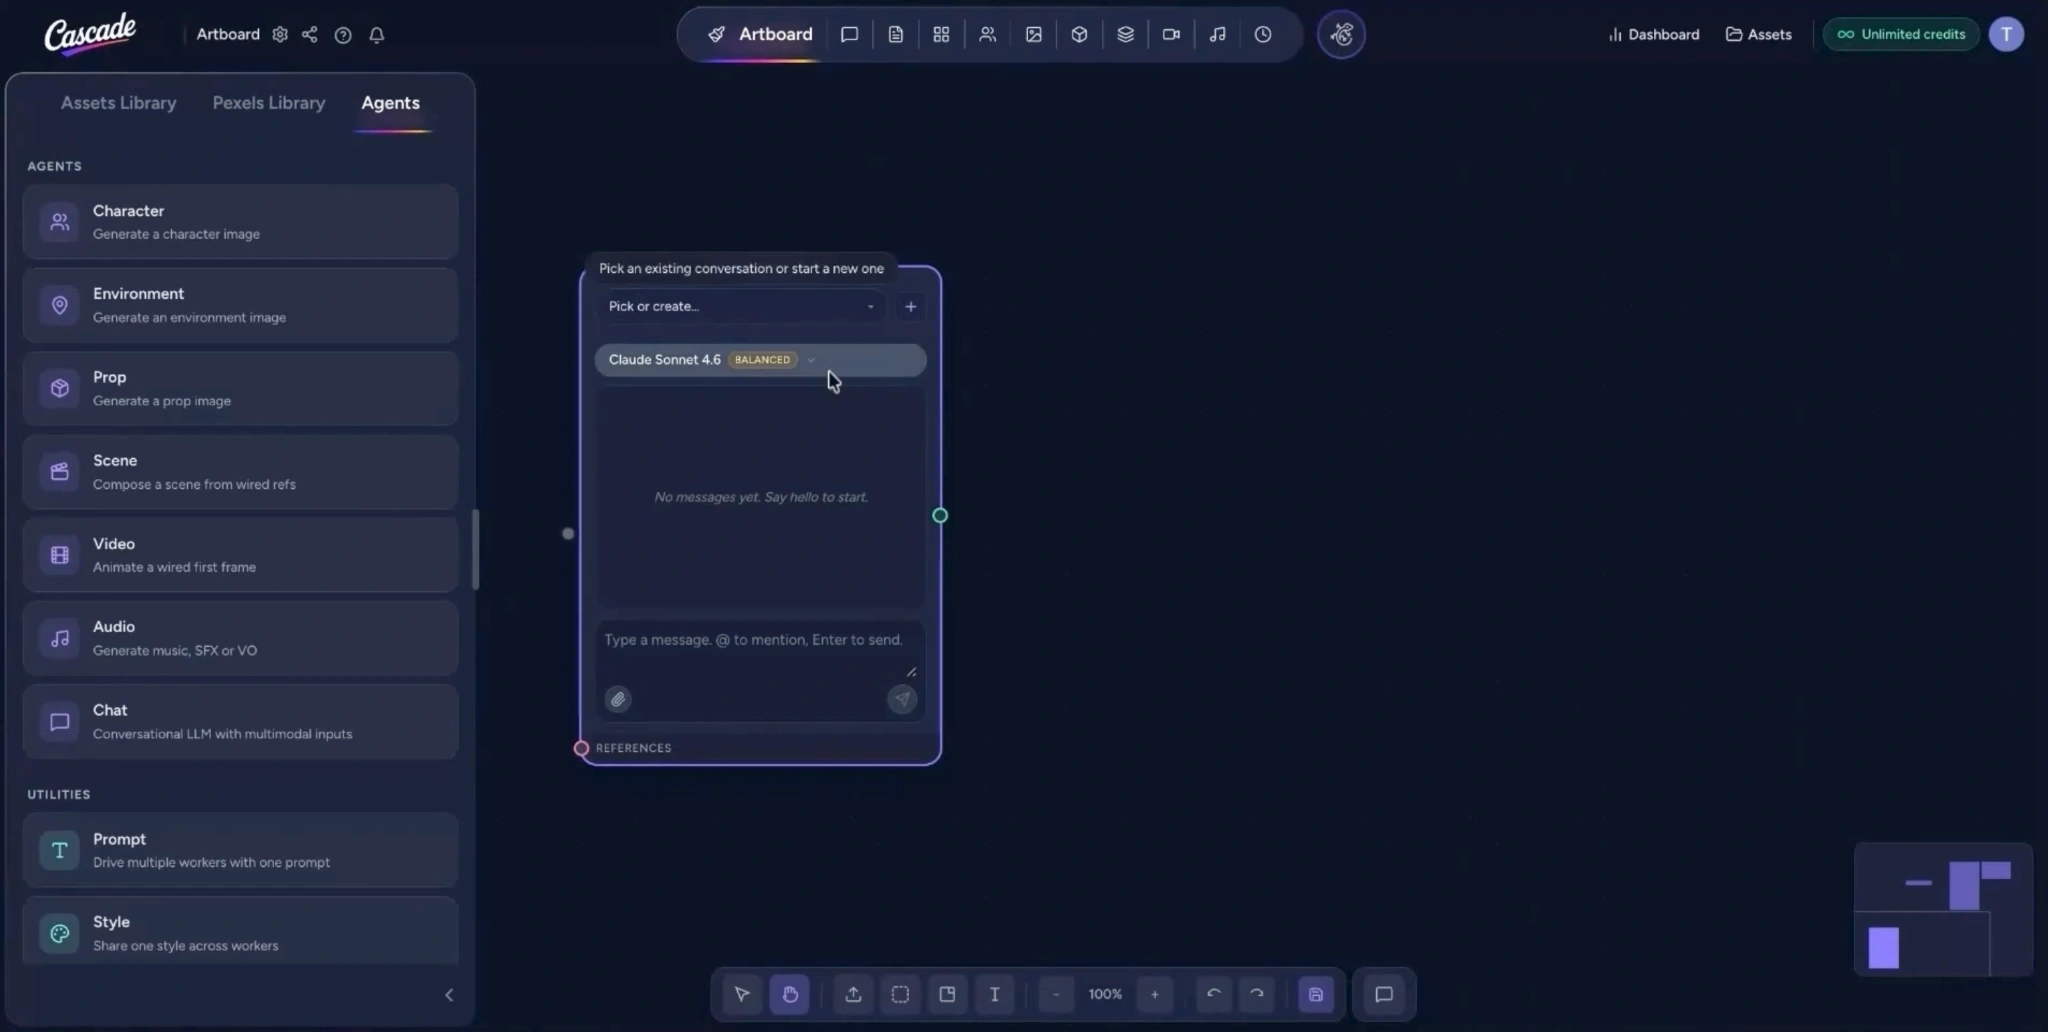
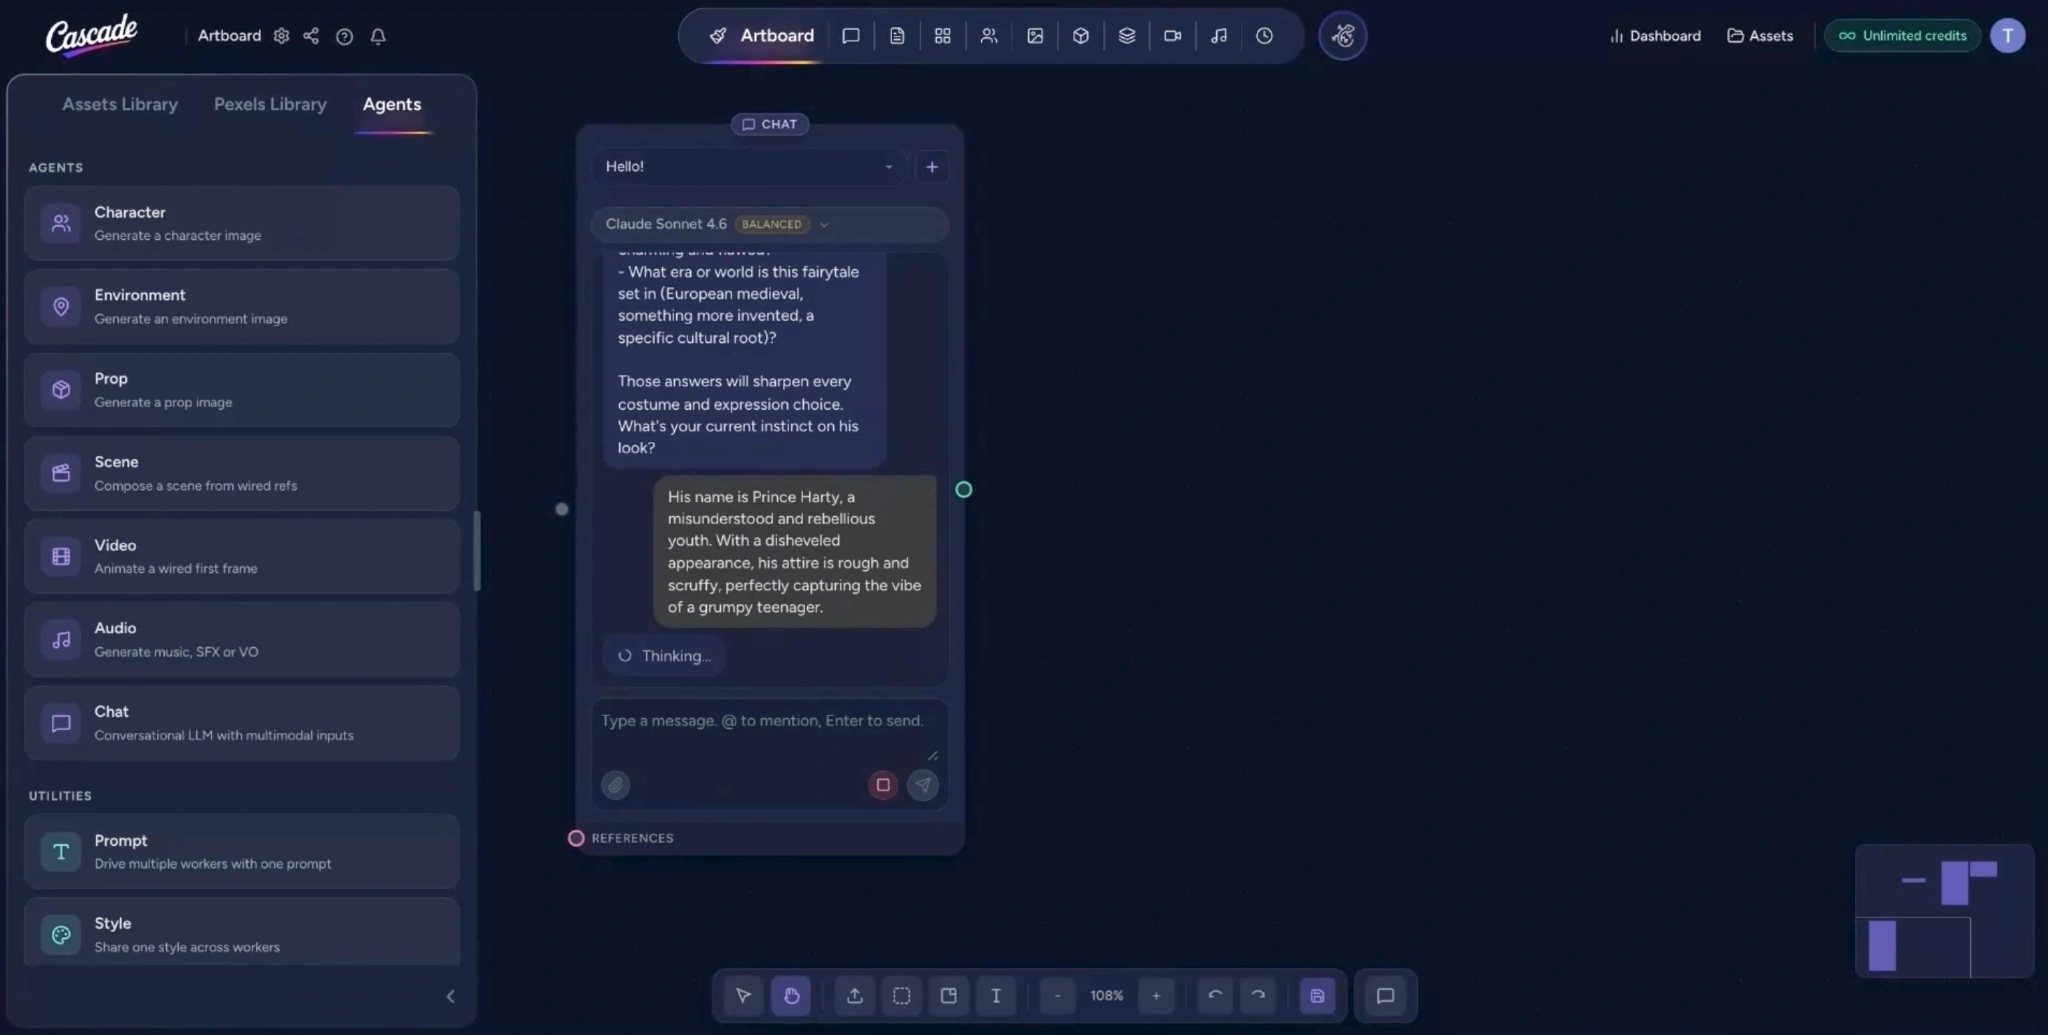
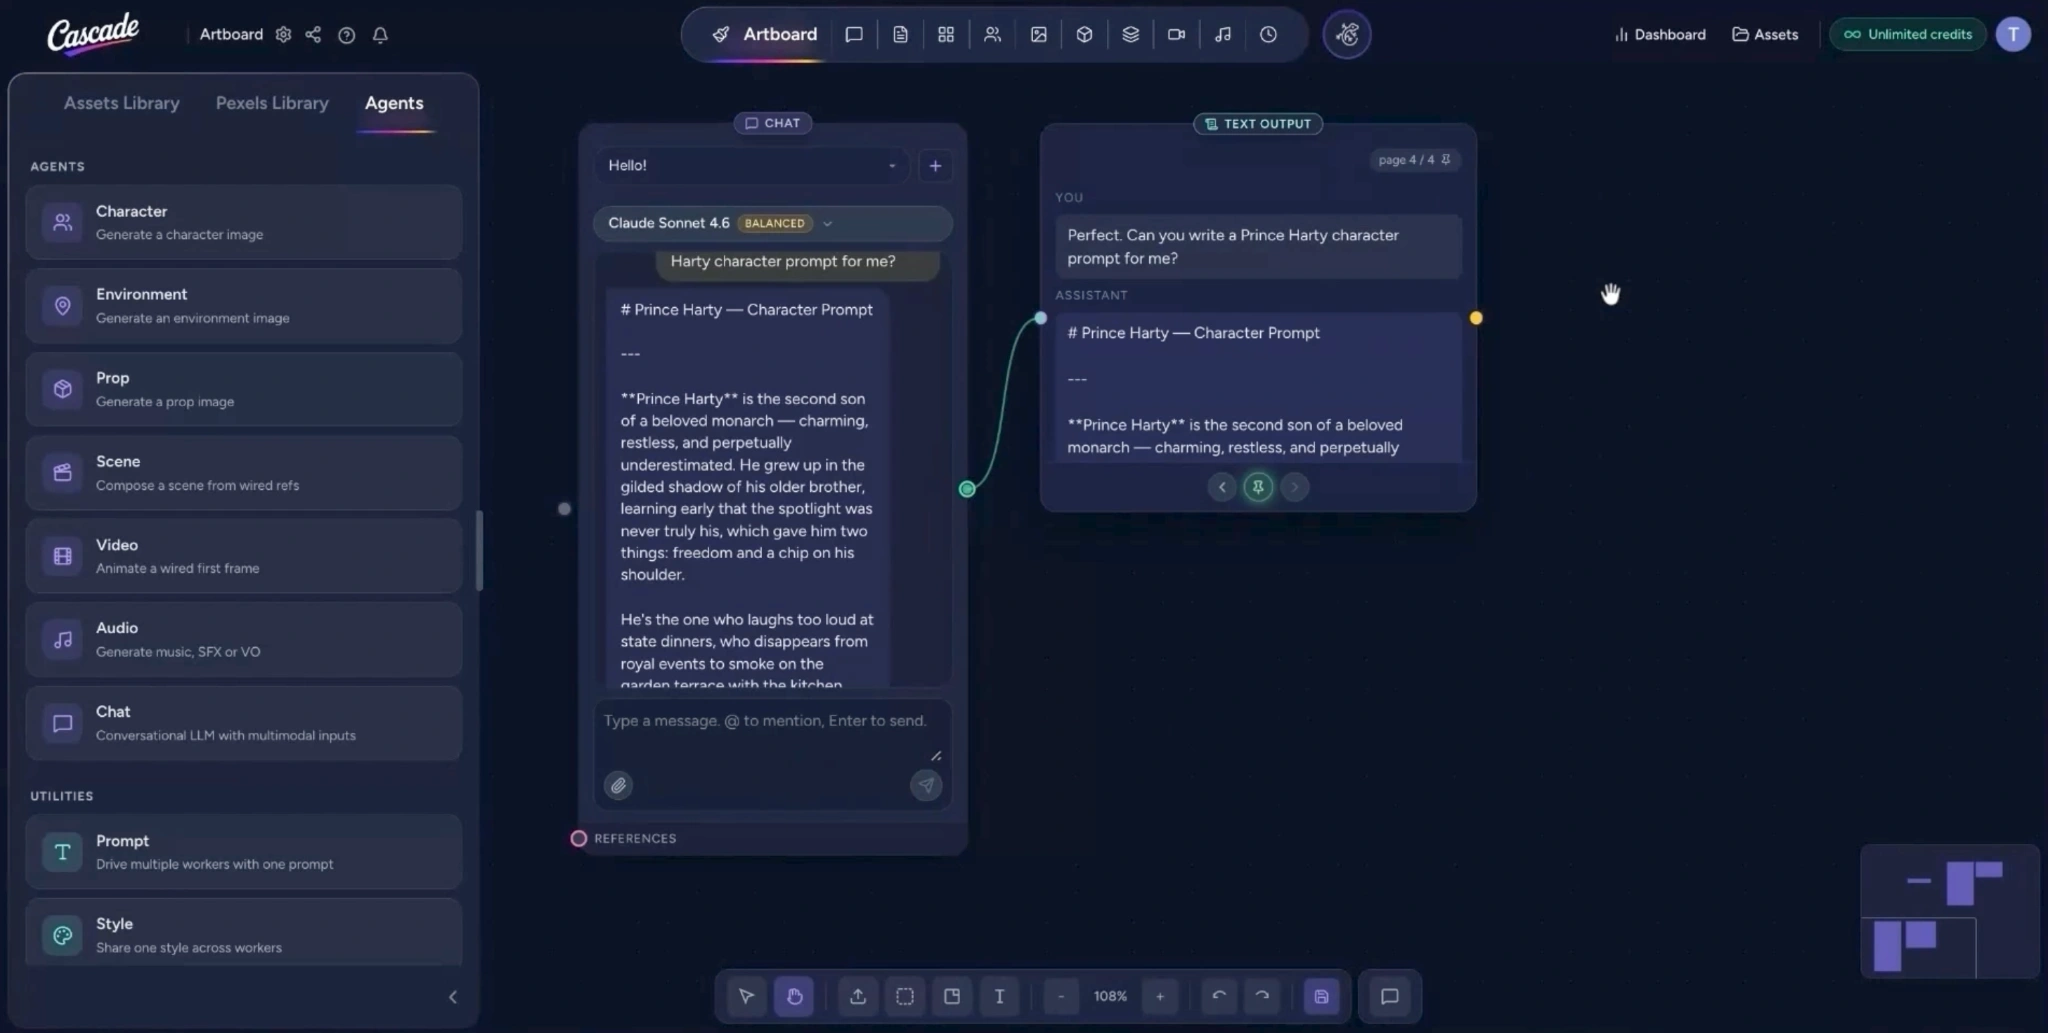
  • Drag and drop a Chat agent onto your Artboard.
  • Choose your preferred language model and start a new chat.
  • Collaborate with the chat agent on what you want to generate or refine within the Artboard, you could:
    • Develop narratives for your characters
    • Build your world
    • Explore ideas and concepts
  • The language model will ask guiding questions to gather specific details and help you design your asset or story.
  • Provide as much information as you can about your vision; the chat agent will help you refine and structure it.
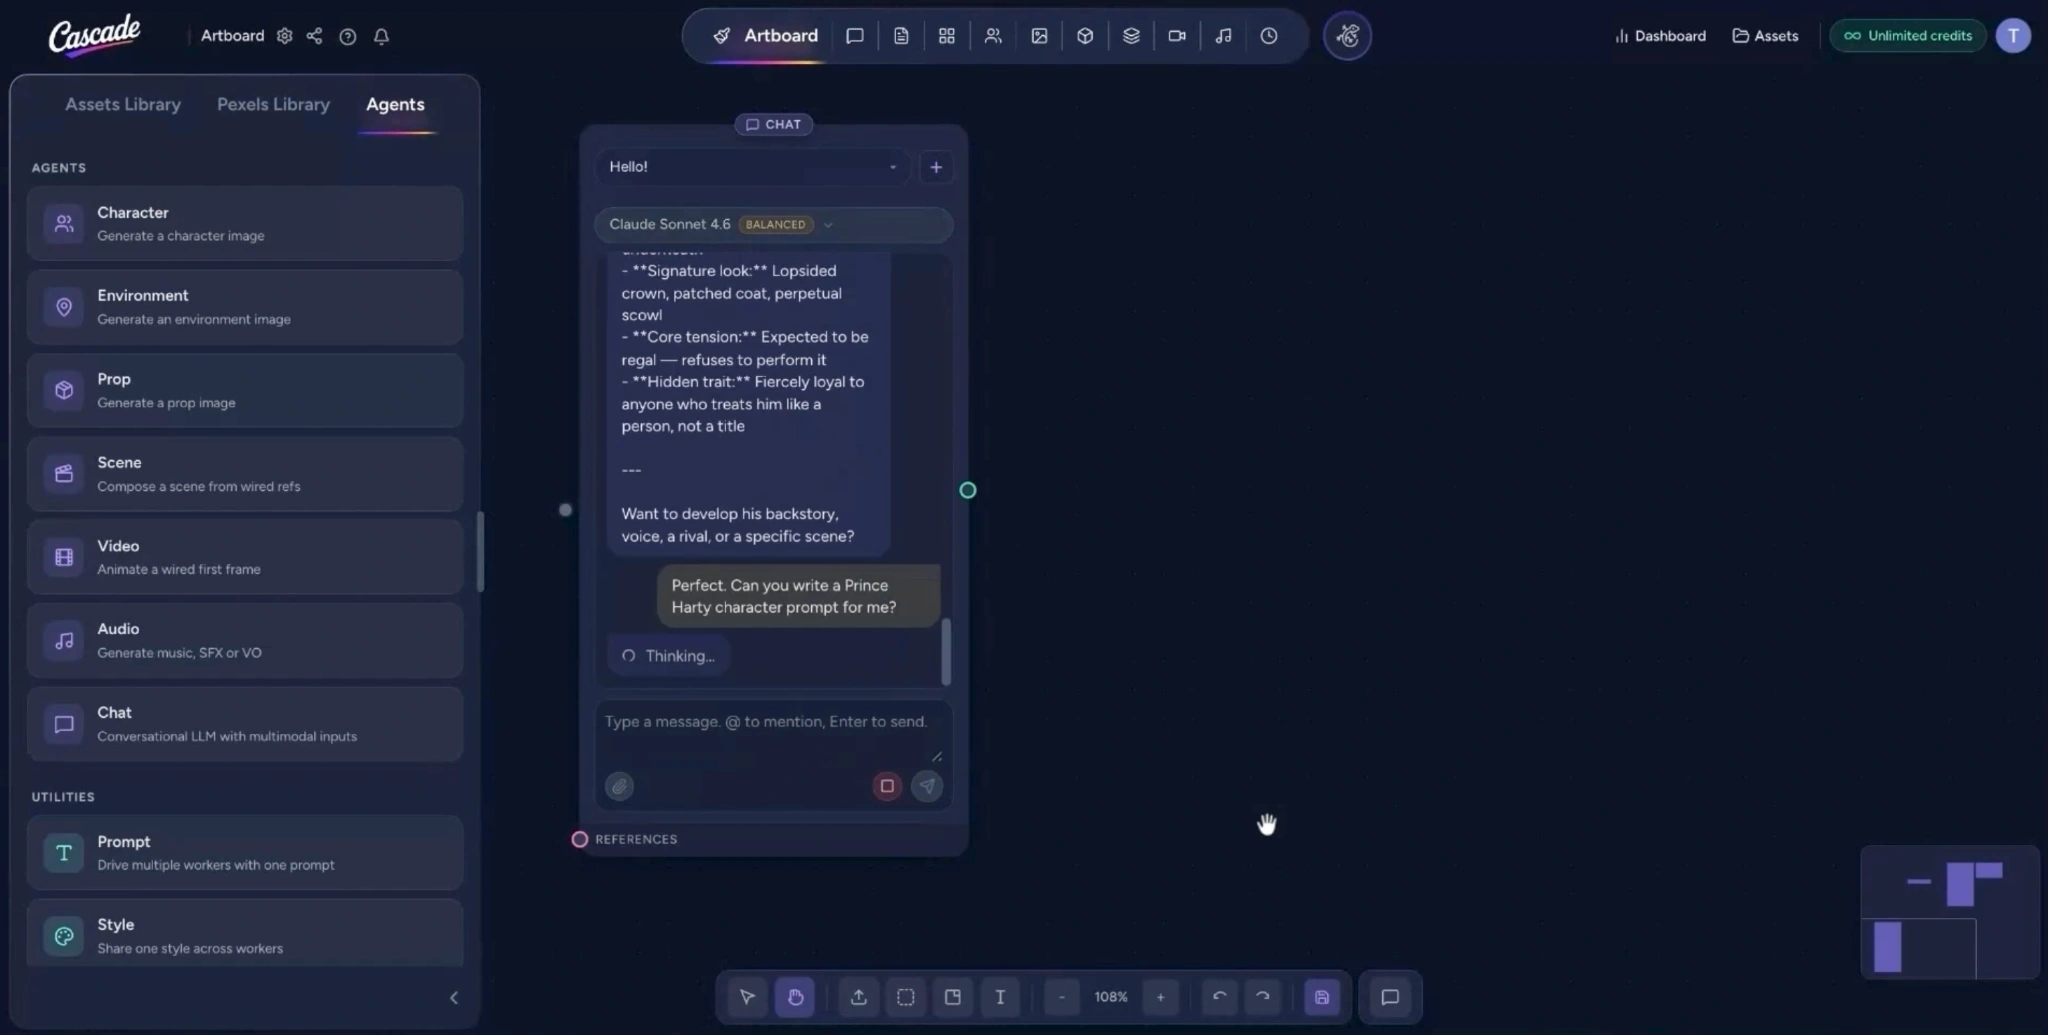
  • Once enough details have been shared, ask the chat agent to create a prompt for you.
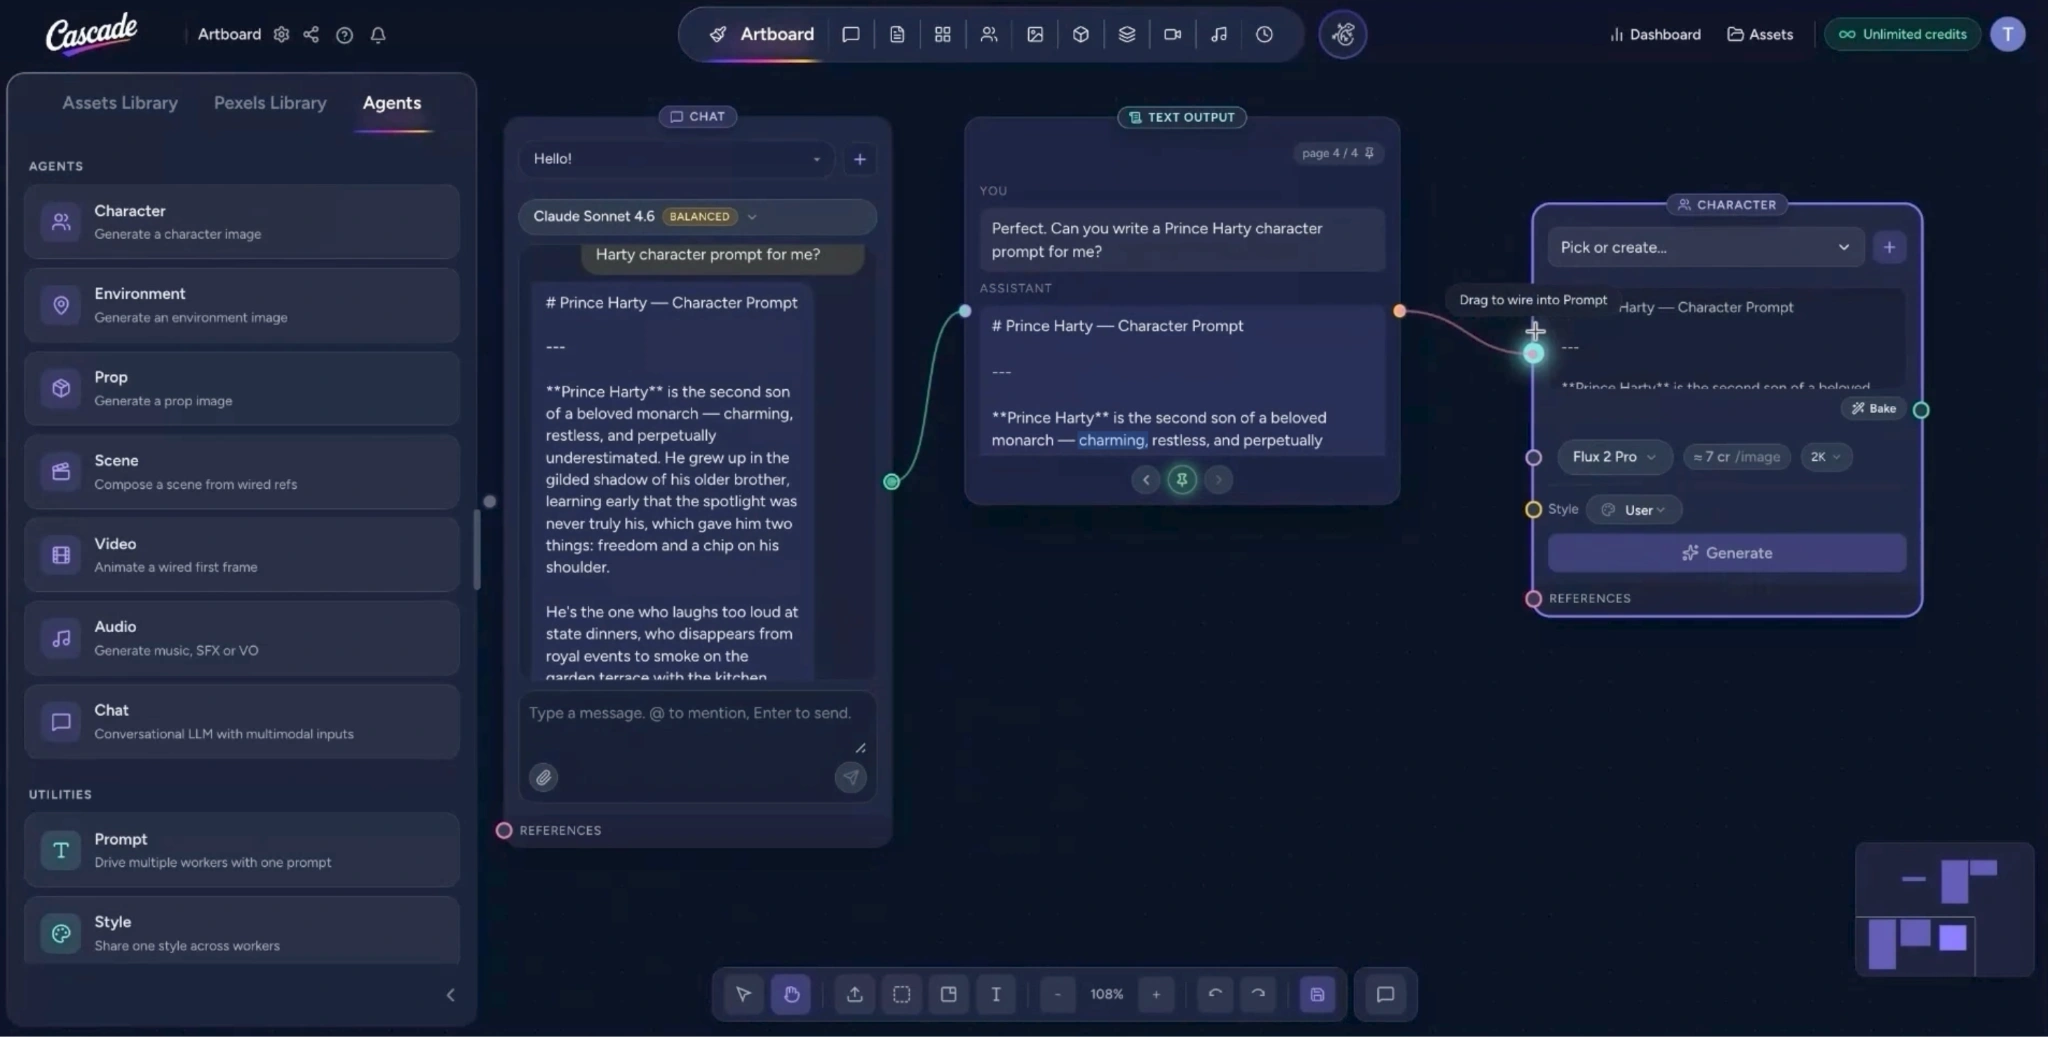
  • With this prompt, create a text output from the chat agent
  • Connect the text output to the prompt input of an agent you want to use (e.g., a Character agent placed on the Artboard).
  • The character prompt will automatically transfer into the agent’s prompt field.
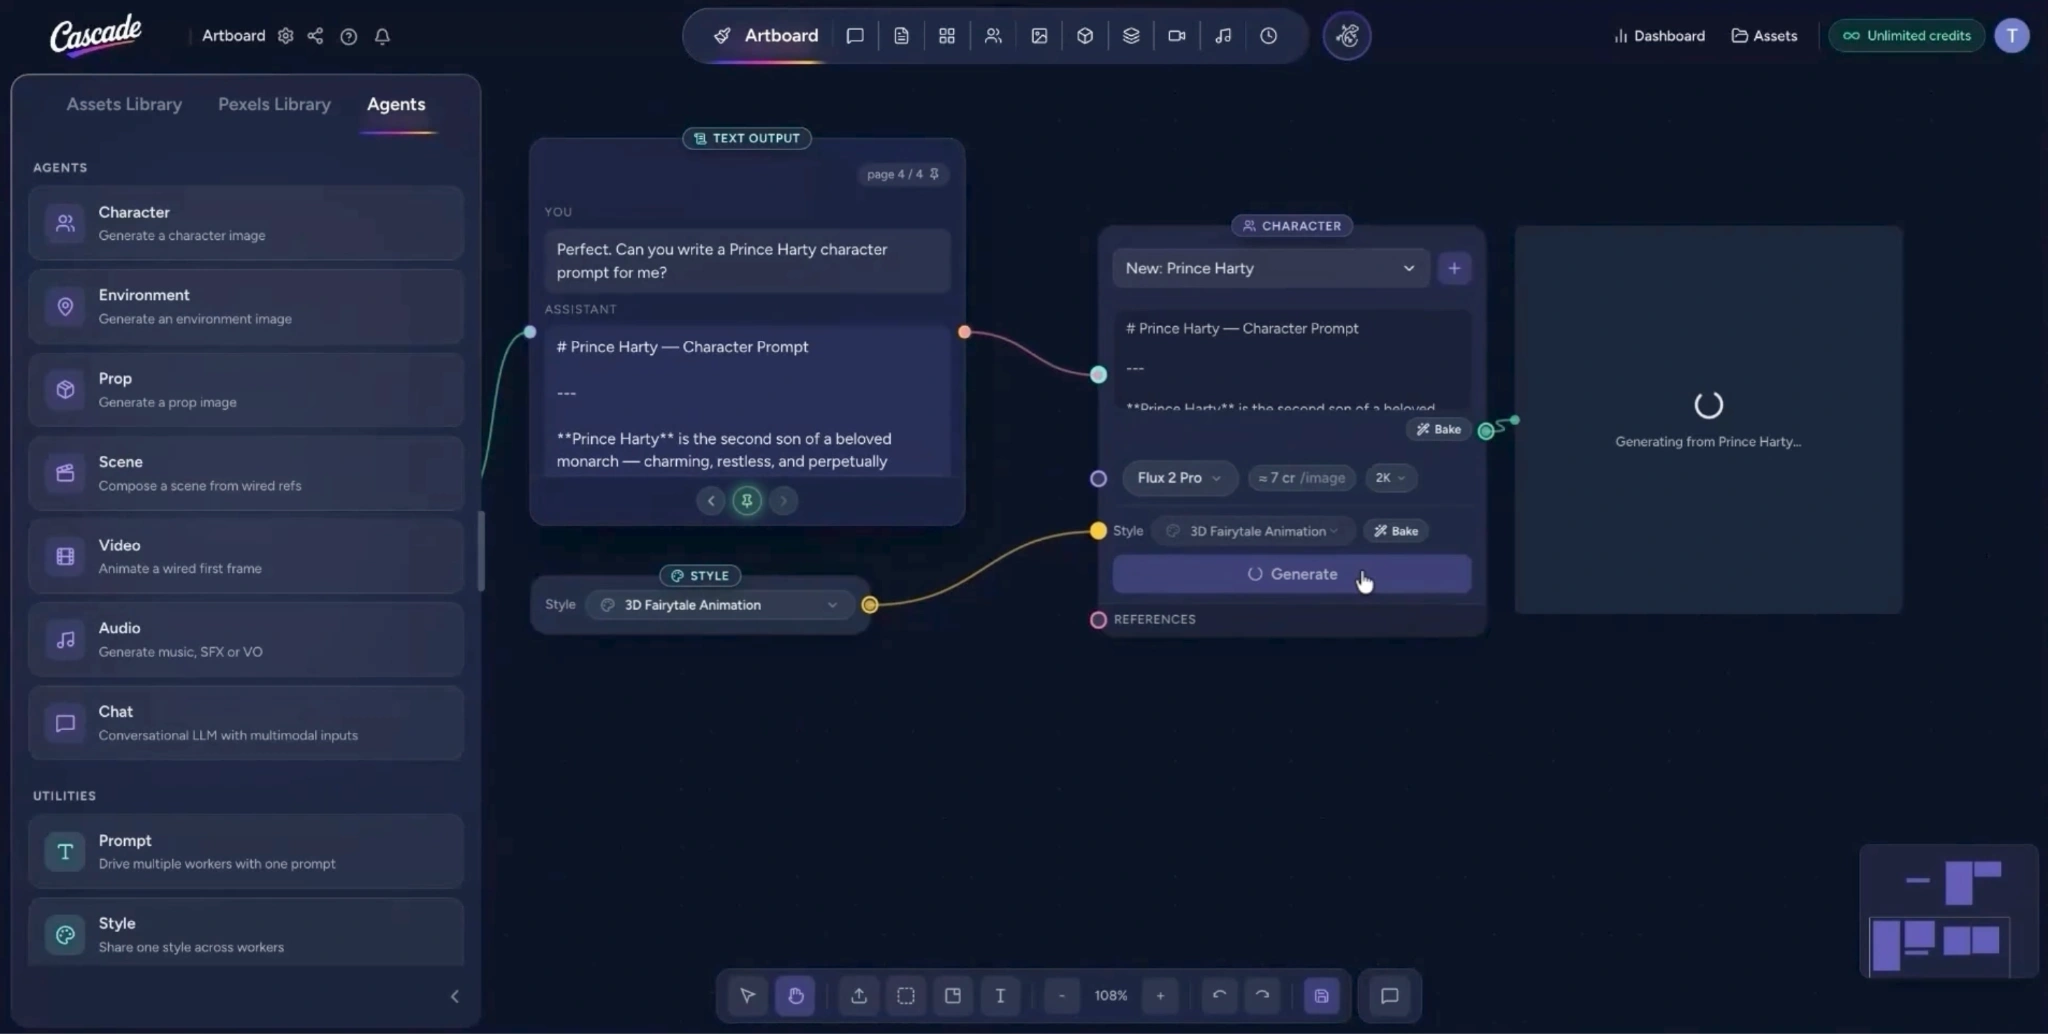
  • Optionally, connect your previously created user style to this agent to apply your custom look.
  • When you are ready, click Generate.
  • Your asset is now generated using a prompt developed with the chat agent and your own user style, completing the workflow for creating rich, styled assets on the Artboard.

Learn more about Cascades power
See all features